Furnishing Rental Apartments: Creating a Home Away From Home
-
Posted by
Houseplants are a great way to decorate a rental property …

Houseplants are a great way to decorate a rental property …

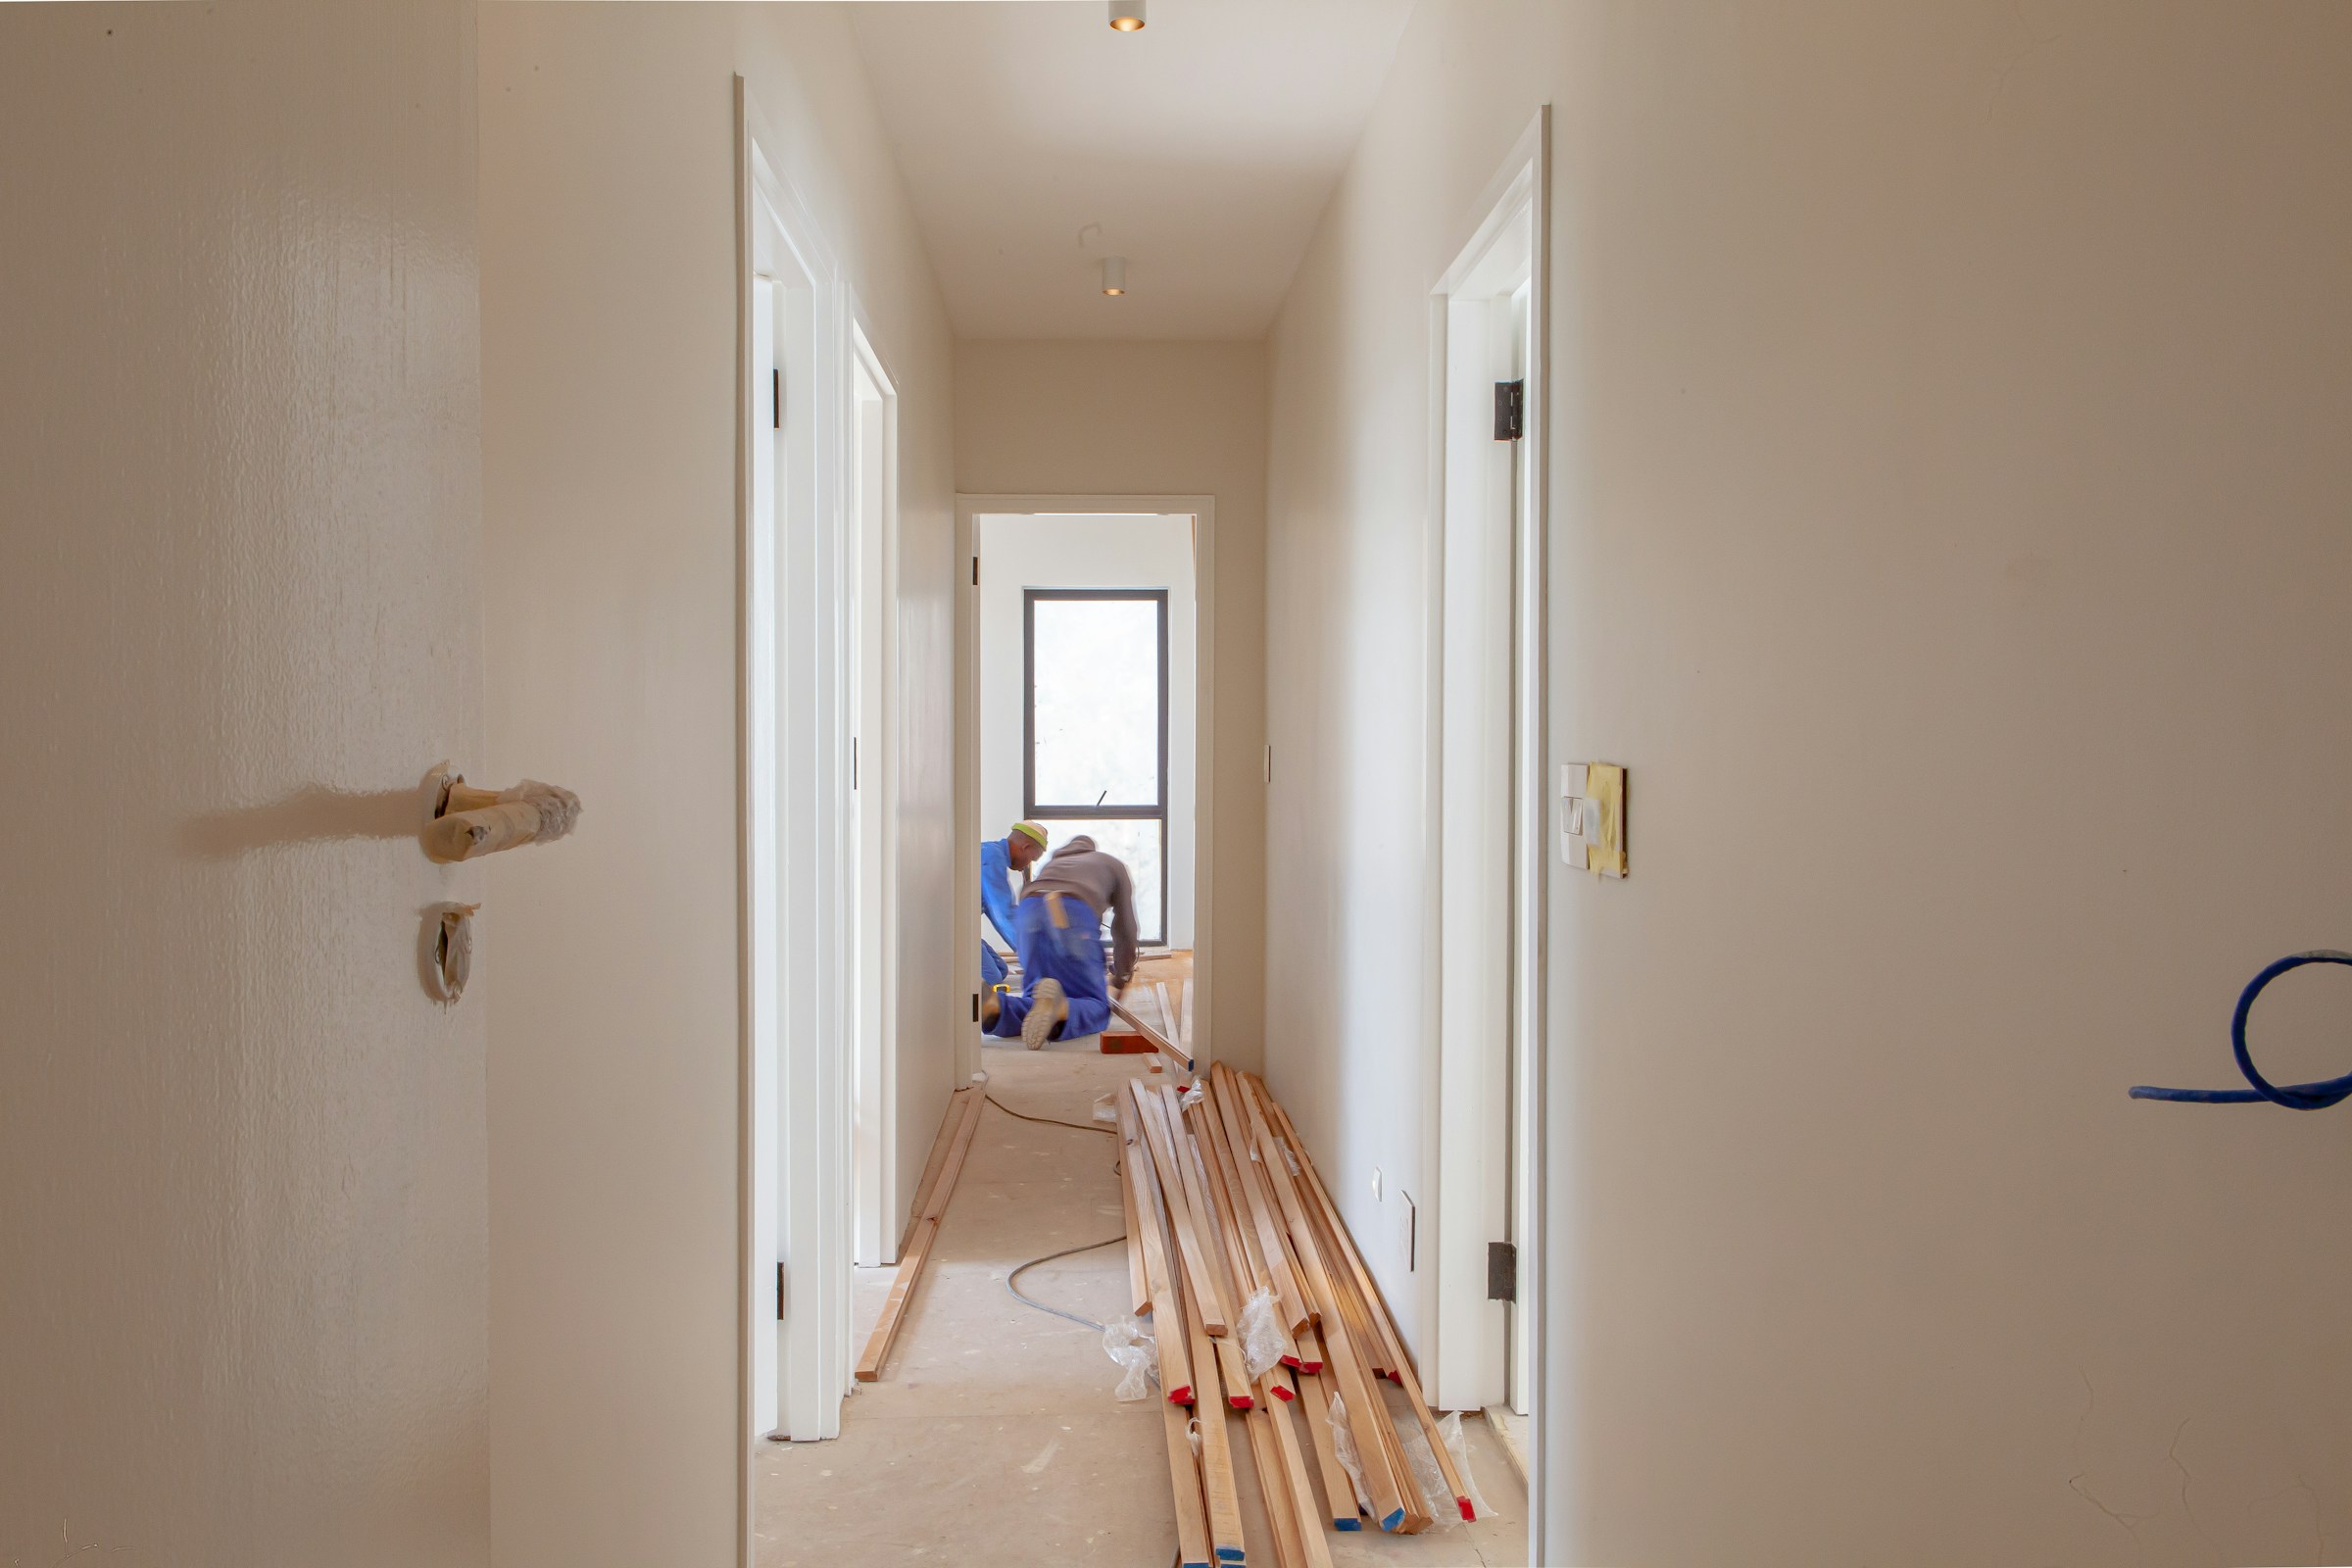


When it comes to a new apartment, a coffee table is essential …


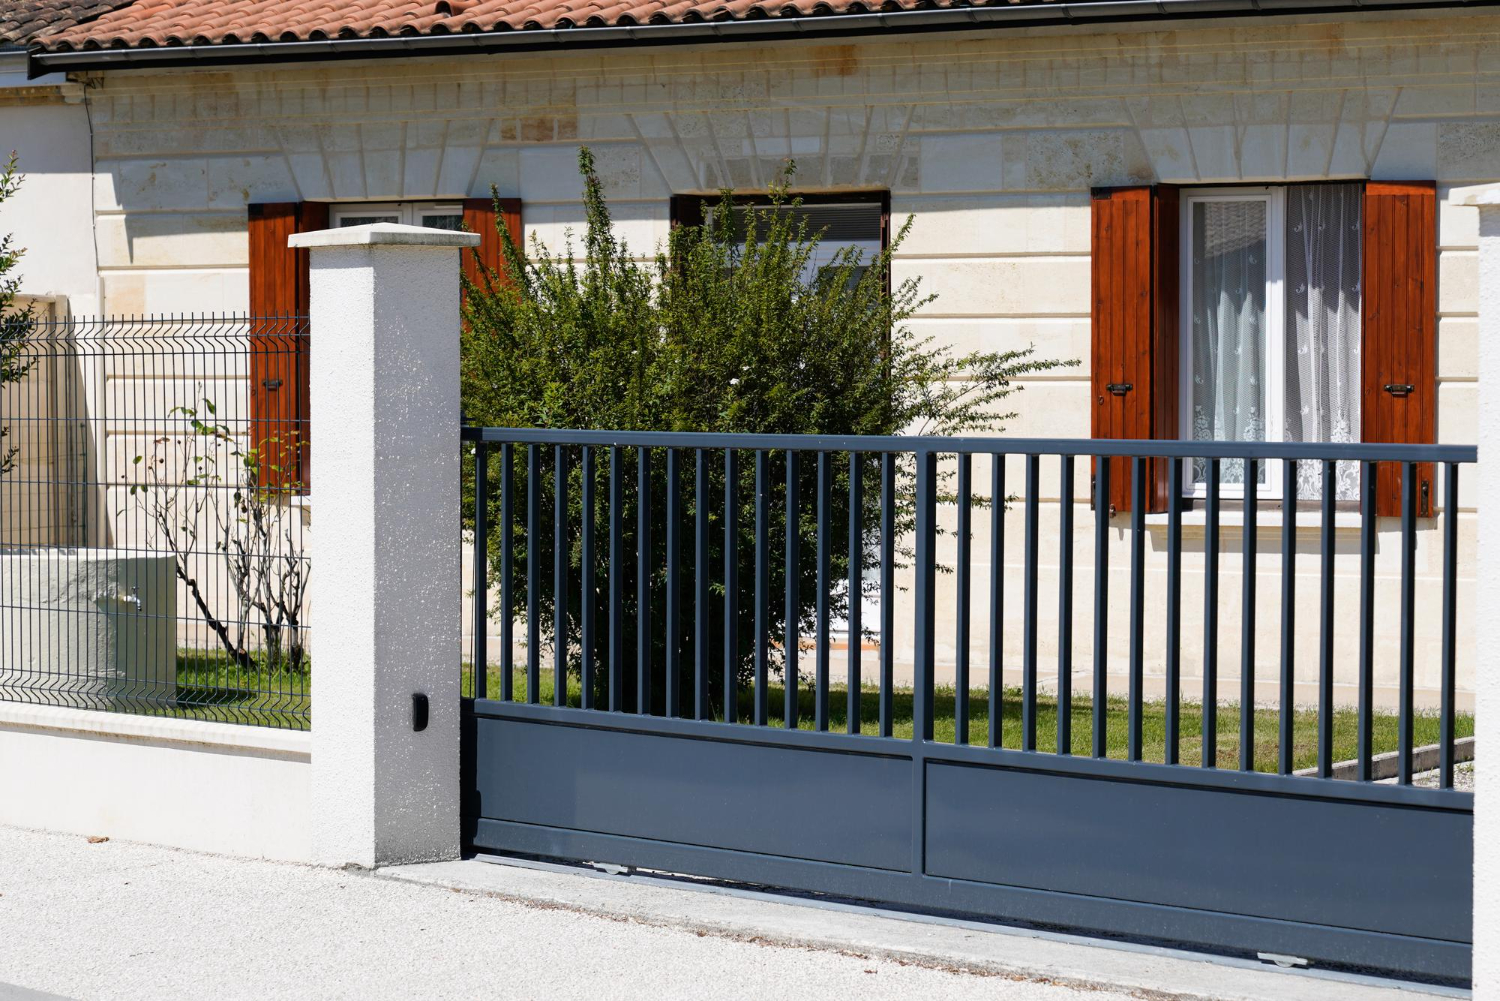
Gate repairs often look simple from the outside—tighten a hinge here, swap a roller there, but even small mistakes can lead to serious injury or expensive damage. Before you touch a tool, walk through the right safety checks. This guide will blend a practical pre-repair workflow with compliance cues so you will know when it’s safe to DIY and when to call an expert. You can find step-by-step checks, quick bullet lists, and a printable pre-repair checklist that you can keep on your phone.
Before performing automatic gate repair, disconnect and control all energy sources: the main power, solar input, battery backup, hydraulic pressure, or spring tension. You need to use a proper lockout device and a clearly labeled tag on the disconnect or breaker, and verify a “zero-energy state” by testing controls after isolation. These fundamentals mirror OSHA’s Control of Hazardous Energy (Lockout/Tagout) requirements to prevent an unexpected start-up or stored energy release during maintenance. Adhering to these strict safety protocols is mandatory for any professional service offering electric gate repair, regardless of the complexity of the fault.
Do this every time:
Switch off the dedicated breaker and apply a personal lock.
Unplug or isolate the operator; remove or disconnect backup batteries.
Release hydraulic/pneumatic pressure where applicable; chock moving leaves if needed.
Try the remote/keypad to confirm the operator will not run.
Automated gates are governed by two cornerstone safety standards: UL 325 (operator safety and entrapment protection) and ASTM F2200 (gate construction details like guarded rollers, infill spacing, and travel paths). Even when you’re only “fixing a squeak,” your repair shouldn’t defeat safety devices or create new hazards like unguarded pinch points or disabled photo-eyes. Review the operator manual and check that sensors are installed, aligned, and monitored by a listed controller as required.
If an edge sensor or photo-eye is faulty, the safe condition is no automatic operation until it’s restored and tested.
Replacements should be compatible with the listed operator; mixing non-listed parts can break compliance.
Entrapment injuries happen when a person, pet, or object gets caught as a gate moves. Older systems may lack modern reversing devices; never assume yours is safe. The U.S. Consumer Product Safety Commission (CPSC) has documented severe injuries and fatalities associated with automatic security gates, especially where the sensing and reversing features were absent or defeated.
What to look for:
Unguarded rollers on slide gates, tight hinge gaps on swing gates, and pinch points along posts or walls.
Infill openings large enough for a hand, arm, or head to enter near moving parts.
Obstacles within the gate’s travel path, including planter boxes, bins, or vehicle overhangs.
Missing or faded warning placards; replace if not legible.
Basic electrical safety prevents shocks and nuisance faults:
Inspect the enclosure: no water ingress, corrosion, or insect nests on boards and relays.
Conduit and boxes should be intact; low-voltage signal runs should be kept separate from mains per good wiring practice.
If you touch wiring, follow the jurisdiction’s electrical code (e.g., NFPA 70 National Electrical Code in the U.S.). When in doubt, stop and call a licensed electrician.
Before “repairing” the operator, confirm the structure itself isn’t the real problem.
Posts should be plumb and solid in their footings; rocking posts cause binding.
Hinges must be rated, greased, and uncracked; check for elongated bolt holes and bent straps.
Positive stops prevent over-travel; damaged stops can overload motors.
Tracks must be free of stones and mud; vacuum and brush thoroughly.
Rollers should turn smoothly with minimal play; guards should cover exposed rollers per best practice in ASTM F2200.
Once isolated and inspected, reconnect power for testing only when safe to do so.
With the gate mechanically disconnected (if your operator allows), run the motor to verify smooth operation without the leaf attached.
Check limit switches and obstruction inputs using the controller’s diagnostic LEDs.
Reconnect the leaf. Test the auto-reverse by passing a lightweight, rigid test object through the beam; the gate should stop and reverse instantly when the photo-eye beam is interrupted or the edge is pressed.
Observe the speed and torque—harsh starts or stops hint at mis-set limits or drag in the mechanism.
If any safety device fails, power back down and correct the fault before proceeding.
Many “electrical” failures are really environmental:
Standing water near posts undermines footings and wicks into conduits.
Dust and pollen coat photo-eyes and control boards; clean lenses and enclosures.
Sun and UV degrade plastics and wire insulation; look for brittleness and discoloration.
A quick site clean can solve half your “mystery” malfunctions before real repair begins.
Some tasks belong with qualified technicians: board-level electronics, rewelds on structural members, operator replacements, or anything that requires recertifying safety devices. If your troubleshooting points to controller faults or persistent sensor errors, get quotes from local specialists and compare parts availability and warranty support.
For example, homeowners often research regional providers, e.g., those offering automatic gate repair Fort Worth, to find teams experienced with specific brands and UL/ASTM compliance.
Isolate power and apply lockout/tagout.
Chock the leaf; disconnect the operator if your model supports manual movement.
Posts, hinges, tracks, rollers, stops, and infill spacing.
Enclosure for moisture/pests; conduit integrity.
Sensors: photo-eyes clean and aligned; edges intact; monitored devices recognized by the controller.
No-load motor run; indicator LEDs for inputs/limits.
Auto-reverse response on beam break and edge compression.
Manual release works smoothly; re-lock after testing.
Photos of defects, part numbers, and firmware versions.
Note the make/model, date, and steps taken—handy for warranty and insurance conversations.
These steps align with the intent of UL 325 operator safety and ASTM F2200 construction safeguards, plus general lockout/tagout best practices.
Bypassing or taping over photo-eyes “just to get it working.”
Replacing sensors with non-compatible models that the operator can’t monitor.
Adjusting force/torque to mask mechanical drag from misaligned hinges or tracks.
Working live without isolation or failing to test for stored energy in batteries or hydraulics.
Ignoring puddling at posts and rust blooms on rollers that will seize later.
Safe gate repair begins long before the wrench turns: isolate energy, verify compliance-critical sensors, check mechanical alignment, and test auto-reverse before and after the fix. Follow electrical code practices, keep a clean work area, and document every step.
When issues exceed your comfort zone—board faults, structural welds, or repeated safety failures—bring in a qualified technician. That’s the moment to compare reputable regional providers, including teams specializing in automatic gate repair Fort Worth, who can restore function without compromising safety. With the right checks and the right help, you’ll solve problems faster and keep people and property protected.
DeCasa Collections shares fresh home decor ideas that can help you plan a clean and stylish garage conversion for extra space.