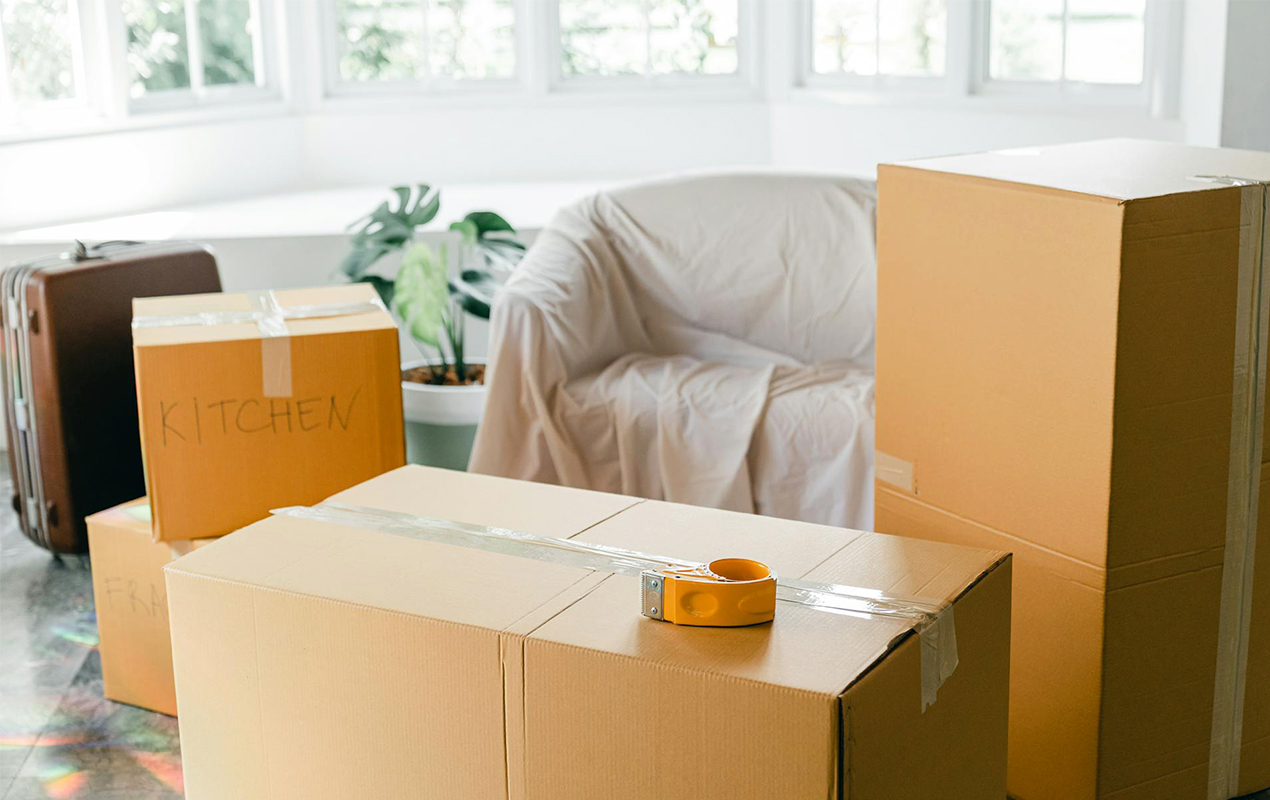
How to Move Without Ruining Your Furniture: Tips to Keep Your Pieces Looking Brand New
-
Posted by
Moving is stressful, especially when keeping your furniture in perfect cond...
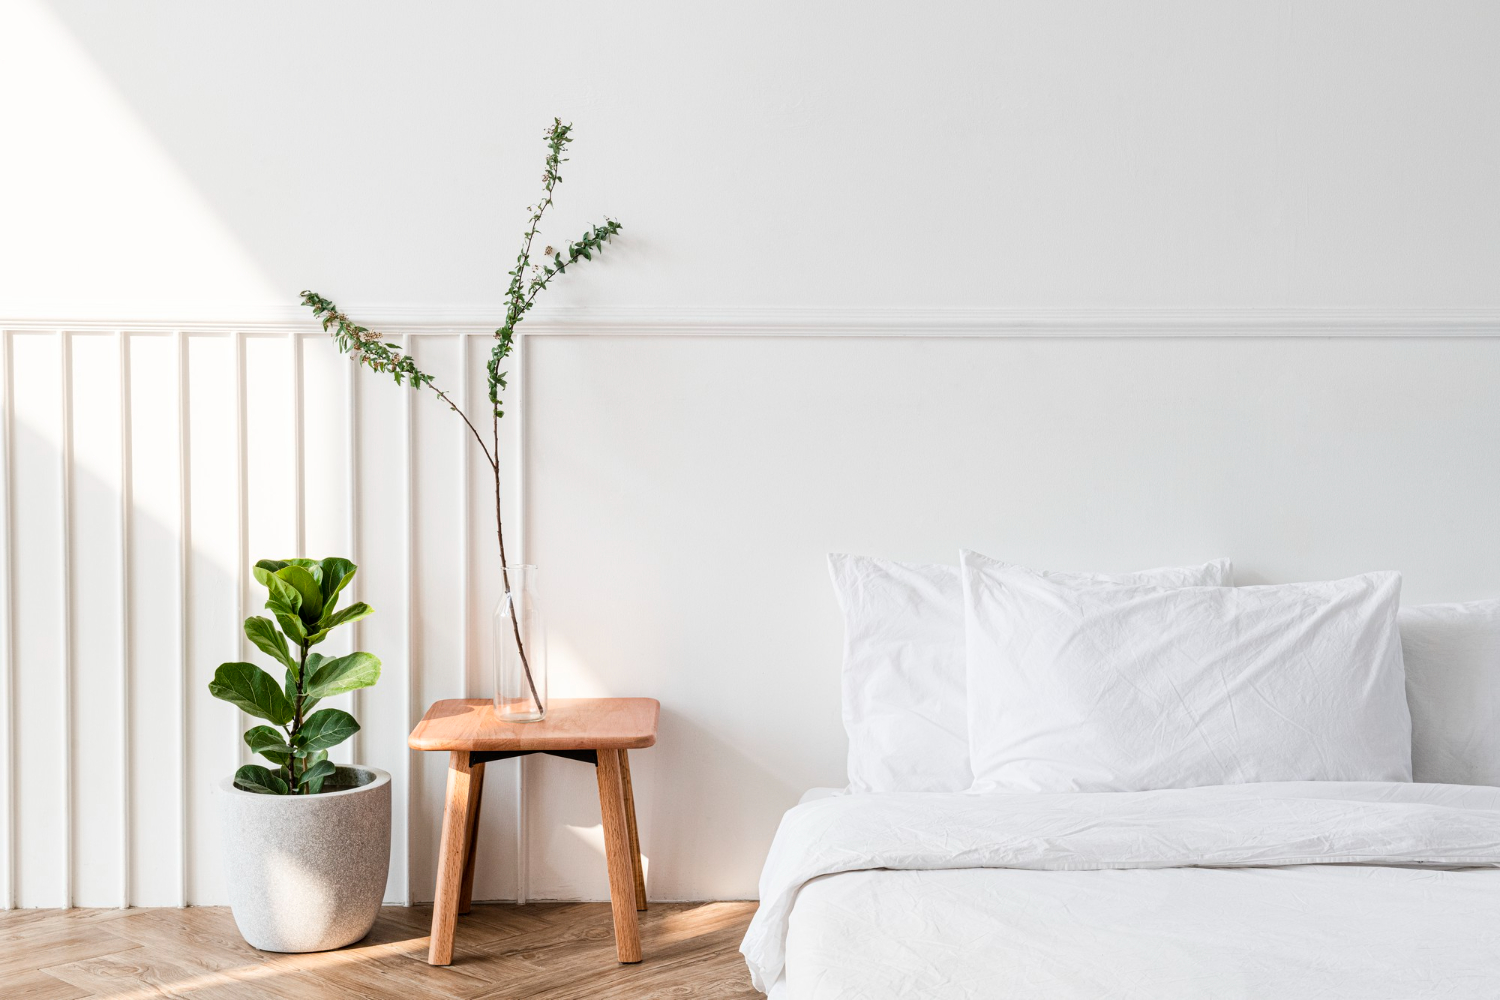

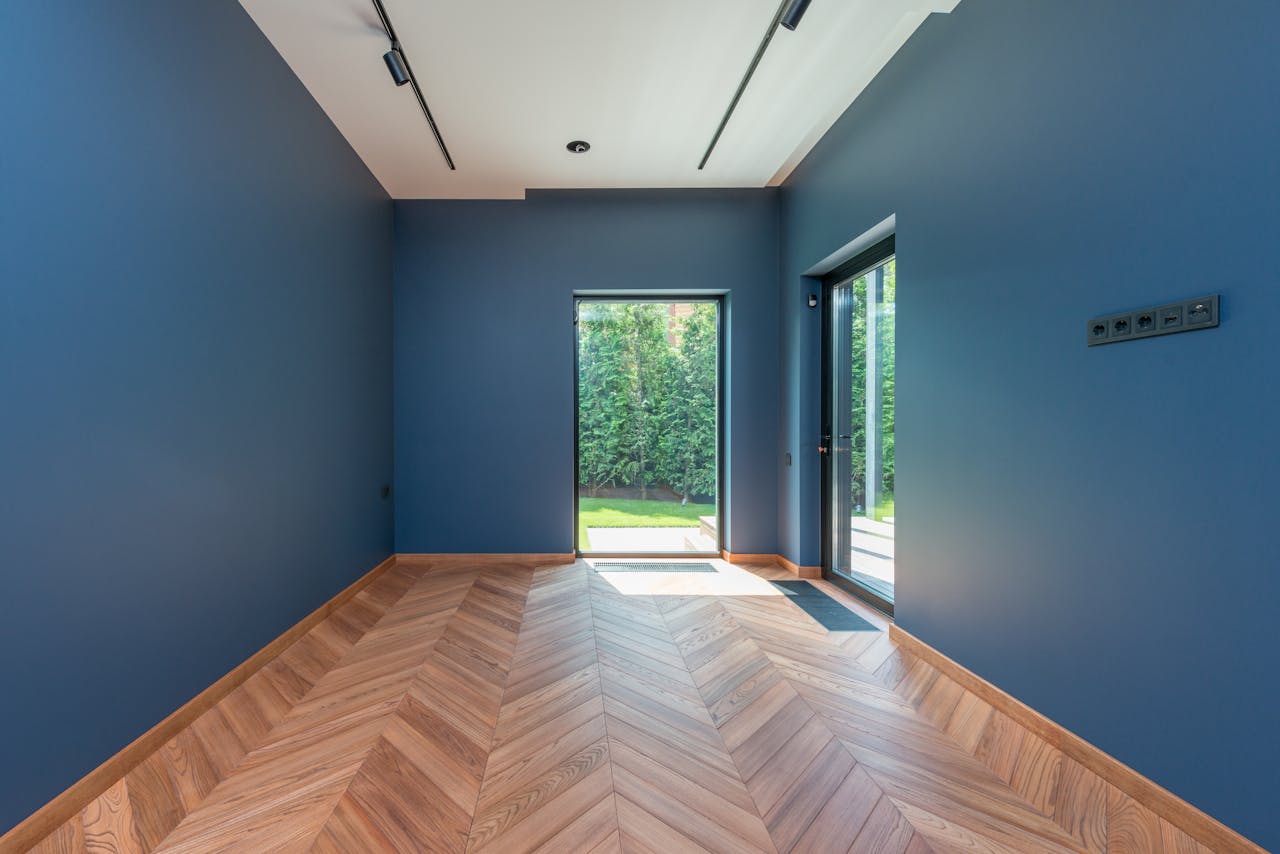
Parquet flooring adds warmth and character to a living room with its geometric patterns and timeless style. It creates a polished look that blends durability with design, making it a smart choice for both modern and traditional homes. This guide shows how anyone can install parquet flooring step by step to achieve a professional finish without guesswork.
The process covers everything from preparing the subfloor to laying the blocks in patterns such as herringbone or chevron. Each stage builds on the last so the floor not only looks good but also lasts for years. By following clear steps, the installation becomes straightforward and rewarding.
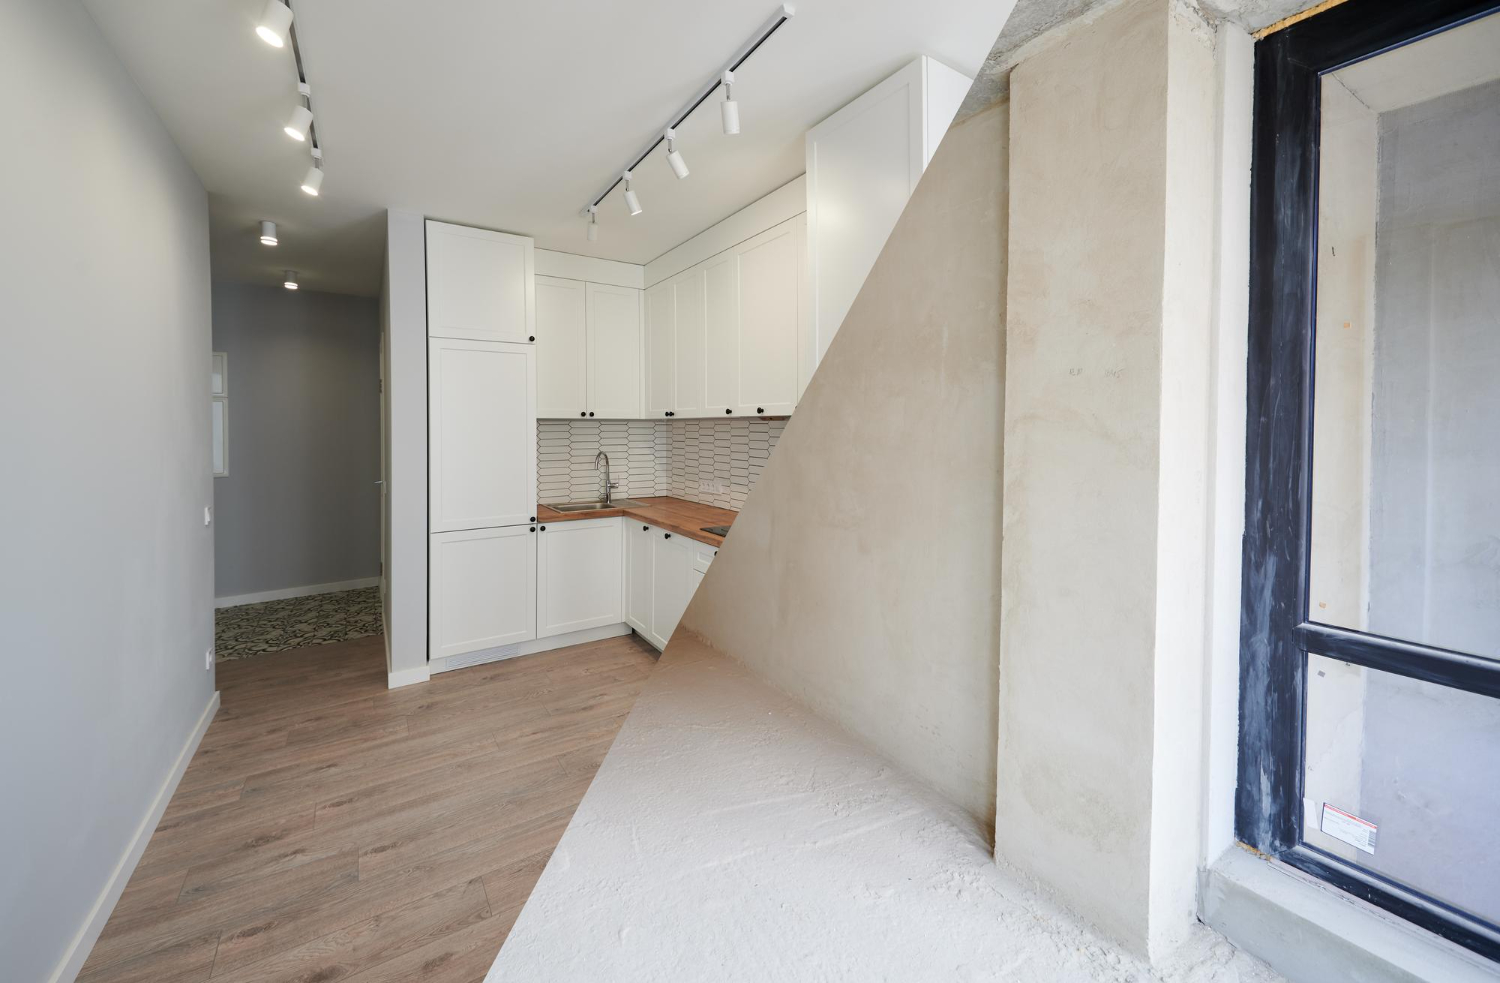
Before laying parquet, the subfloor must be free from dust, debris, and old adhesive. A clean surface allows the flooring to sit properly and prevents gaps from forming later. Vacuum or sweep thoroughly, then wipe away any remaining dirt.
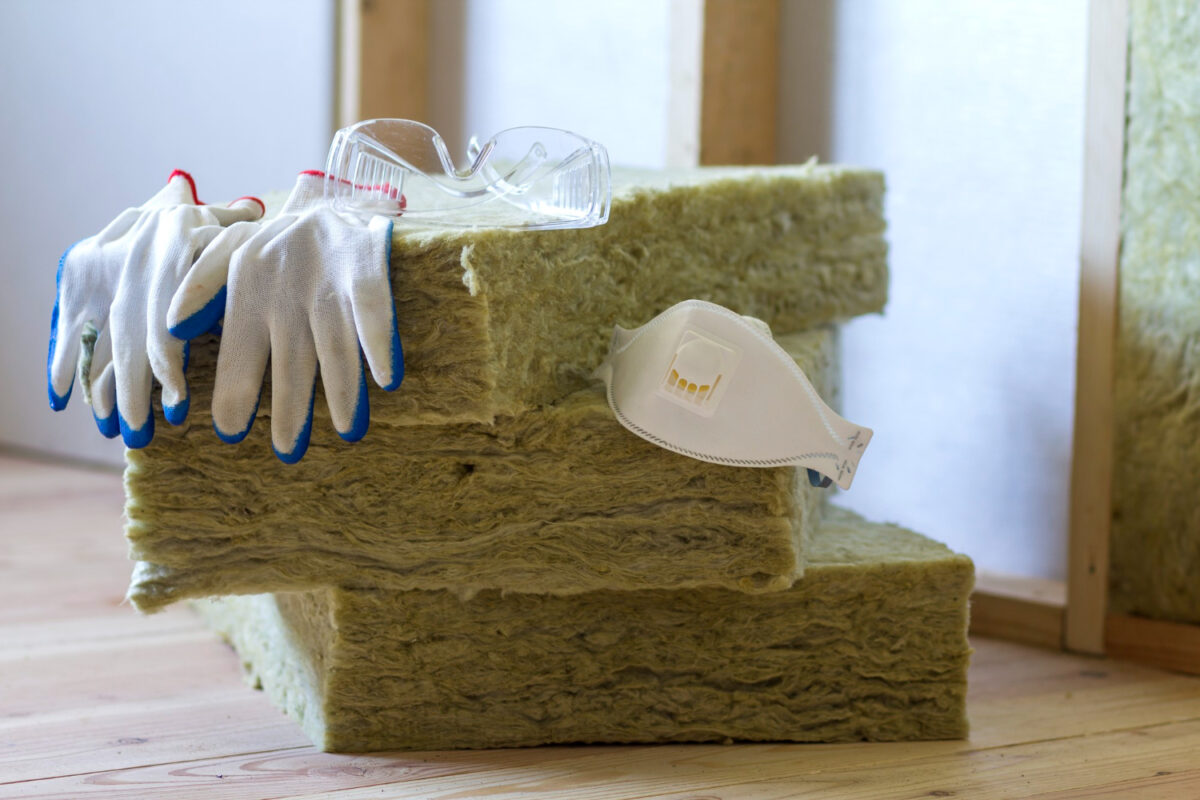
The subfloor should also be completely dry. Moisture trapped beneath wood can cause warping or movement over time. A simple moisture test can confirm if the surface is ready. In damp areas, a moisture barrier may be necessary to protect the floor.
Levelling the subfloor is equally important. Uneven spots create instability and may cause pieces to shift. Fill small holes with a suitable compound and sand down raised areas for a smooth finish.
Once the base is clean, dry, and level, it provides the right foundation for a long-lasting installation. This preparation helps parquet flooring from Luxury Flooring fit securely and look professional in any living room.
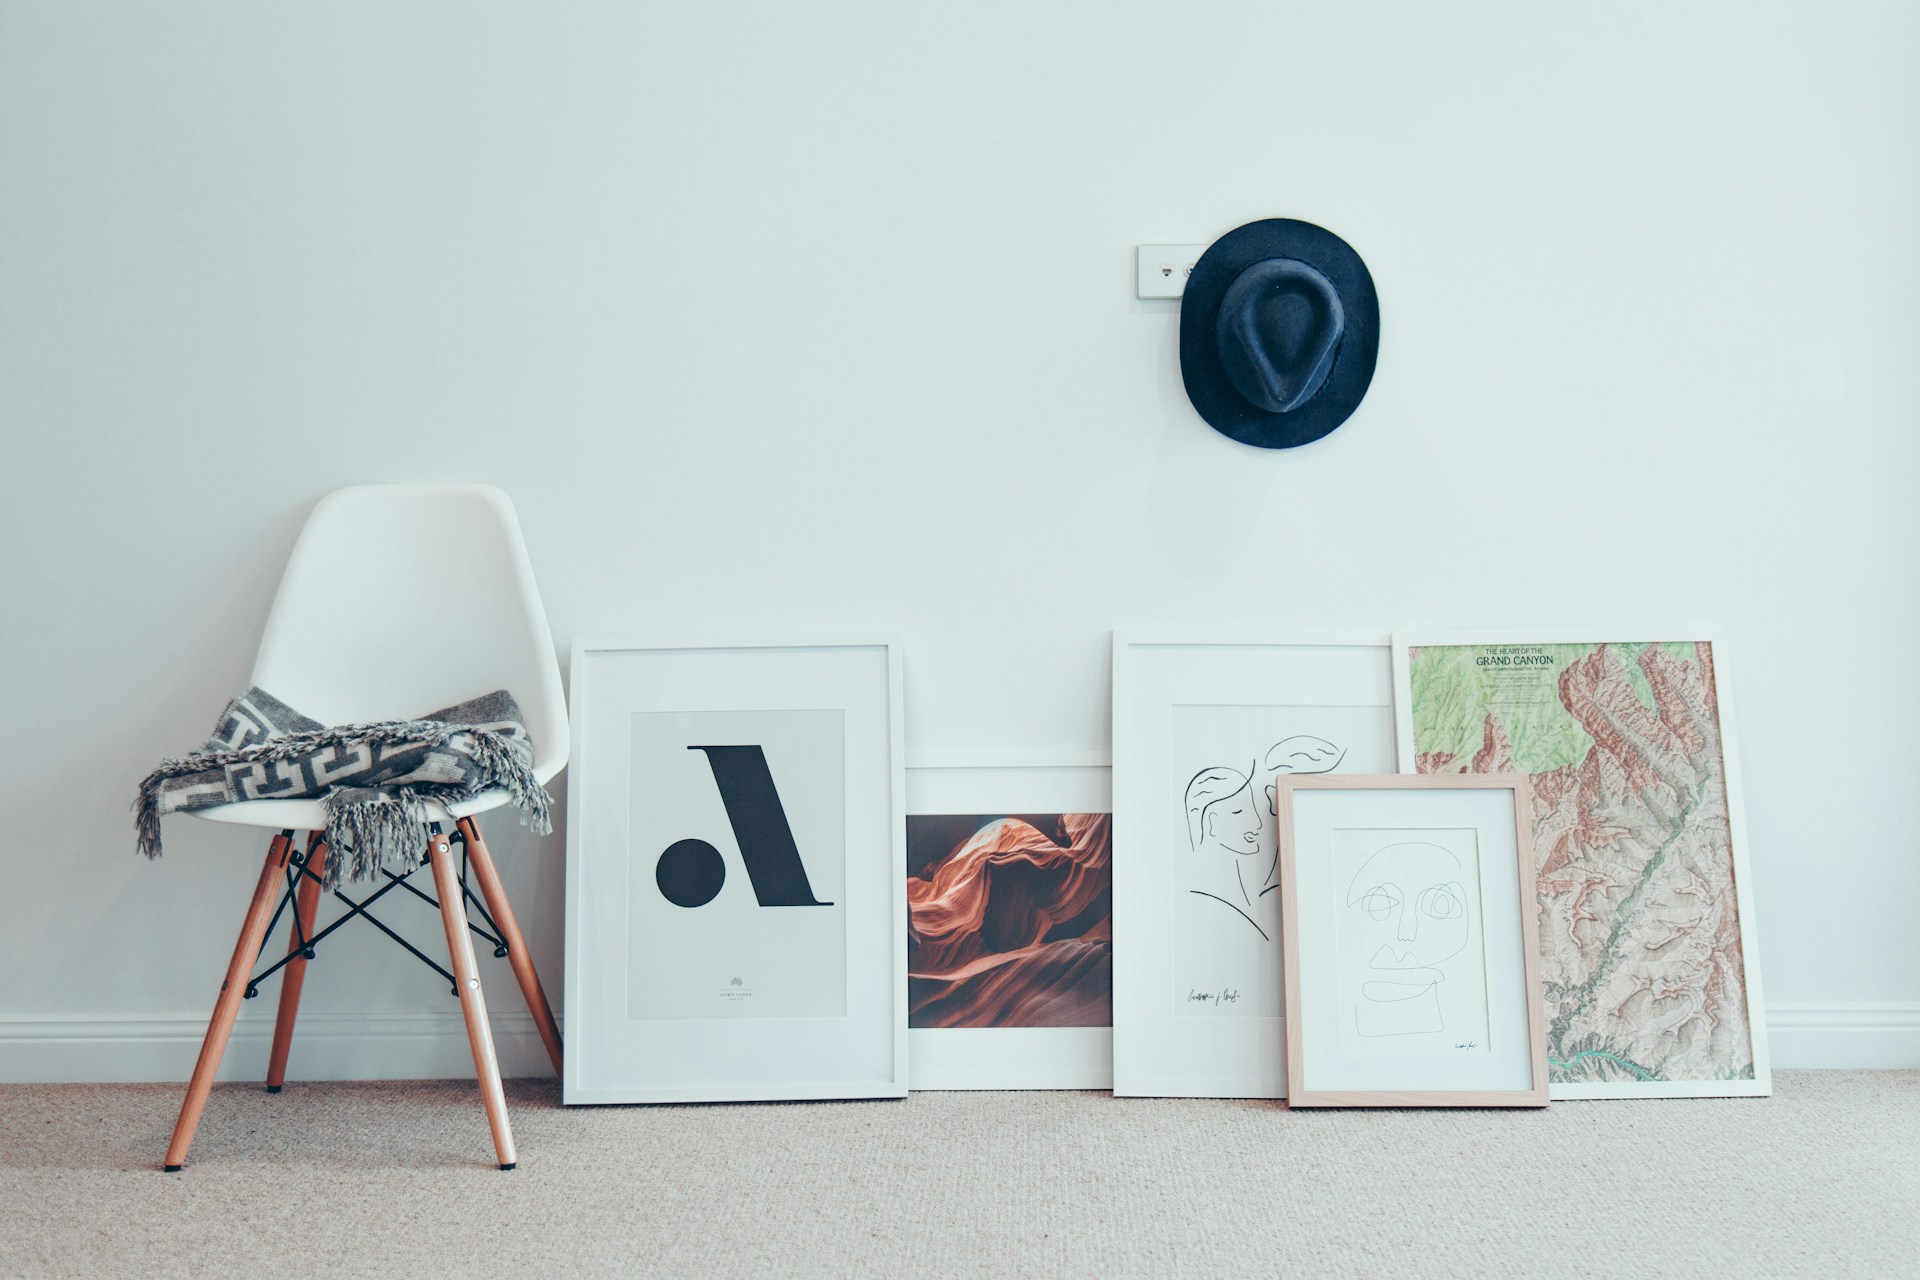
Before installation begins, the homeowner should decide on a parquet layout that suits the room’s shape and style. The layout sets the tone of the space, so careful planning helps avoid awkward cuts or uneven lines along walls.
Herringbone is a popular choice because the planks meet at right angles, forming a zigzag effect. This pattern adds movement and works well in both small and large living rooms. It also creates a balanced look that feels timeless.
Chevron offers a sharper and more uniform design, as the planks meet at a point to form continuous “V” shapes. This style draws the eye across the floor and can make the room feel longer or wider, depending on the direction of the planks.
Other layouts, such as basket weave or Versailles panels, provide different effects, but herringbone and chevron remain the most common. Homeowners should measure the room, mark a centre line, and test a dry layout before fixing the boards in place.
Before installation, the parquet blocks should rest in the room where they will be laid. This step allows the wood to adjust to the temperature and humidity levels of the space. Without this adjustment, the blocks may expand or contract after fitting.
Most types of parquet need at least 48 hours in the room, while solid wood may require up to a week. Engineered wood often settles faster, usually within two to three days. The exact time depends on the material and the conditions indoors.
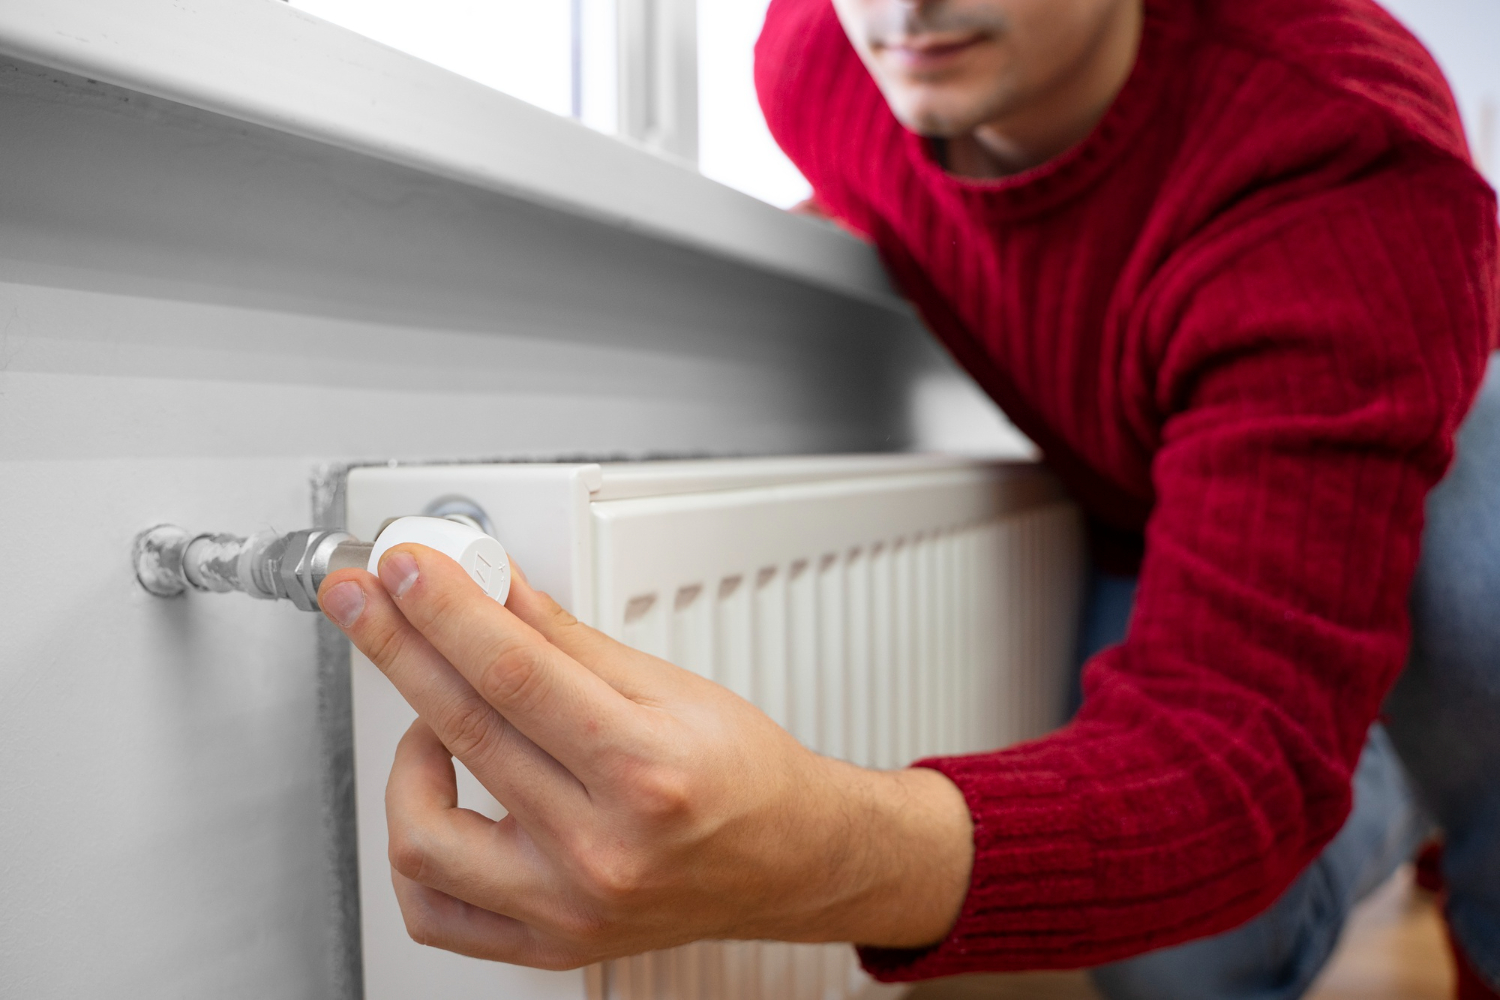
Keep the packs unopened and flat in the centre of the room. Avoid placing them against walls, near radiators, or in direct sunlight. These spots can create uneven exposure that affects how the wood adjusts.
The room itself should stay at a steady temperature of around 18–20°C with relative humidity between 30–65%. Stable conditions help the parquet blocks balance to the environment, which reduces the risk of gaps or warping after installation.
The installer should spread the adhesive across a small section of the floor rather than covering the entire area at once. This approach prevents the adhesive from drying too quickly and keeps the surface workable. It also helps maintain accuracy in tile or parquet placement.
A notched trowel creates uniform ridges that give the adhesive an even depth. These ridges allow the parquet pieces to sit firmly and reduce gaps that could weaken the bond. Holding the trowel at about a 45-degree angle helps achieve consistent coverage.
Each section of adhesive should be spread in straight lines. This method makes it easier for the parquet blocks to settle into place and improves contact between the surface and the flooring. Pressing the pieces gently into the ridges helps remove air pockets.
By applying adhesive in this way, the flooring gains a secure base. The parquet stays aligned, and the finished surface looks level and stable across the entire living room.
The placement of each block sets the tone for the entire floor. He or she should start from the centre or a straight reference line, depending on the design, to keep the pattern balanced across the room. A clear starting point helps avoid uneven edges later.
Each block must sit firmly against the next without gaps. However, a small allowance for natural movement of the wood prevents future problems. Consistent spacing across the surface keeps the pattern neat and uniform.
It helps to use spacers or a ruler to check alignment as the work progresses. This step reduces the risk of drifting out of line, especially in patterns such as herringbone or chevron.
As the layout develops, the installer should step back often to check the overall look. This habit makes it easier to spot small shifts before they affect the rest of the floor. Careful attention here saves time during trimming and finishing.
Parquet flooring adds both style and durability to a living room, making it a practical choice for many homes. With careful preparation and accurate placement, the floor can create a clean and balanced finish.
The process requires attention to detail, but each step builds towards a result that feels consistent and well-structured. Patterns such as herringbone or chevron work especially well to give the room a defined character.
By following a clear plan and using the right tools, anyone can achieve a floor that looks professional. The result is a surface that not only fits the space but also supports daily use with ease.