Hot NYC Design Trends for Flippers: What Buyers Want Right Now
-
Posted by
House flipping in New York City offers both exciting opportunities and uniq...


So the decisions made, you know you want an island in your kitchen …


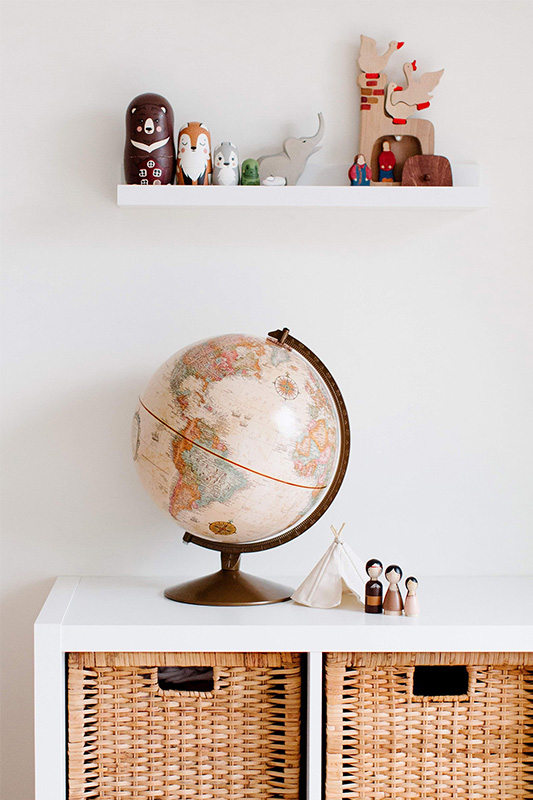
Vintage home decor is as strong as ever with more people …

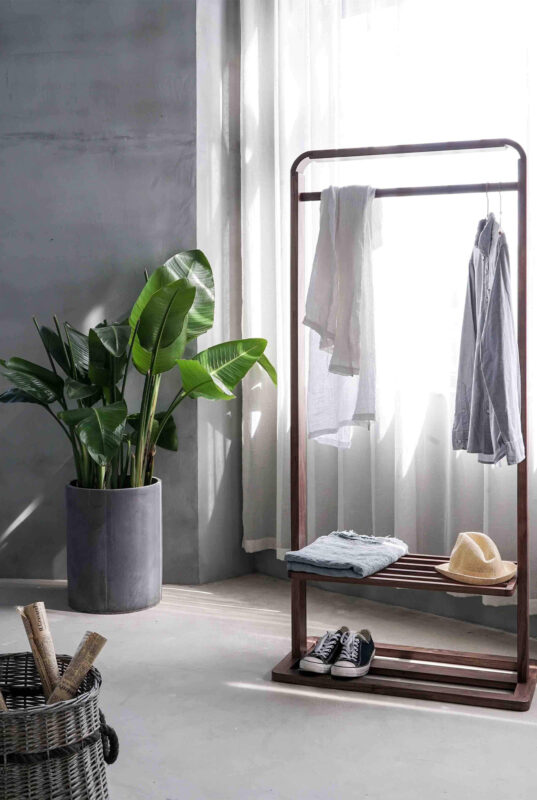
Lagom is a wonderful Swedish word – but quite a universal notion …
Home renovations can be an exciting and transformative process, but they often come with the challenge of temporarily relocating your furniture and belongings. During these projects, it’s important for your cherished pieces to be properly stored and protected to prevent any damage or wear and tear. Imagine the disappointment of unveiling your newly renovated space only to find your beloved armchair or family heirloom in disarray.
Whether you’re undertaking a full-scale remodel or a simple room refresh, this article will guide you through the essential furniture storage tips during home renovations. By following these recommendations, you can rest assured that your beloved pieces will remain in pristine condition, ready to grace your updated living spaces once the dust settles.
Before you even start packing and hauling stuff to storage, take a step back. Look around at all those bigger furniture items—beds, tables, shelving units, and the like. They may seem like one big bulky item, but don’t be afraid to break them down into smaller components.
Although it may take a little extra effort upfront, separating them will make them so much easier to maneuver and move. Plus, you’ll be amazed at how much you can arrange those disassembled parts into whatever storage space you’re working with. For transporting disassembled furniture or larger materials during renovations, consider versatile solutions like 5×10 dump trailer models, which are perfect for handling both compact and heavy loads.
Every square foot saved is a win! A little DIY disassembly work can go a long way toward maximizing every nook and cranny.
Imagine the horror of your favorite cozy armchair getting all scratched up, dented, and coated in a thick layer of dust while in storage. Talk about a furniture lover’s nightmare! That’s why you must treat your pieces right by wrapping them up in protective gear before tucking them away.
You could use furniture blankets, paddings, bubble wrap—whatever it takes to give your beloved belongings a big warm hug to keep them safe during their hibernation phase.
Sometimes, your home or garage just doesn’t have enough space to host all your furniture while renovations are ongoing. In that case, look into renting climate-controlled self storage units.
These specialized units are like luxury hotels for your stuff—they’ll keep everything shielded from the extreme temperatures and moisture levels that could seriously damage your prized possessions.
Nobody wants their nice things sweltering through a brutal summer heatwave or shivering through a freezing winter, right?
Picture the nightmare of having all your furniture and boxes in a big, jumbled mess once it’s time to put your place back together after renovating. You don’t want to be playing an endless guessing game of ‘What was this, and where did it go?’
That’s why clear, detailed labeling is an absolute must. Take the time to slap some labels on every item, noting what it is and which room it belongs to. Your future self will get down and kiss your feet for being so organized and on the ball.
When you’re talking big, heavy furniture pieces, you’ve got to be super careful about how you move them—for the safety of both the items and your floors! Don’t just go dragging stuff around and risking scratches, dents, and scuffs to it.
Use furniture sliders or lift pieces to get them from point A to point B. You can also utilize furniture pads for an added layer of protection. An extra gentle handling goes a long way towards keeping your prized possessions looking mint.

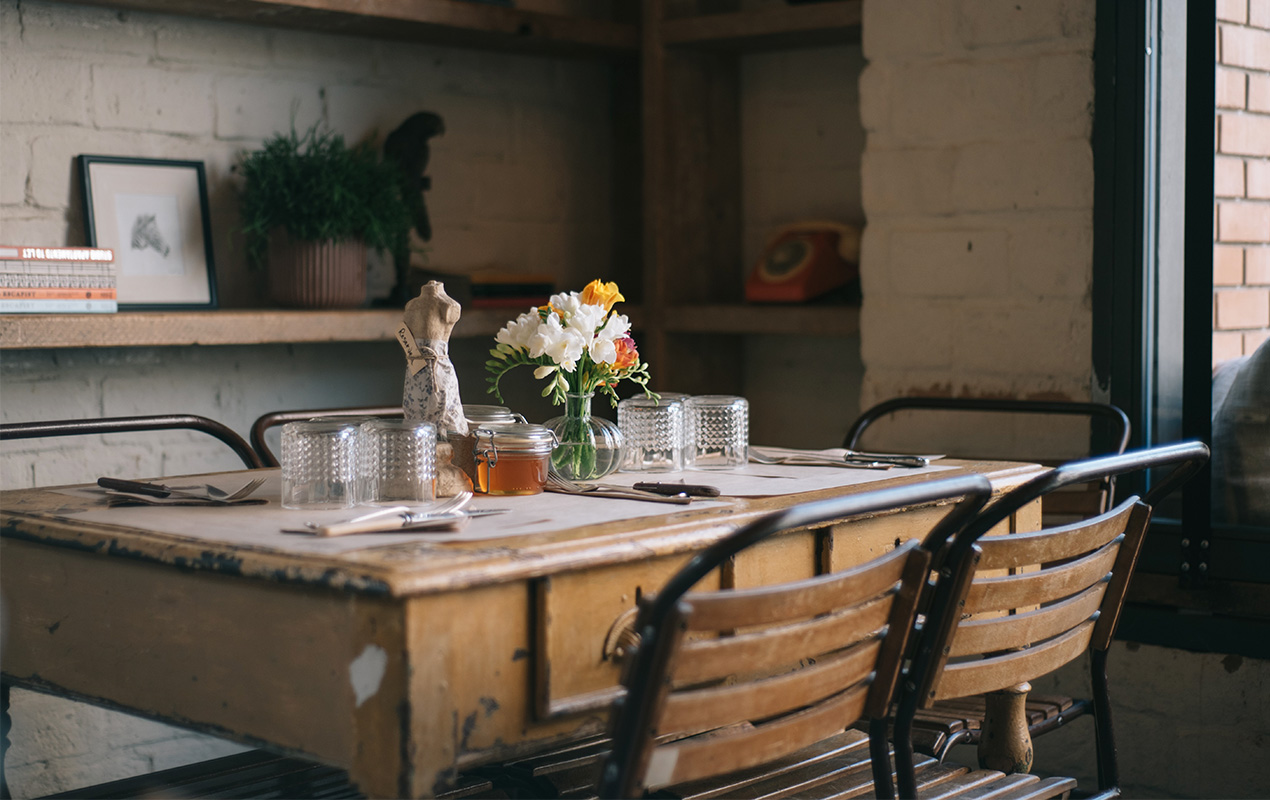
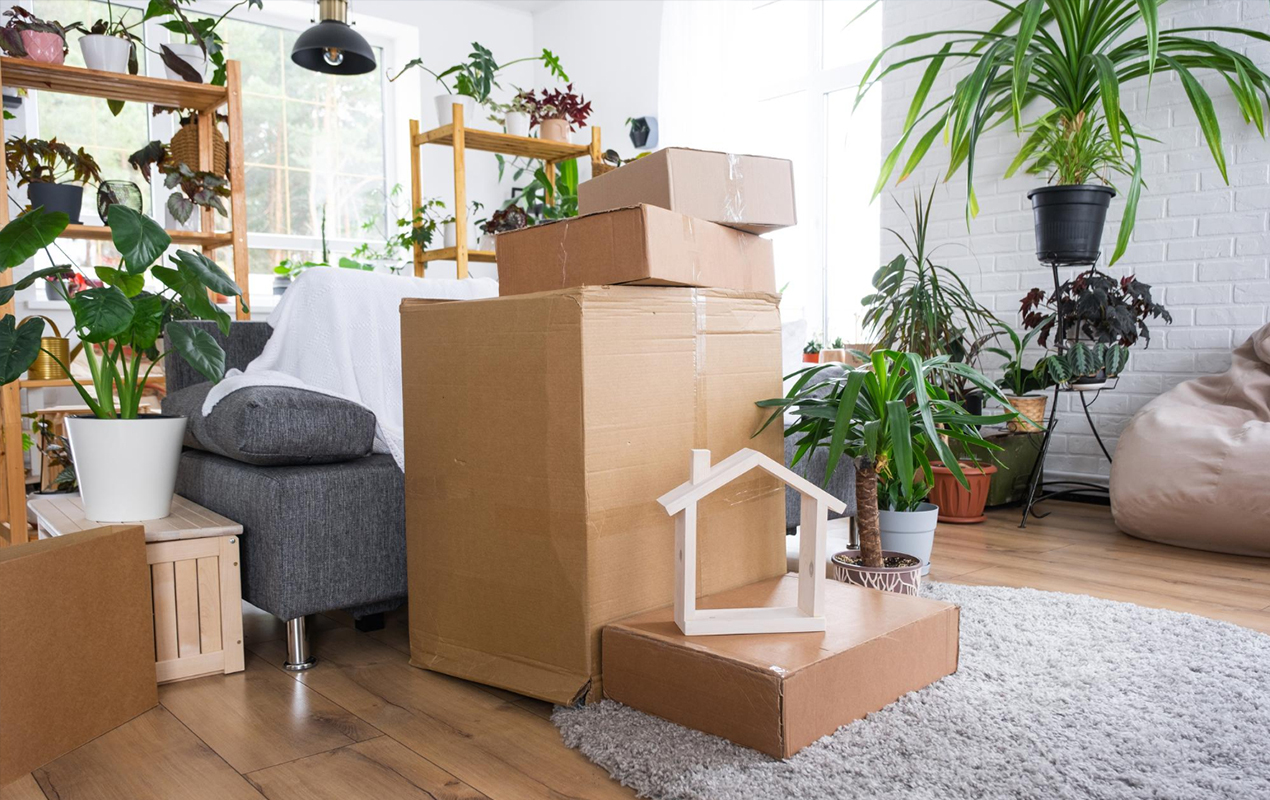
Photo by Adobe Stock
Before putting anything into storage, even for a short period, be sure to give it all a nice deep clean. You don’t want any dust bunnies or gross mold spots taking up residence and messing up your stuff while it’s tucked away.
A simple wipe down or quick vacuum is a small step that’ll pay off big when you finally get to reunite with your clean, refreshed furniture.
Don’t forget about those beds! Mattresses need some extra TLC when it comes to storage—you’ve got to position them just right to maintain their shape and structural integrity.
The universal rule is to always store them flat, not leaning up or on their sides. A mattress cover or plastic wrap helps create an impenetrable force field against moisture, critters, or anything else trying to damage your sleeping sanctuary.
Before tearing everything apart, make sure to channel your inner photographer and snap some pics of each room’s layout and furniture arrangement. Having these visual references will be a total lifesaver when it’s time to put the puzzle back together—no more guessing where that bookshelf or chair is supposed to live! Consider it insurance against any memory lapses.
With everything disassembled, wrapped, and labeled to perfection, it’s time to find that perfect storage location to house it all. You’ll want a nice, dry, well-ventilated area that’s secure from any threats like moisture, pests, or even theft.
You’ve worked so hard to prep and protect your stuff—don’t let those efforts go to waste. If you have already secured a storage facility or your items, it’s time to set them up for transport.
Listen, if just the thought of deconstructing all your big furniture pieces, hauling them into a storage unit, and putting them all back together fills you with dread, that’s totally understandable.
This is the kind of job that’s basically tailor-made for professional home movers and storage companies. Sure, you’ll have to pay a pretty penny for their services. But the peace of mind and expertise they provide? Absolutely priceless—especially when you’re dealing with super valuable, delicate, or just plain bulky items.
By following these ten tips, you’ll be well on your way to ensuring the safe storage of your furniture during home renovations. Remember, a little preparation and care can go a long way in preserving the integrity of your beloved pieces, allowing them to seamlessly transition into your newly renovated living spaces.
Just imagine the joy of unveiling your refreshed home, with each cherished furniture item perfectly intact and ready to take its rightful place. That sense of accomplishment and relief will make all the effort worthwhile.