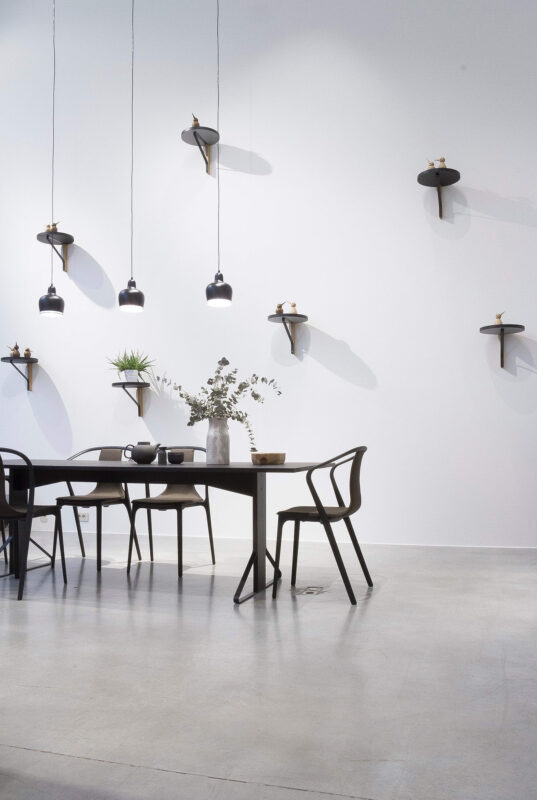
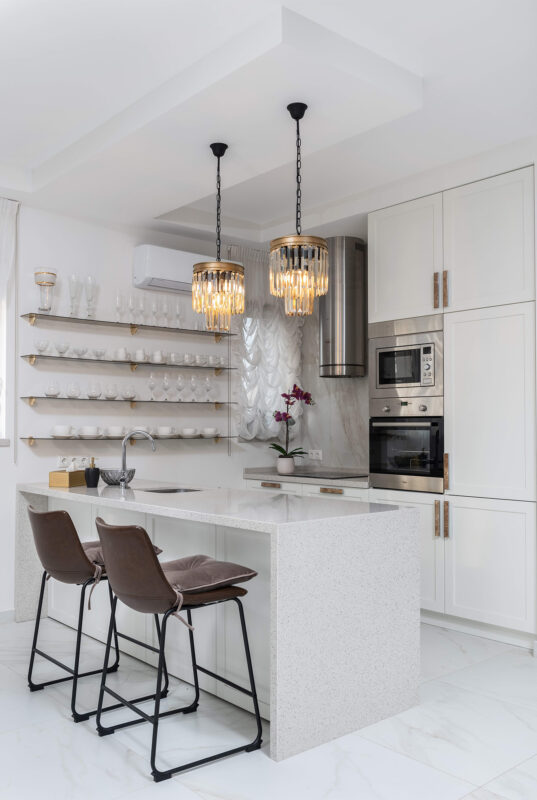
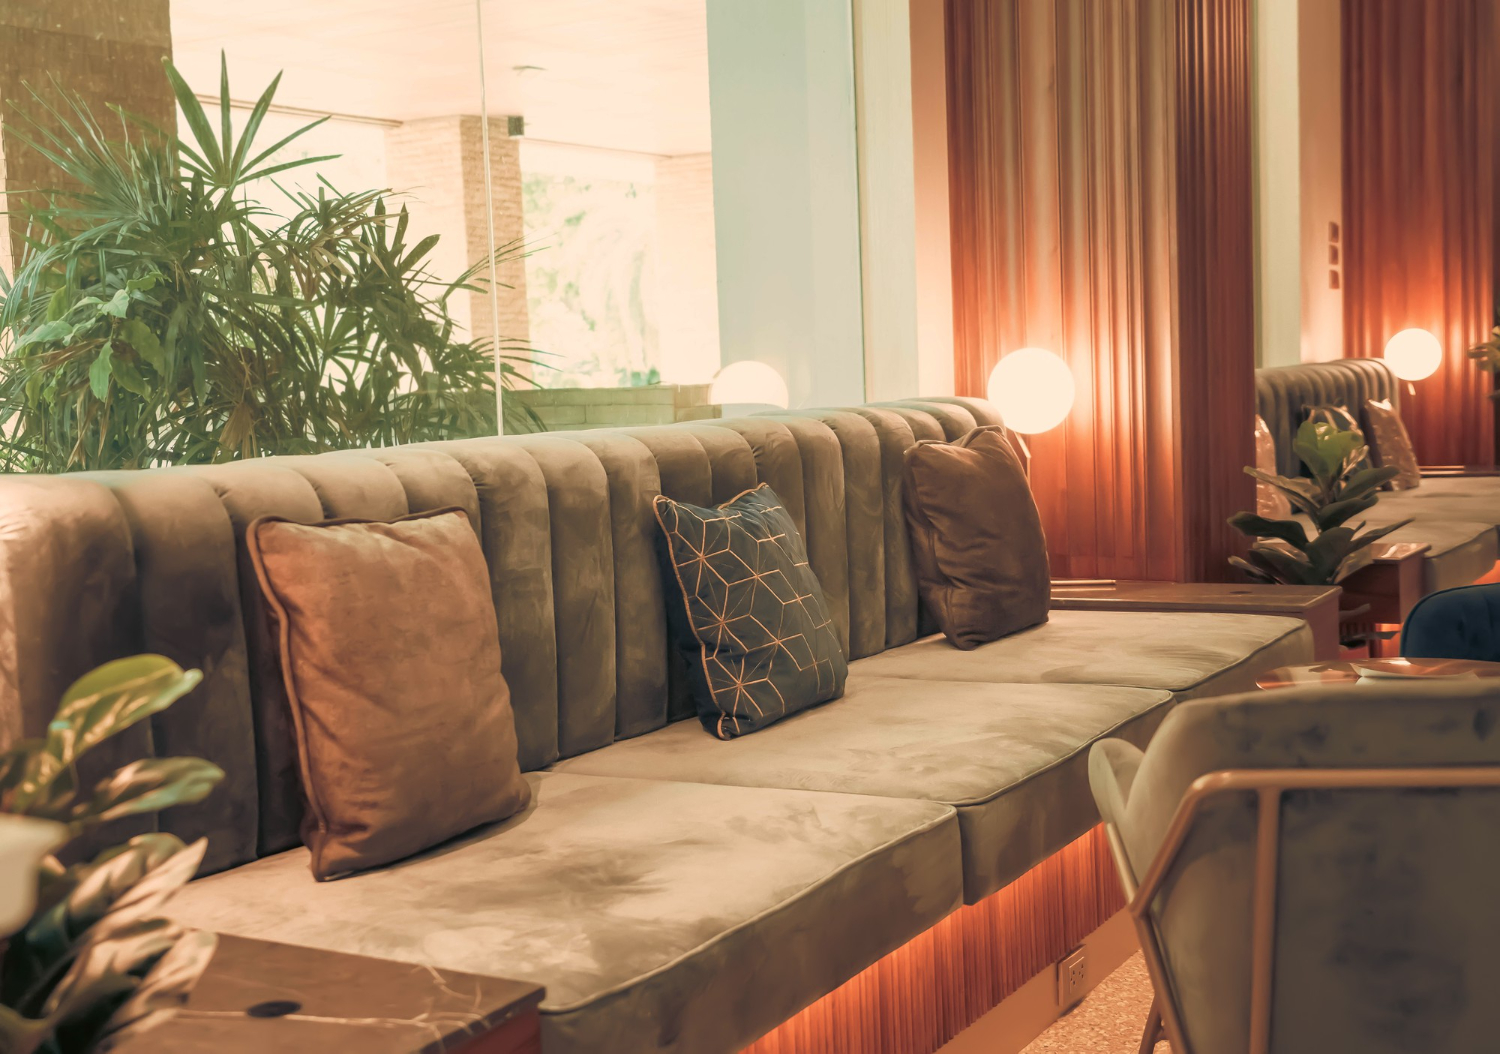
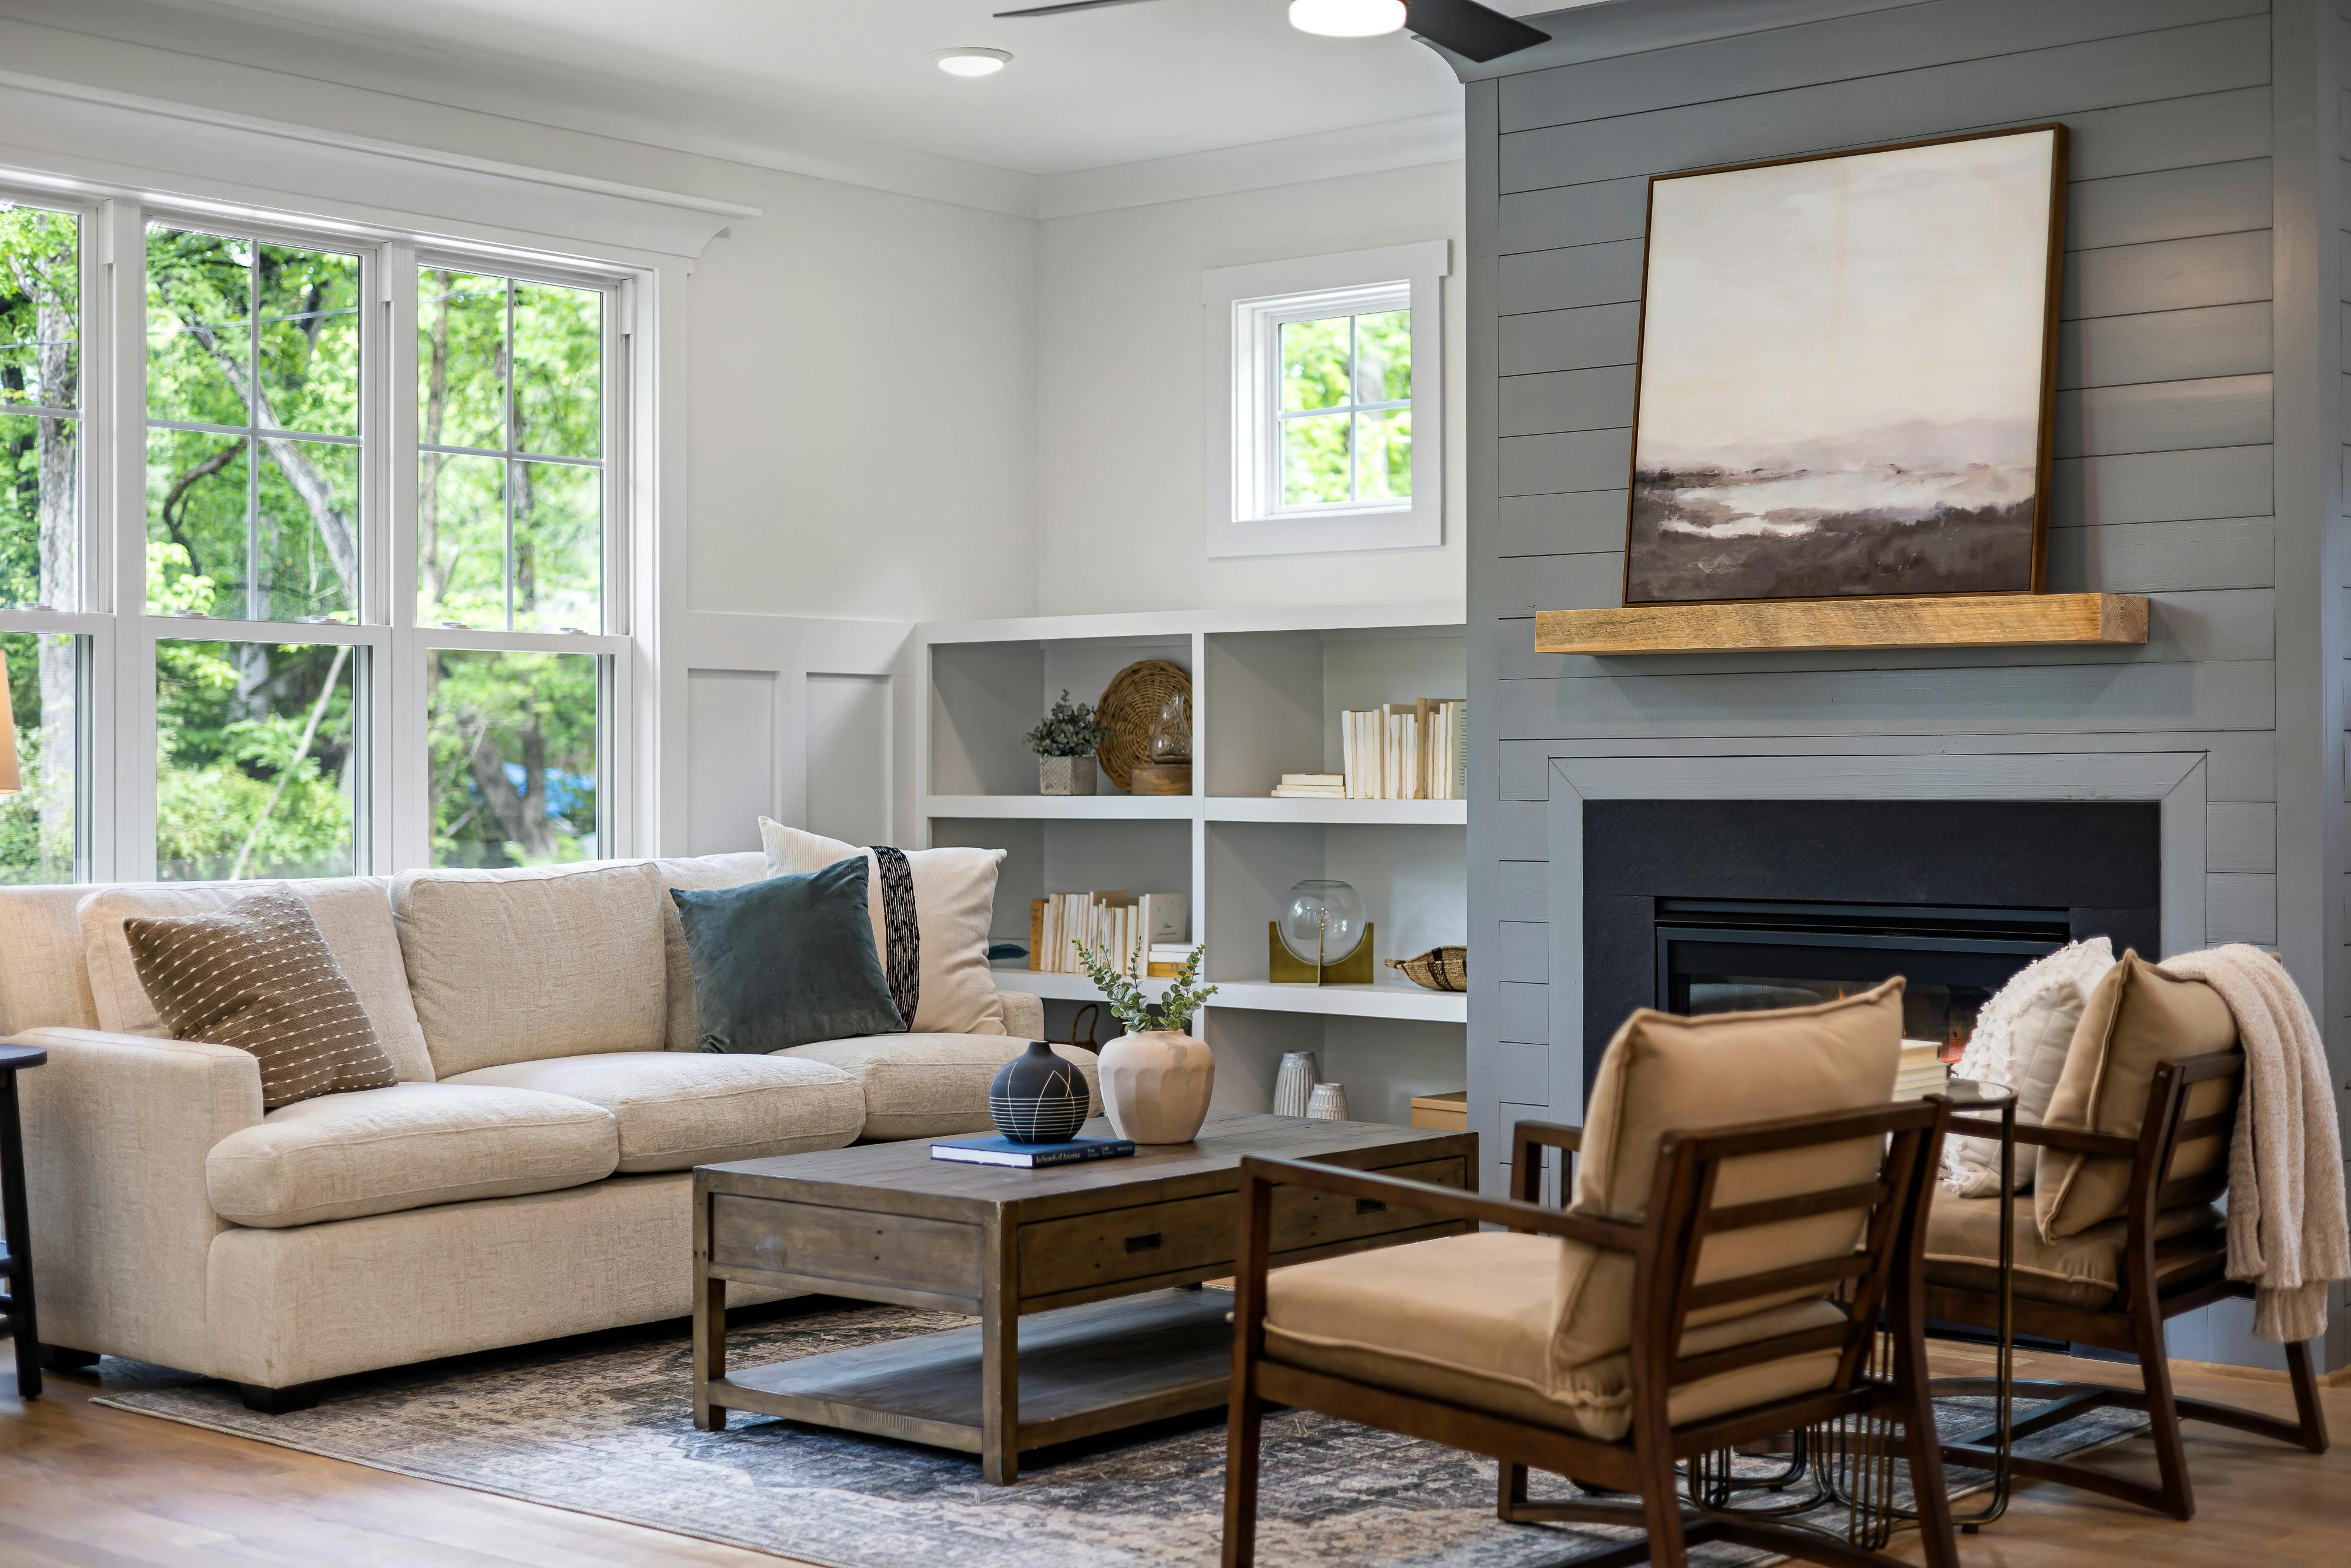
10 Modern Home Décor Ideas for Dubai
-
Posted by
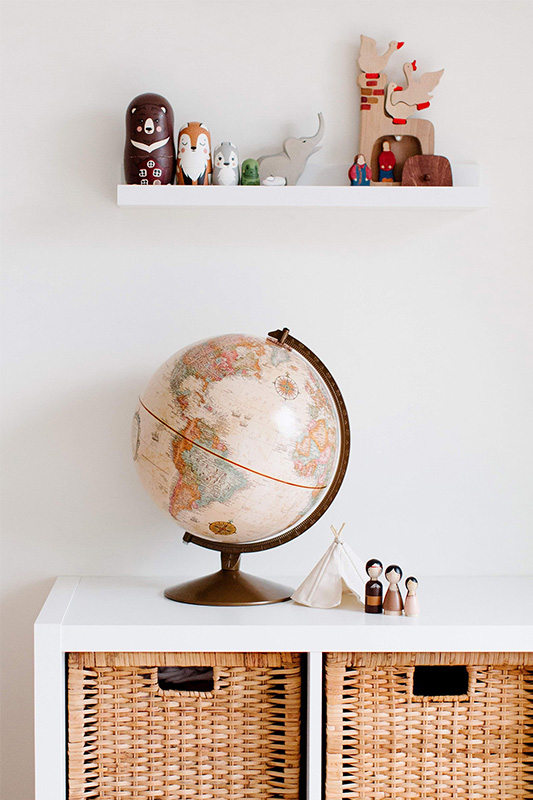
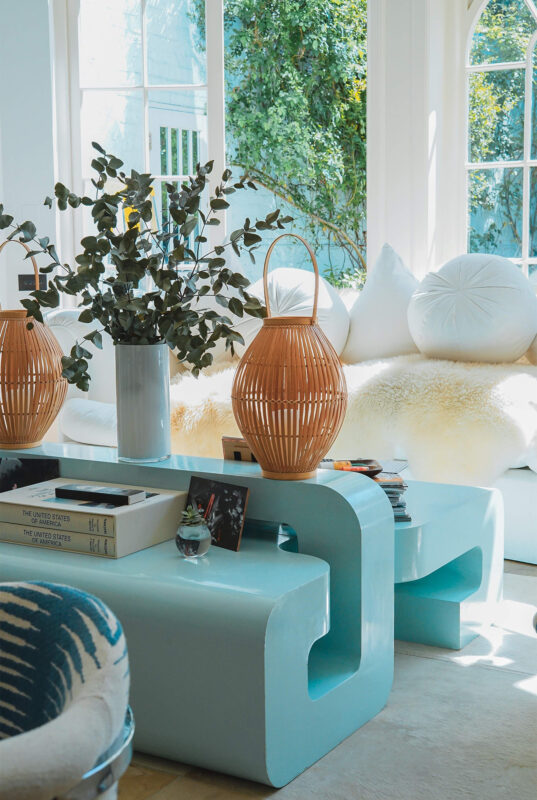
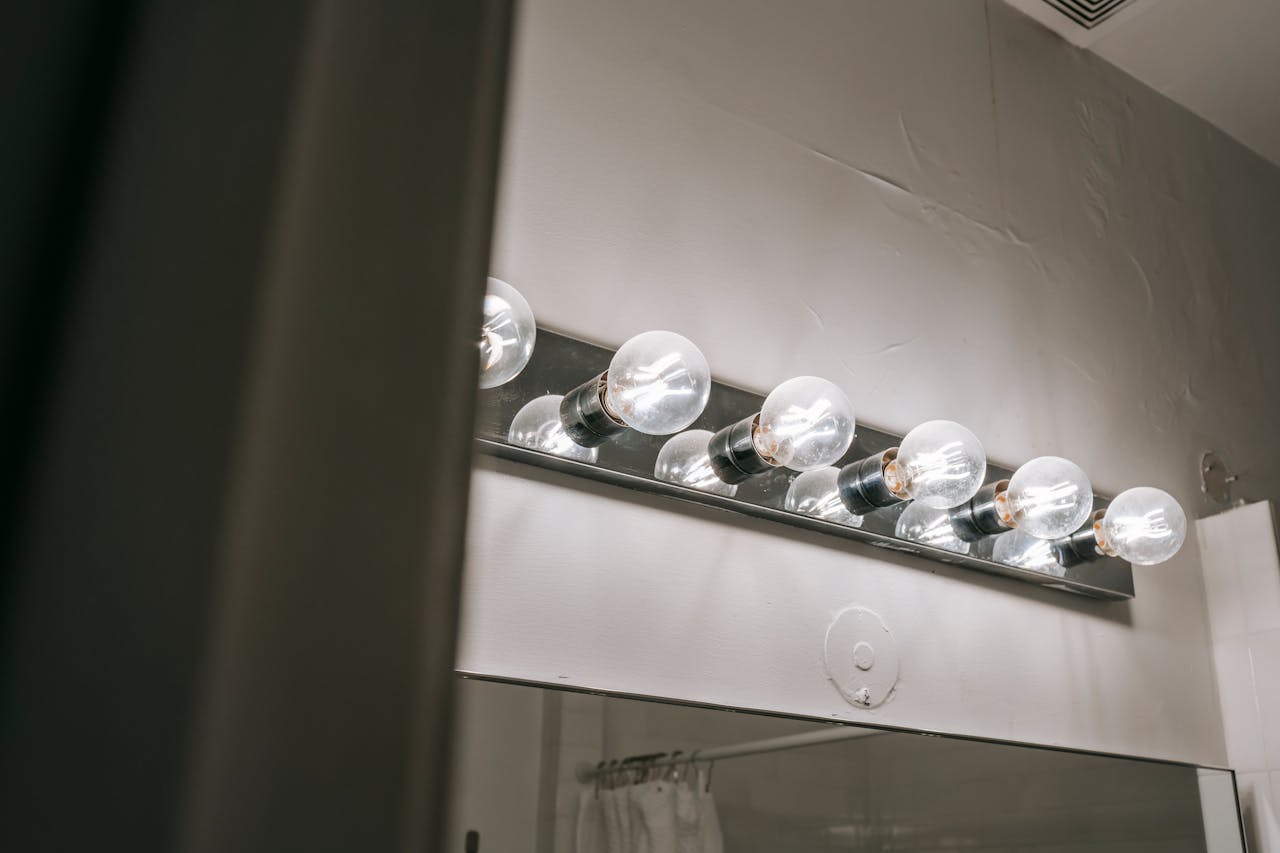
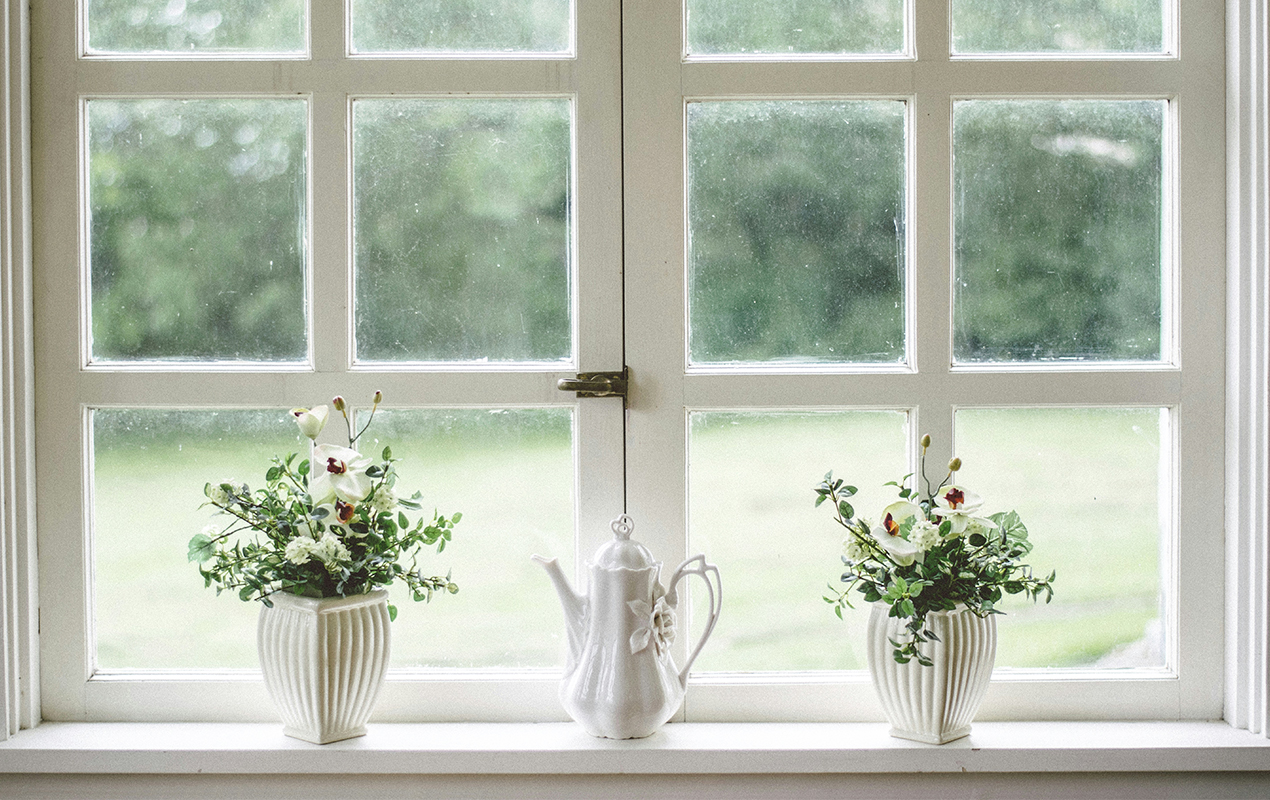
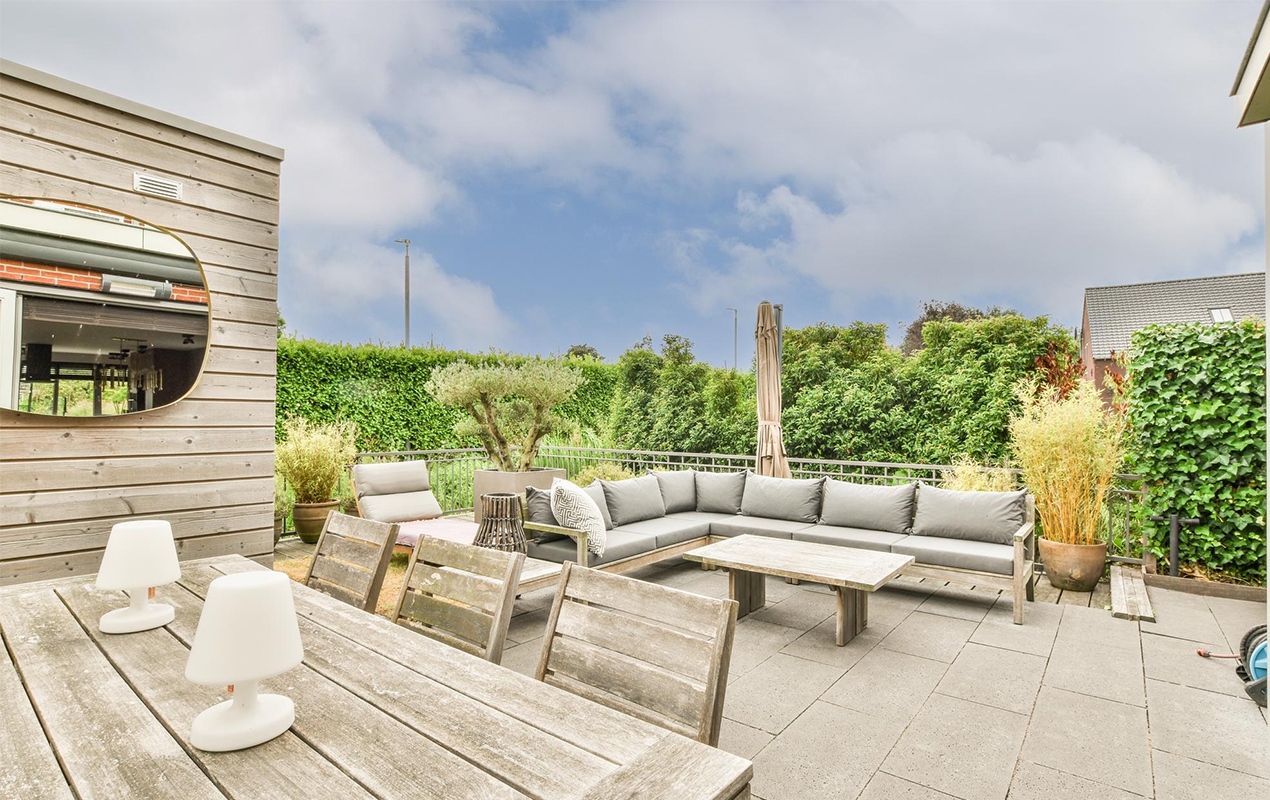
Home interiors have a significant impact not only on physical health but al...


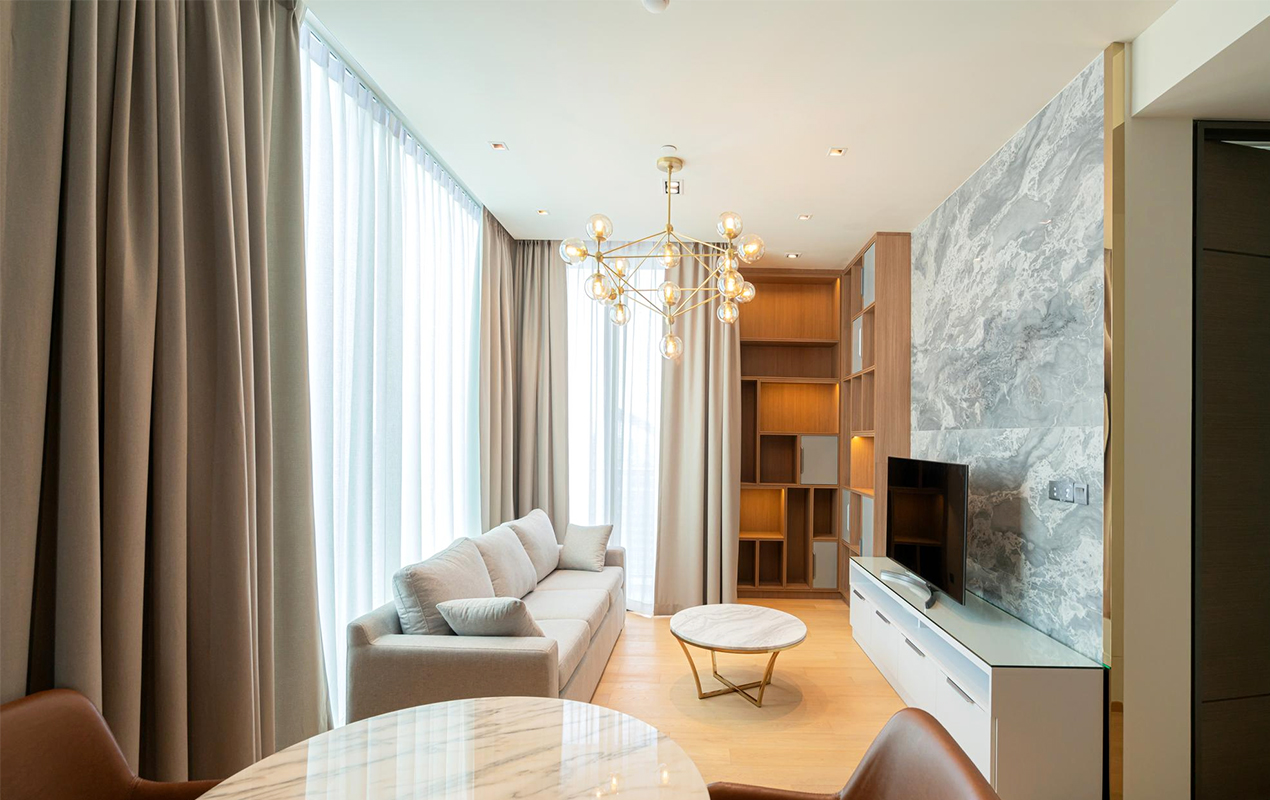
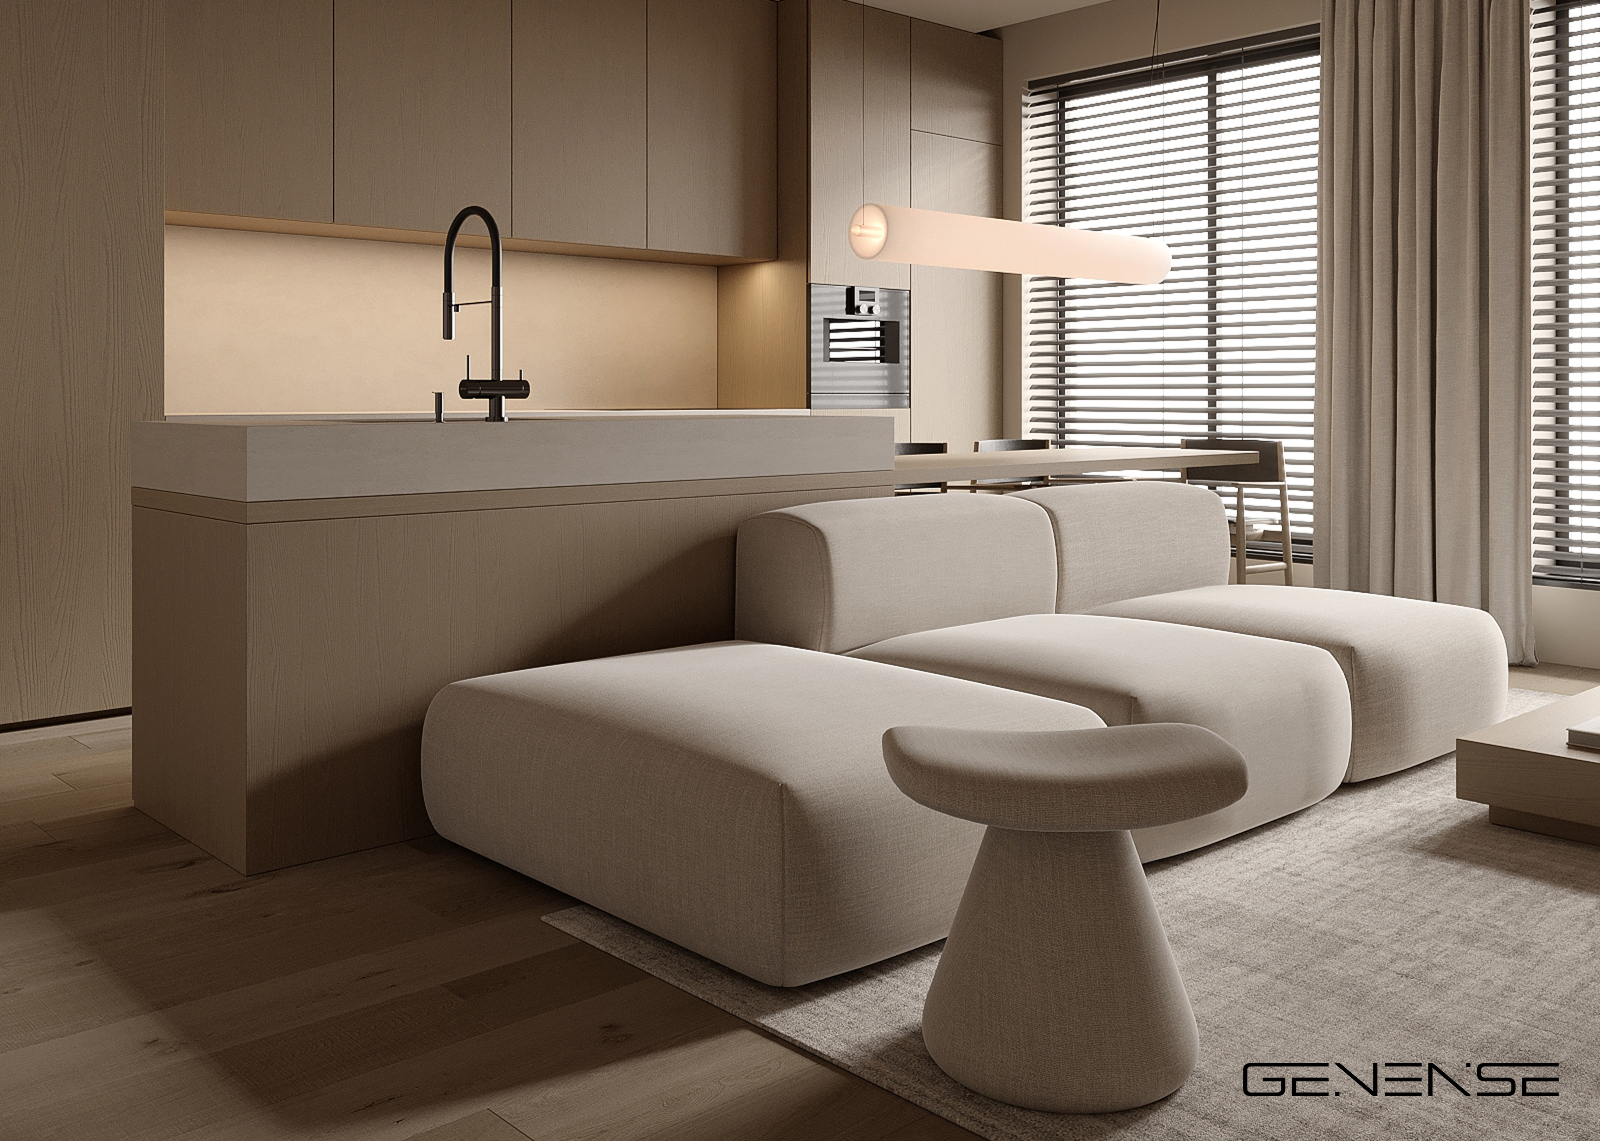
Working with a 3D rendering studio has become an integral part of interior design in 2025. Photorealistic visualizations now act as a bridge between imagination and presentation — helping designers bring ideas to life and communicate concepts more effectively. With demand for fast, flexible, and visually accurate design solutions growing, many interior designers are turning to external visualization partners to help them keep up. A leading example is GENENSE (https://www.genense.com/), a 3D rendering and architectural visualization studio known for its technical precision and design fluency across residential, commercial, and hospitality projects.
But how exactly do you start working with a rendering team? And what makes this collaboration effective? Let’s explore how interior designers can streamline this process to get the most value from 3D visualization services.
A professional rendering studio typically offers a suite of services that extends beyond still images. These may include 360-degree virtual tours, real-time walkthroughs, animation, and even AR/VR-ready assets. For interior designers, this means gaining access to tools that not only improve client communication but also accelerate decision-making on materials, lighting, and spatial flow.
A productive collaboration starts with preparation. Before handing over a project, invest time in creating supporting material. Designers should gather the following materials before the first studio briefing:
This package should clearly express both technical detail and aesthetic direction. It doesn’t have to be perfect, but clarity here will save time and reduce revision cycles.
Another key step: define the purpose of the render. Is it for internal use, client presentation, or a competition submission? Knowing the audience helps determine visual tone, realism level, and required file types.
A design vision doesn’t always speak for itself — especially when filtered through software and screens. To avoid misalignment, it’s important to be specific and visual in your communication.
Here are a few best practices:
Some designers even record short voice memos or screen videos to explain changes. The goal is to reduce back-and-forth and ensure everyone’s on the same page from the start.
The rendering process typically follows a clear path. Here’s what most interior designers can expect:
Most projects go through one to two revision rounds. Complex spaces, such as open-concept kitchens or high-end retail interiors, may require more iterations or longer production times. Expect 3–10 business days, depending on scope.
“Monochrome Bedroom” — CGI visualization by GENENSE CGI, commissioned for an interior project in Kyiv
Once completed, high-quality renders become powerful presentation and marketing tools. For interior designers, they:
Visual consistency is important. Ask your rendering partner to apply your studio’s typical color balance, shadows, or stylistic details. This way, all of your visuals — even from different projects — will feel cohesive and distinctly “you.”
You can also request different lighting scenes (day/night) or minor styling variations to suit multiple audiences or platforms (print, Instagram, AR).
Partnering with a 3D rendering studio allows interior designers to focus on creativity while leaving technical visuals to experts. When managed well, it’s not just about outsourcing an image; it’s about co-creating a visual story that resonates with clients and strengthens your design identity.
As tools continue to evolve, so too will the possibilities for 3D interior rendering. What stays constant is this: when communication is clear, timelines are respected, and design vision leads the way, the results are more than just beautiful — they’re persuasive.
For stylish interiors and creative décor ideas, turn to DeCasa Collections.