How to Design a Long Living Room
-
Posted by
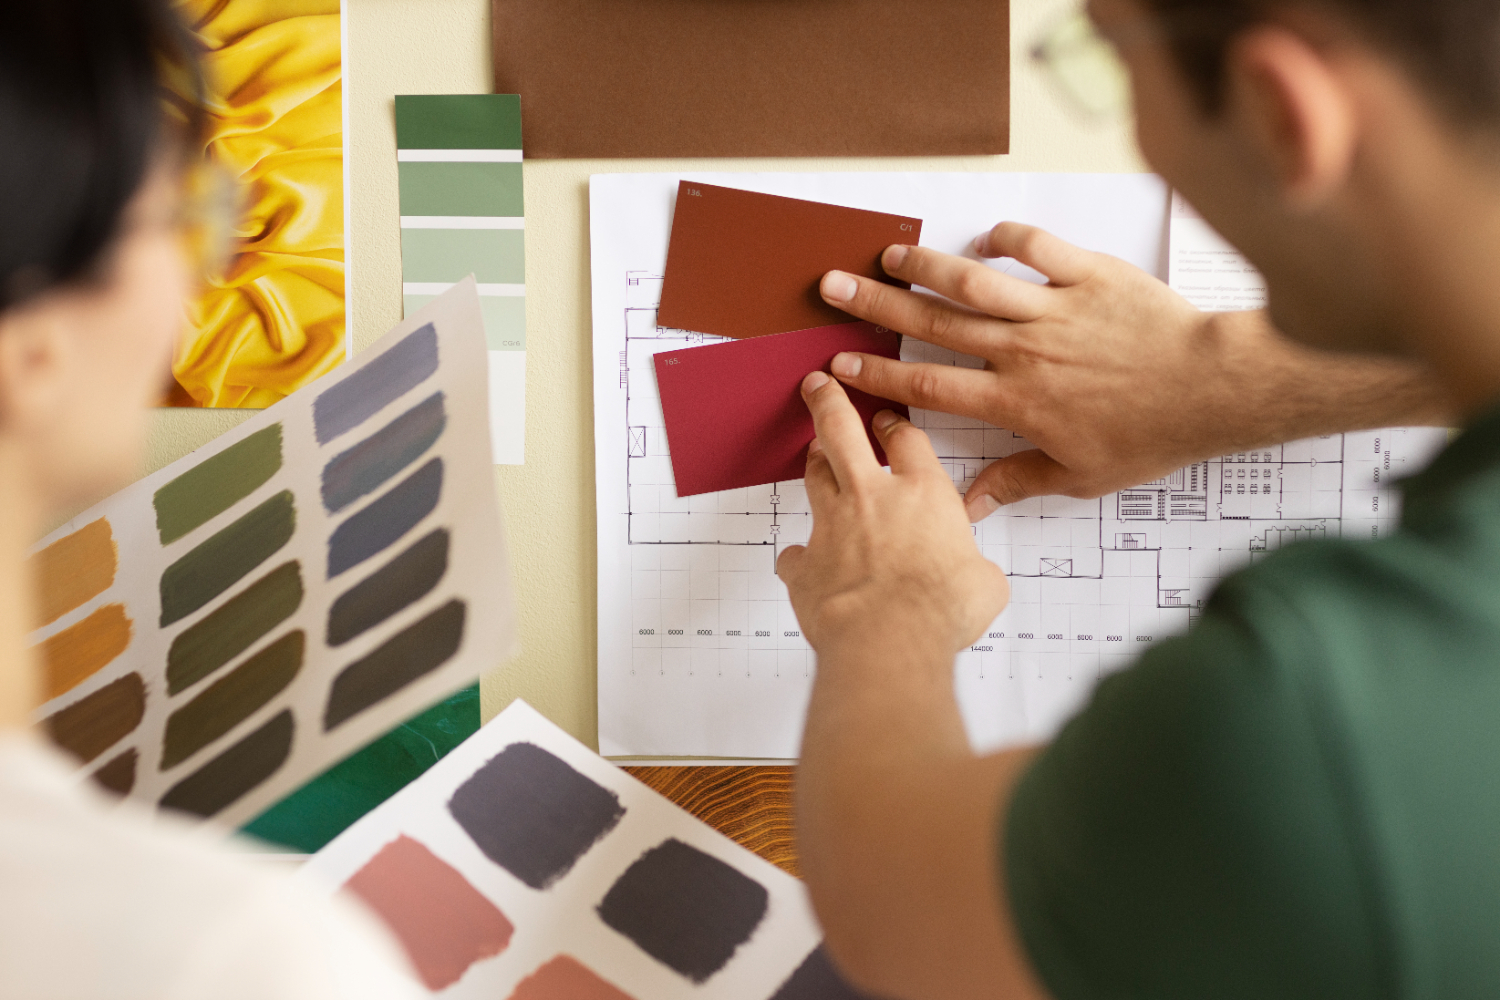
When you move into a new place, you often have to adapt your …
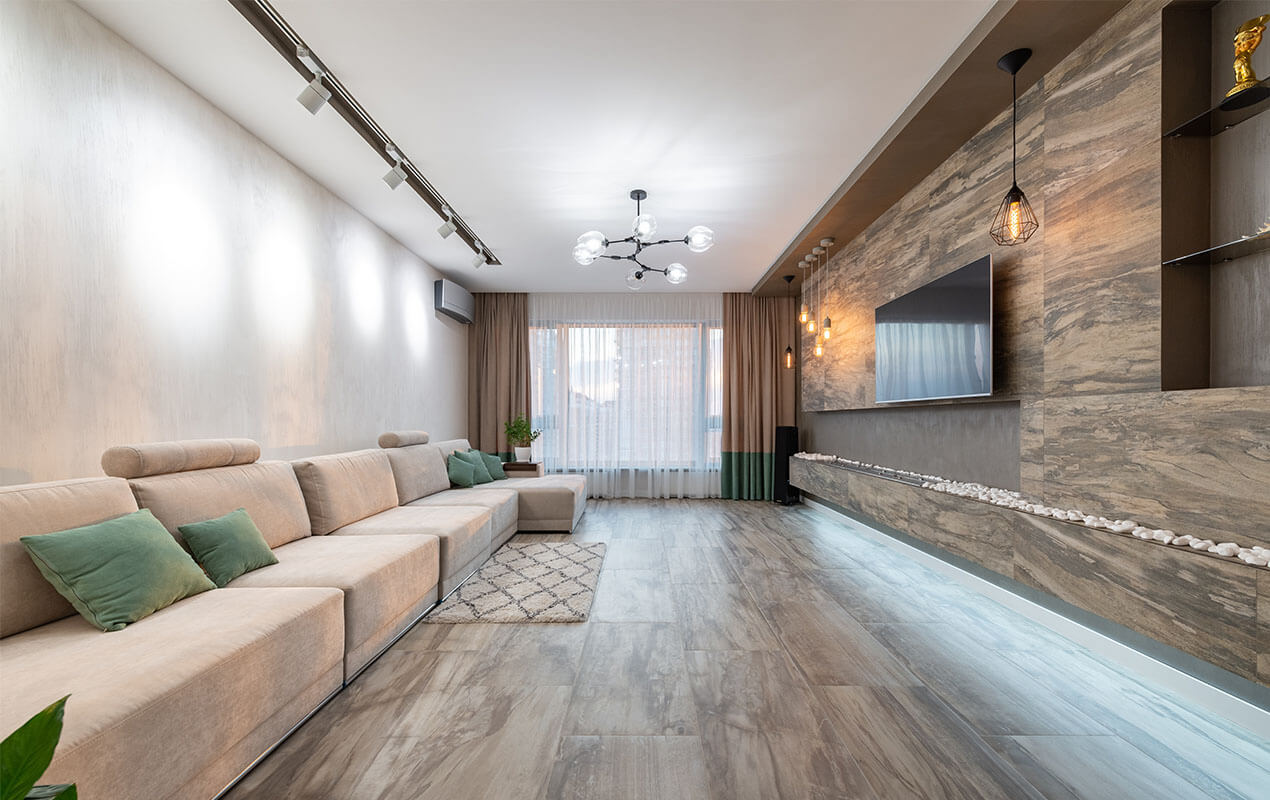
When you move into a new place, you often have to adapt your …
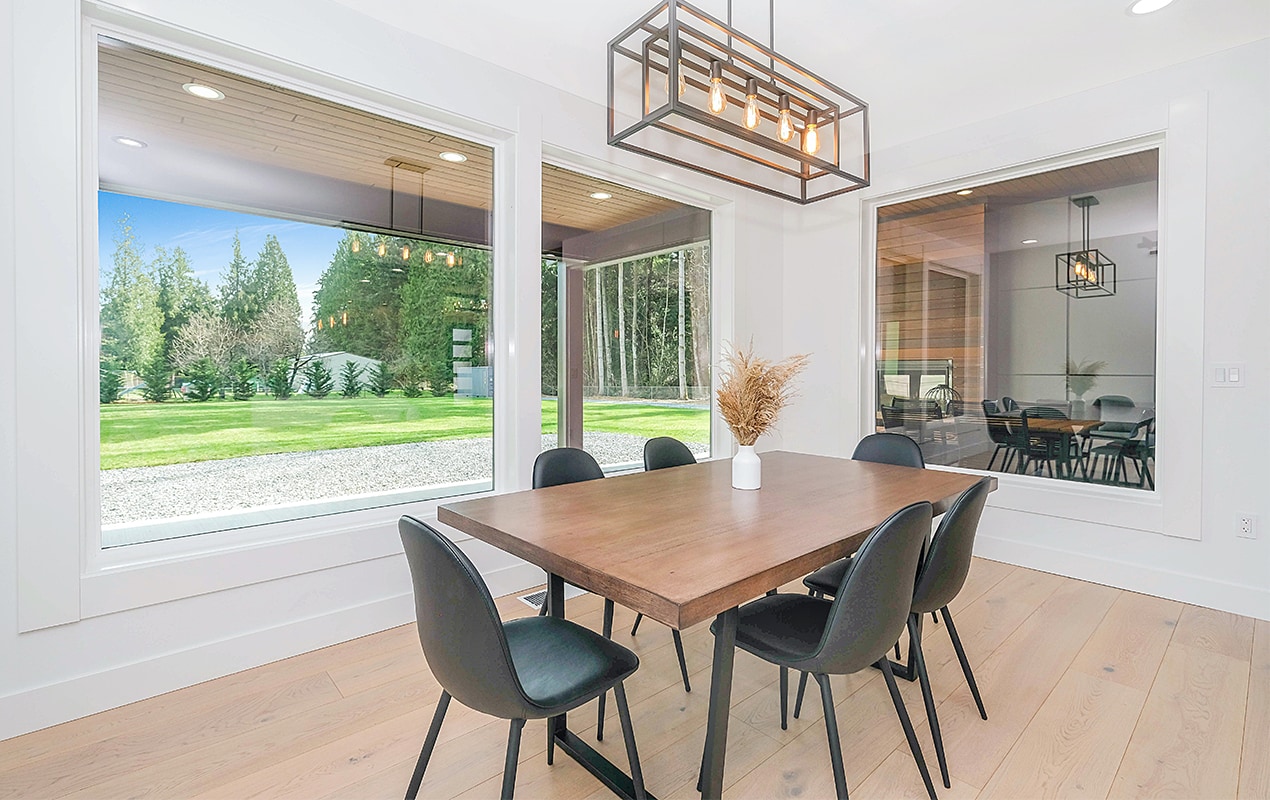
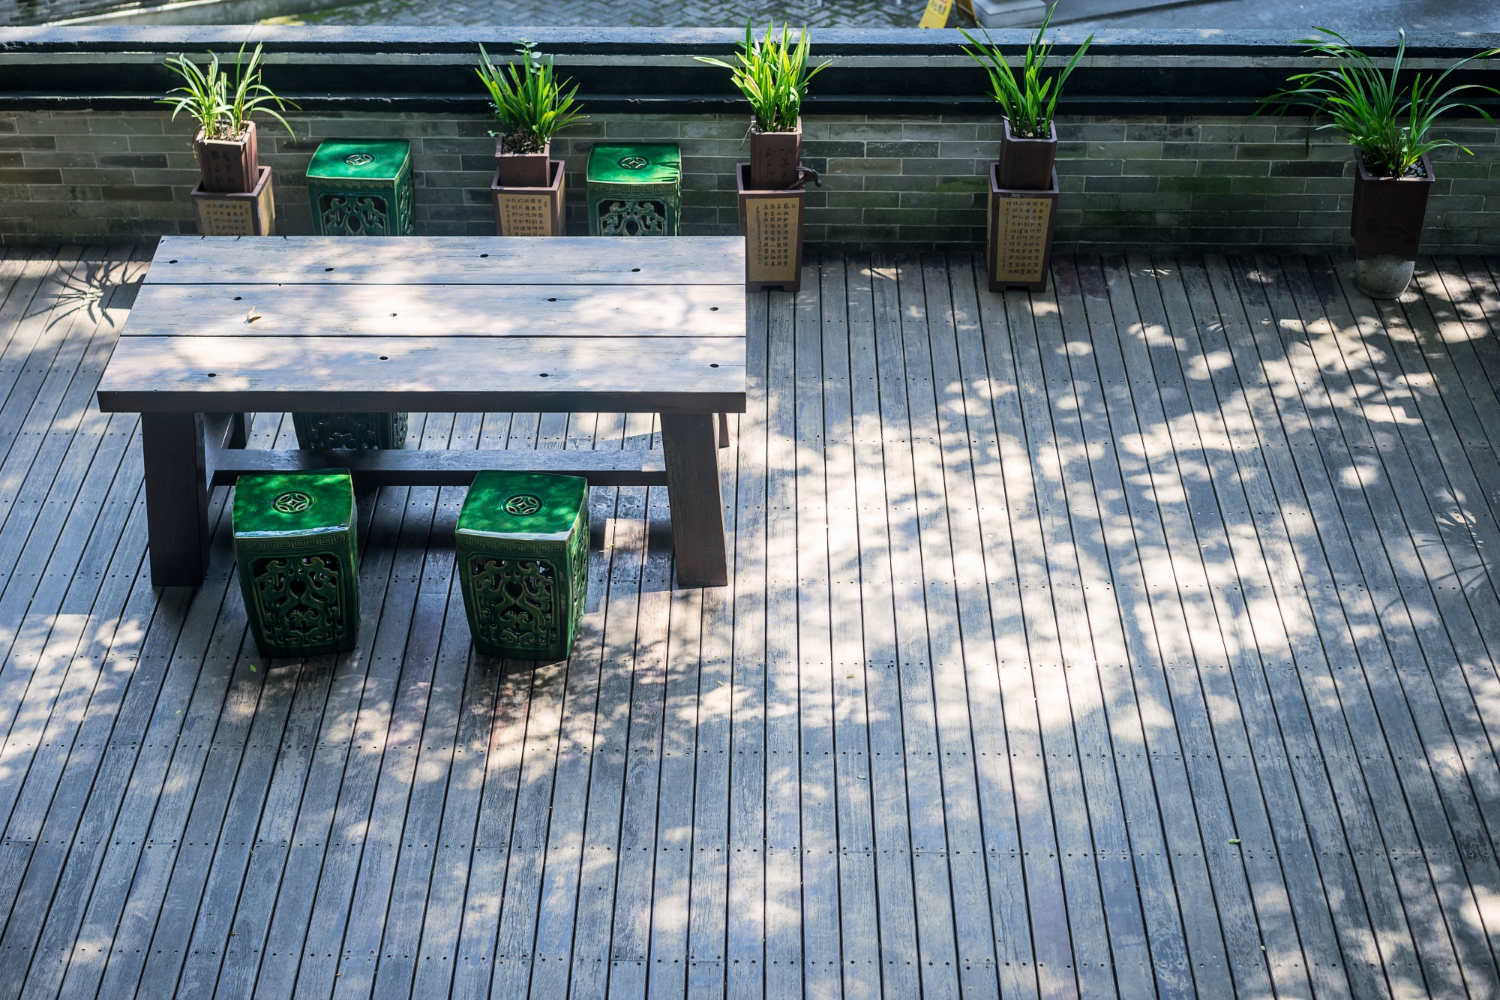
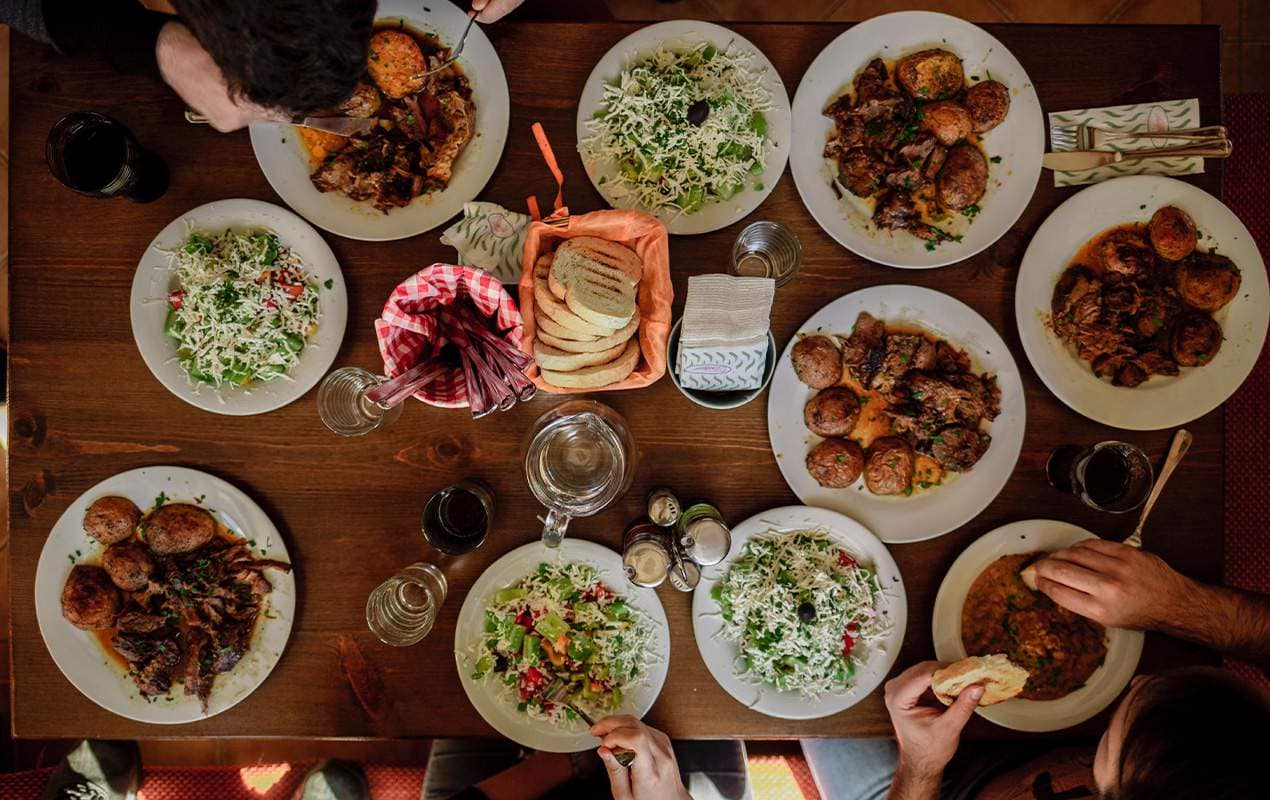
The dining room can be the venue for so many memories, from …
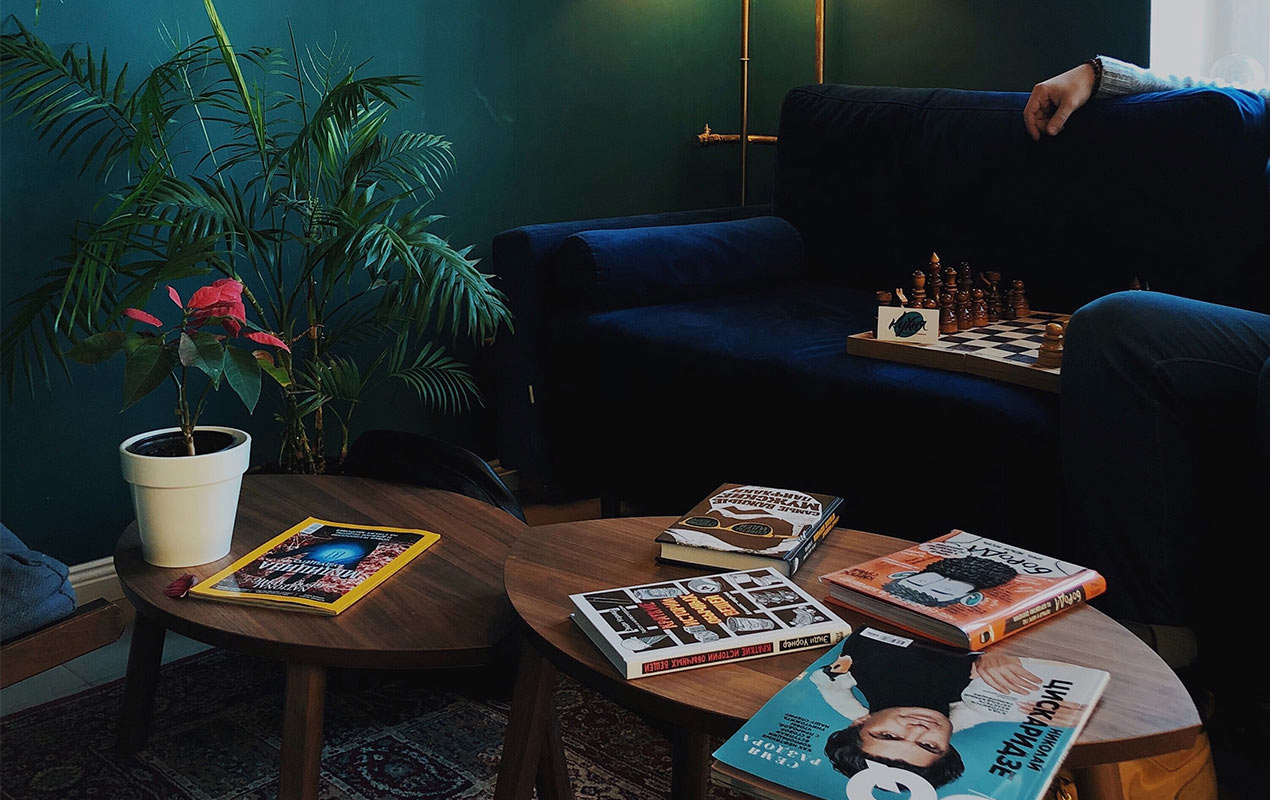
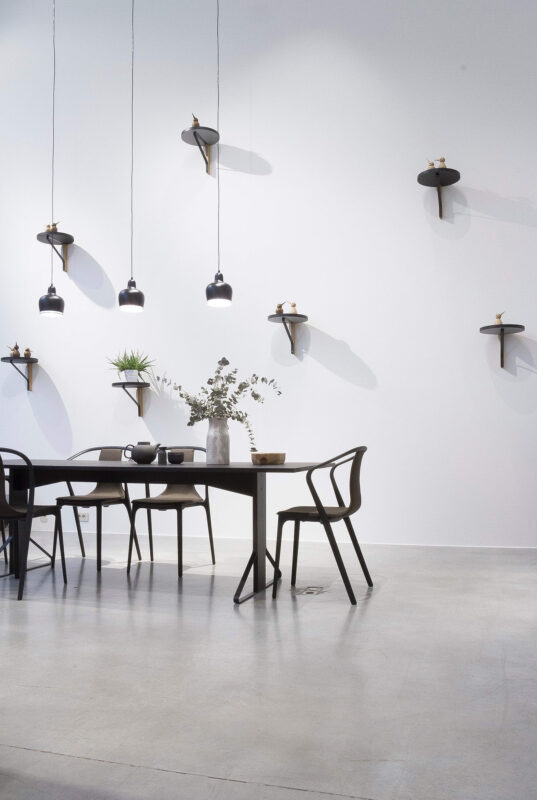
When it comes to interior design, dark colors make a real …
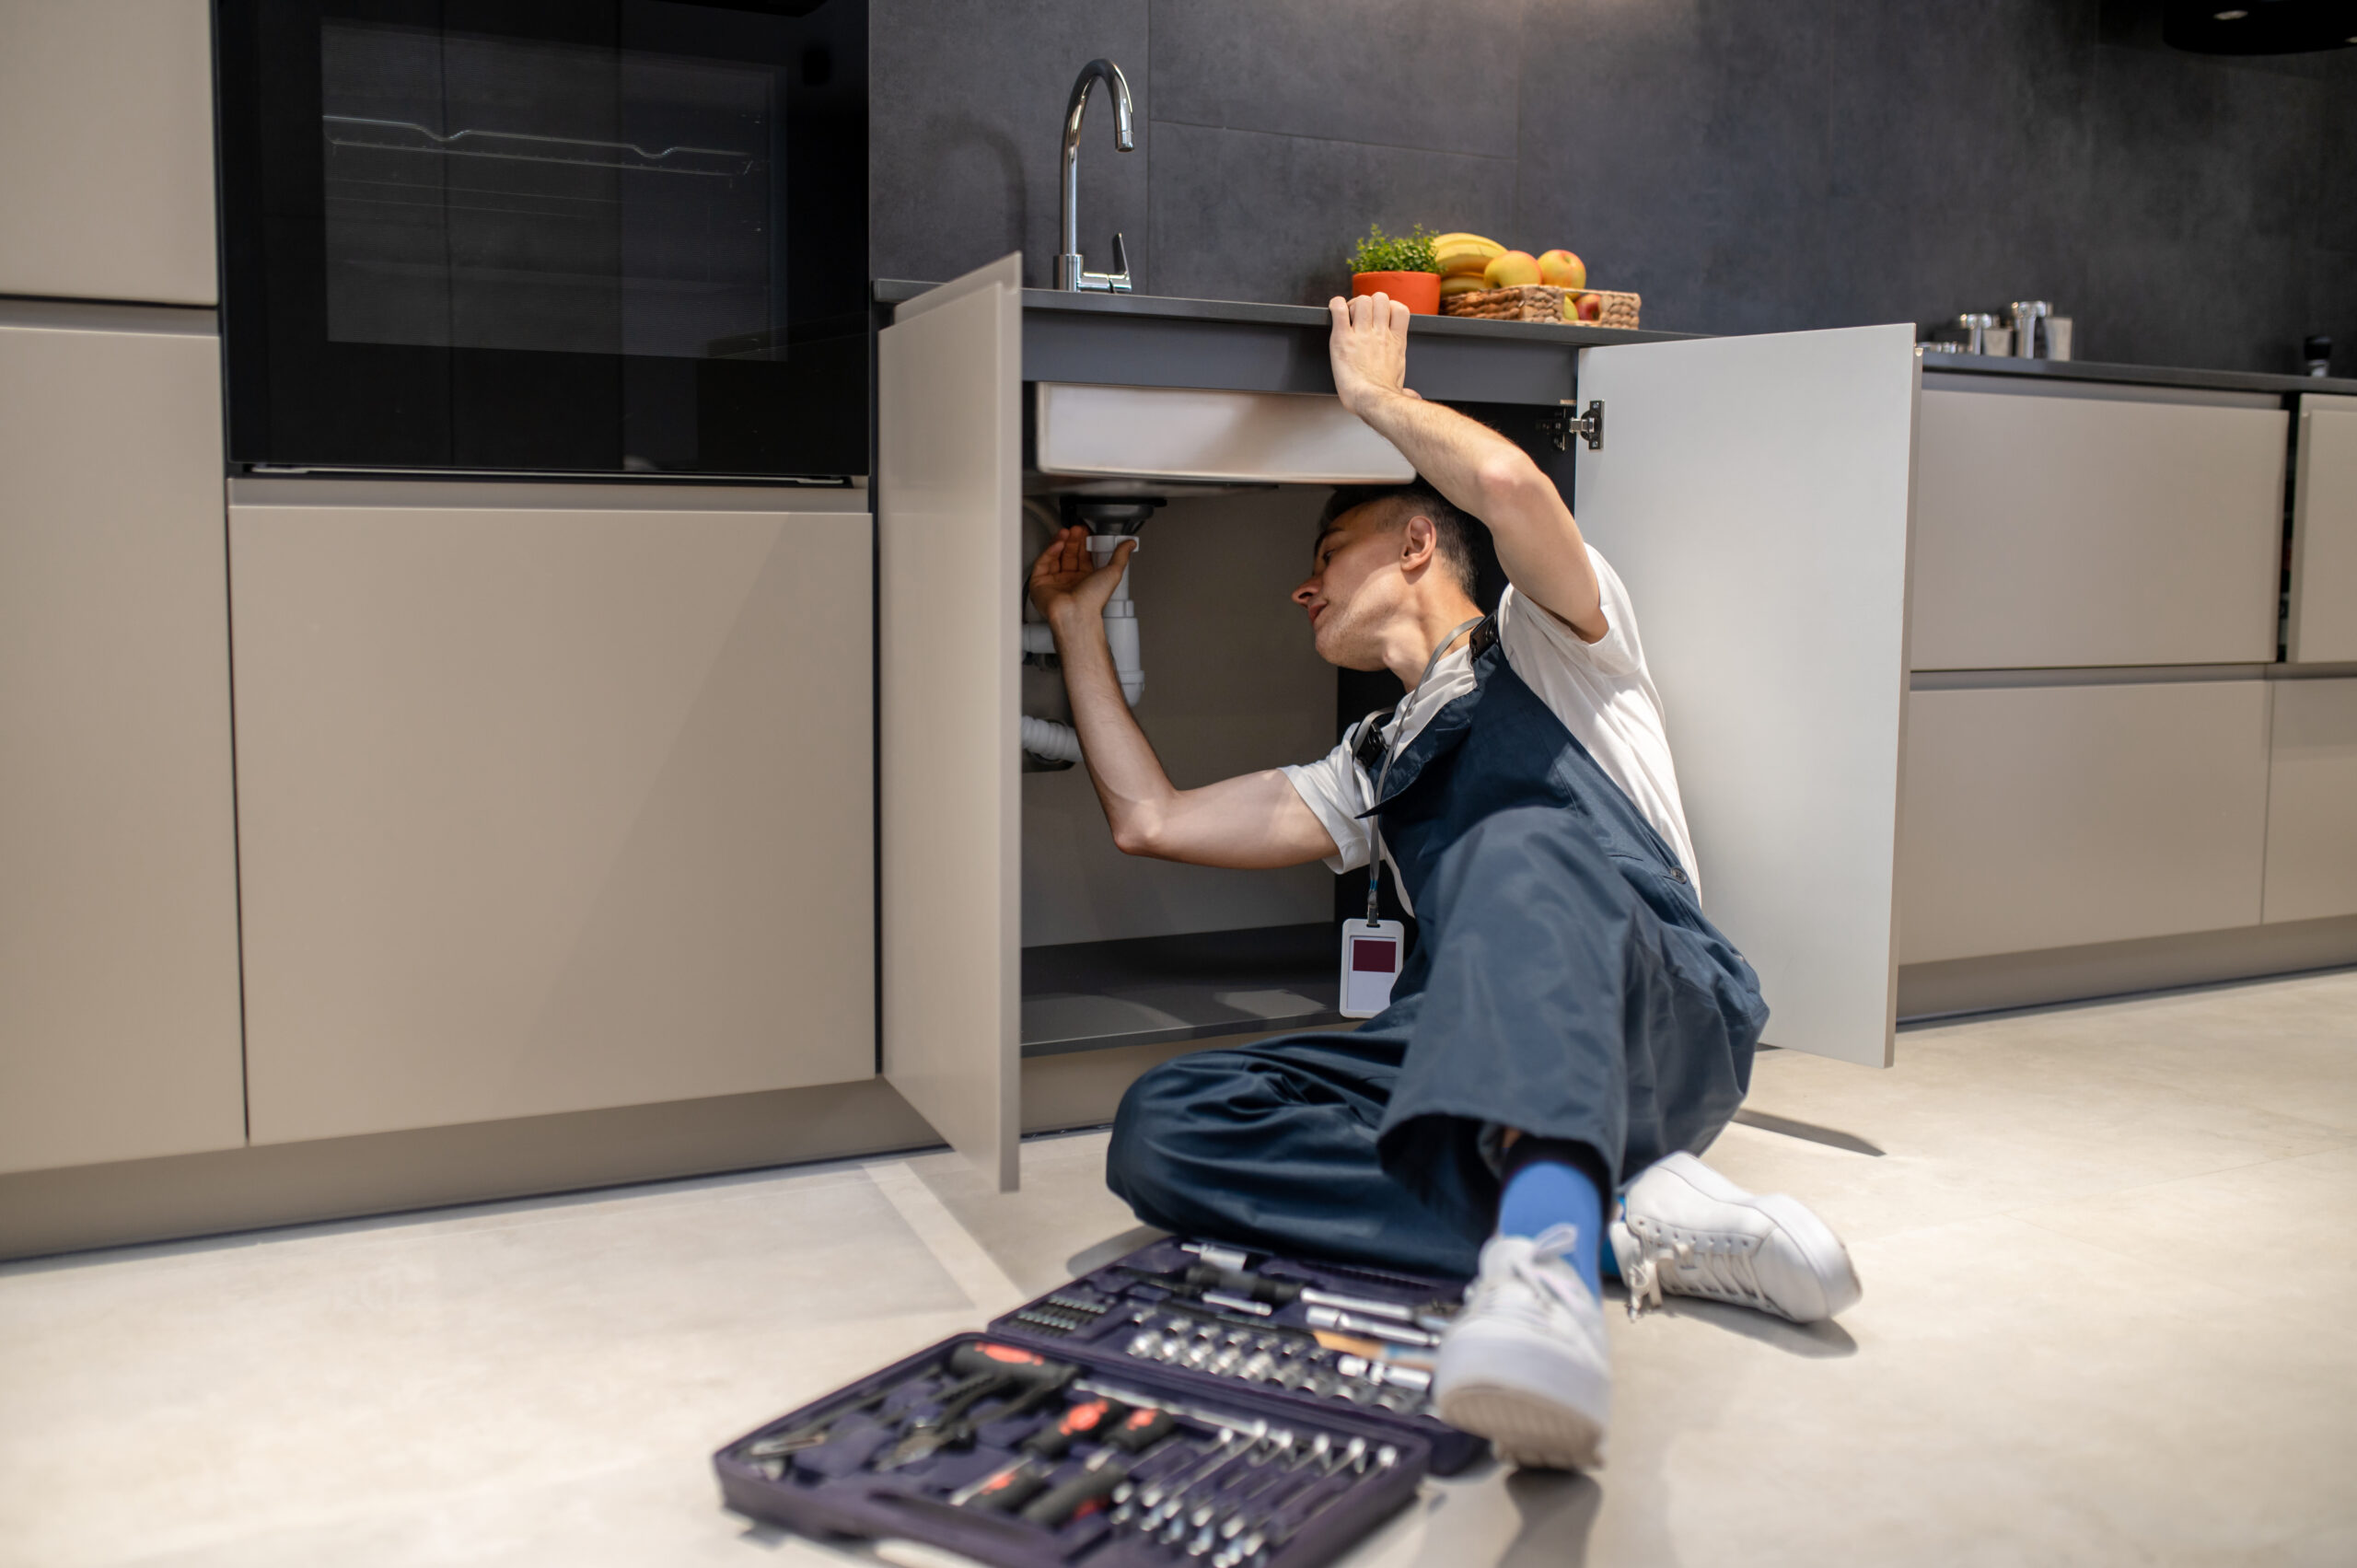
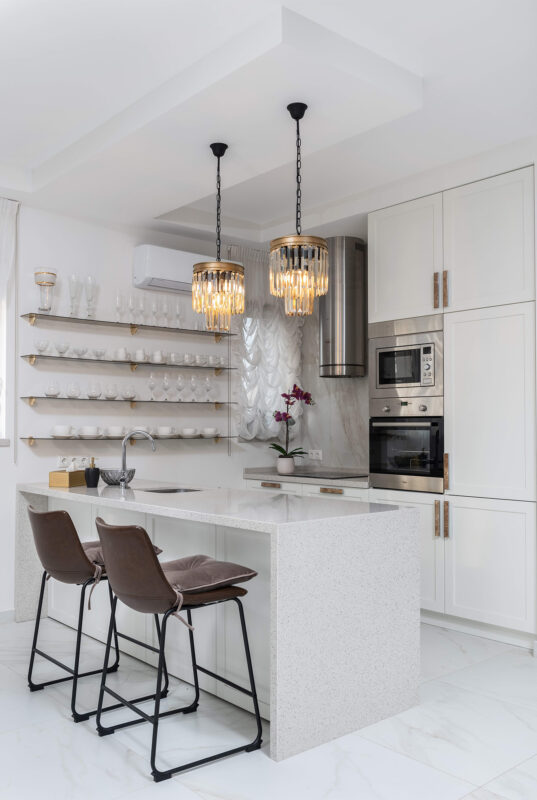
If it’s your first time leaving the nest and moving into your own place …
After two years of avoiding social events and staying isolated …
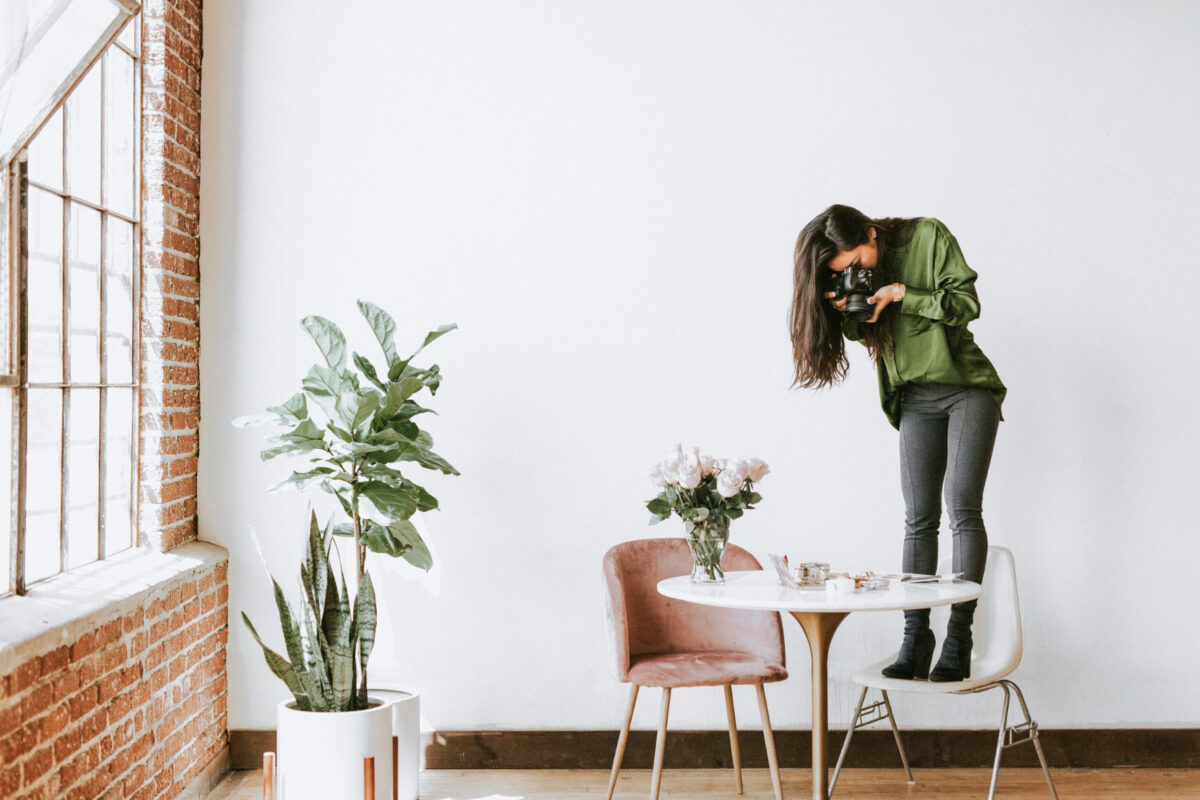
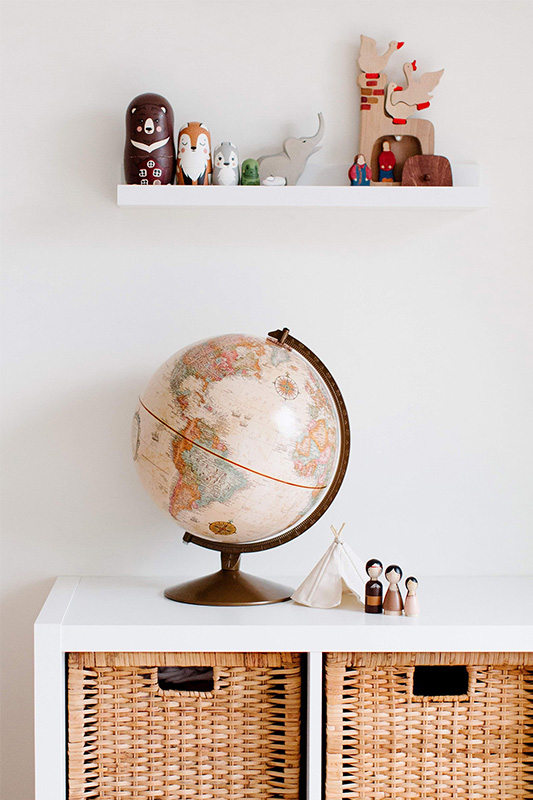
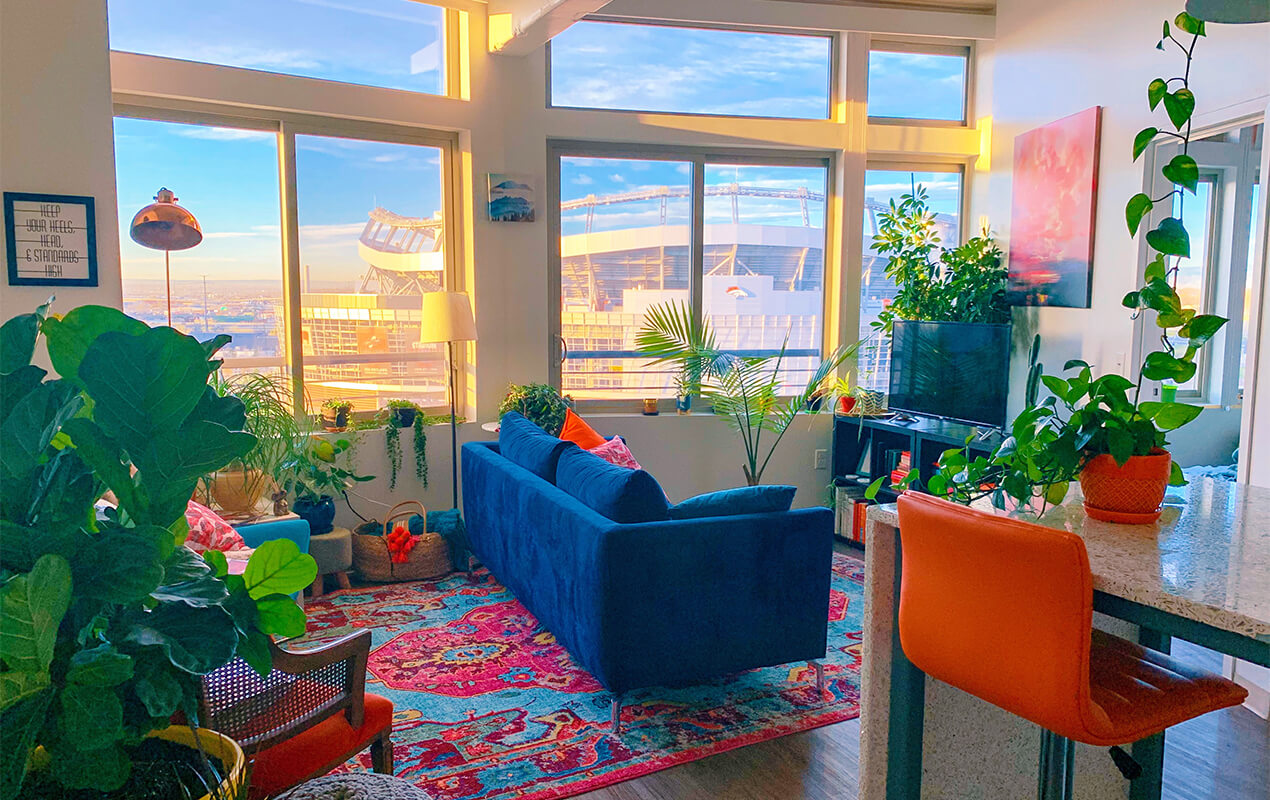
Interior design photography plays a pivotal role in conveying the essence of a space. Showcasing the layout, design elements, and overall aesthetic allows viewers to virtually experience the space and understand the designer’s vision. High-quality photography is vital, ensuring consistency and professionalism in every image.
Compelling photographs serve as a powerful storytelling tool. They should accurately reflect the brand’s identity, allowing viewers to connect with the design style and understand the intended use of the space. This visual transparency builds trust and enables potential clients to envision themselves inhabiting the space, ultimately influencing their decision-making process.
While capturing magazine-worthy interior photographs requires expertise and practice, a well-defined approach can lead to significant improvement. The following steps provide a roadmap to achieving high-quality and professional imagery.
Have your tools ready. These include cameras, tripods, lenses, batteries, and backups. Decide on the software you will use for editing. You can search online for the best options.
You can get better pictures if you plan where you will shoot. Decide where you will start and the final place to shoot. Determine the total number of photos you will shoot in each place. Interior photography requires details. Planning and organization help you do quality editing. Organize the space for shooting. You might want to rearrange furniture or bring in some items.
During the editing process, you might want to run a video of the interiors to glean ideas. Since videos usually run full screen, working on your photos might be more challenging. This is where the Mac picture-in-picture feature comes in. Learning how to do picture-in-picture on Mac is necessary. You may use the iMovie app on Mac and choose the section you want to view. If you’re going to picture in picture safari, use the blue audio button on the browser. You may also use third-party apps to customize the view settings. To get the best results, learn how to use picture-in-picture and improve quality.
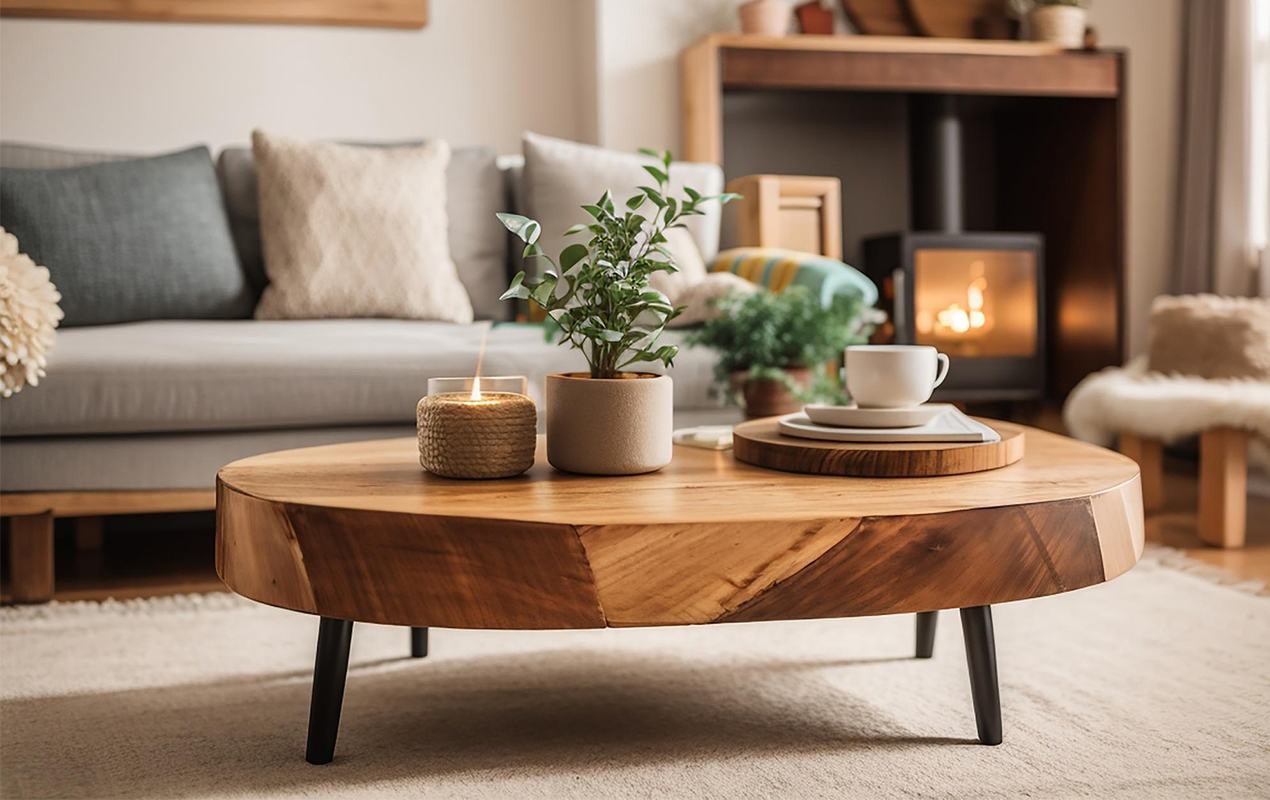
Working with multiple layers allows you to showcase different shades of the same spot. This technique is instrumental when shooting windows and doors. It lets you create darker frames that let viewers see what is outside clearly. Take four or five exposures, ensuring some are darker and some brighter. The brighter shots help add light to the darker shots when editing the photo.
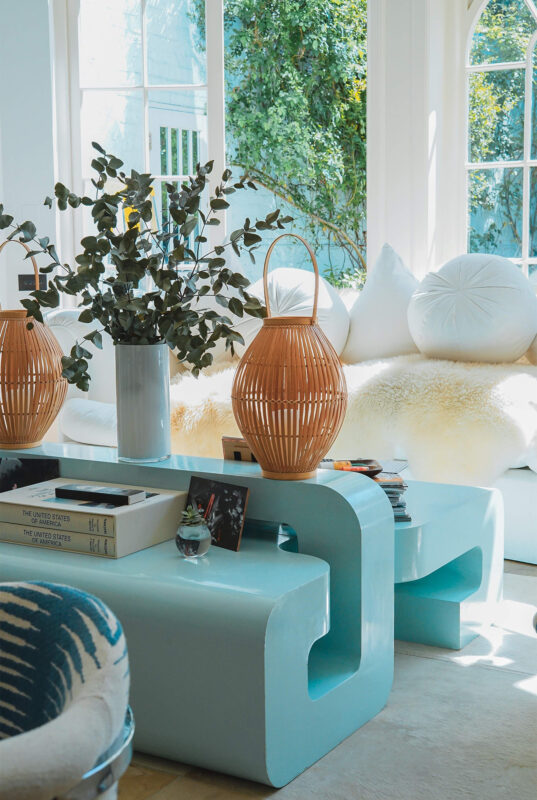
You can shoot clearer photos if you avoid artificial lighting. Bulbs add effects that make the photo work unattractive. It is harder to remove the effects when editing. Try shooting your photos in the daytime and switch off all lights. Open the curtains wide to allow as much light as possible to illuminate the room.
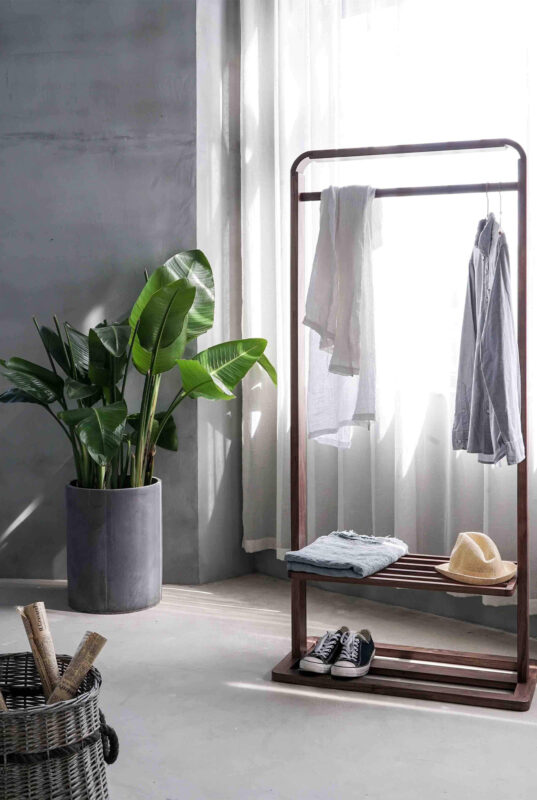
It is okay to shoot the details of the living room horizontally. However, shoot vertically if you want to show the details of the wall and staircase. Try different angles to get the best shots. Vertical shooting offers several advantages.
Holding your camera in your hand and shooting is not recommended. Your hands could shake, resulting in poor-quality images. A tripod ensures the camera or phone is stable. The gadget is simple, but it helps you shoot sharp photos. It eliminates blur and noise no matter how fast or slow the shutter is.
Magazine-like photography should focus on every relevant detail. The photos need to be aligned to perfection. The best way to achieve this is to use grids. Using frames lets you make sure every angle is snapped into a grid. Having unbalanced angles and lines in your photo work makes it look unprofessional.
In exterior shooting, showcasing the size of the area is useful. In interior shooting, however, what is essential is the design. Let every visual detail stand out. You can only achieve this if you use smaller angles. Learn how to shoot interior photography to help you focus on one specific space at a time. Let the viewer see what the space offers in detail.
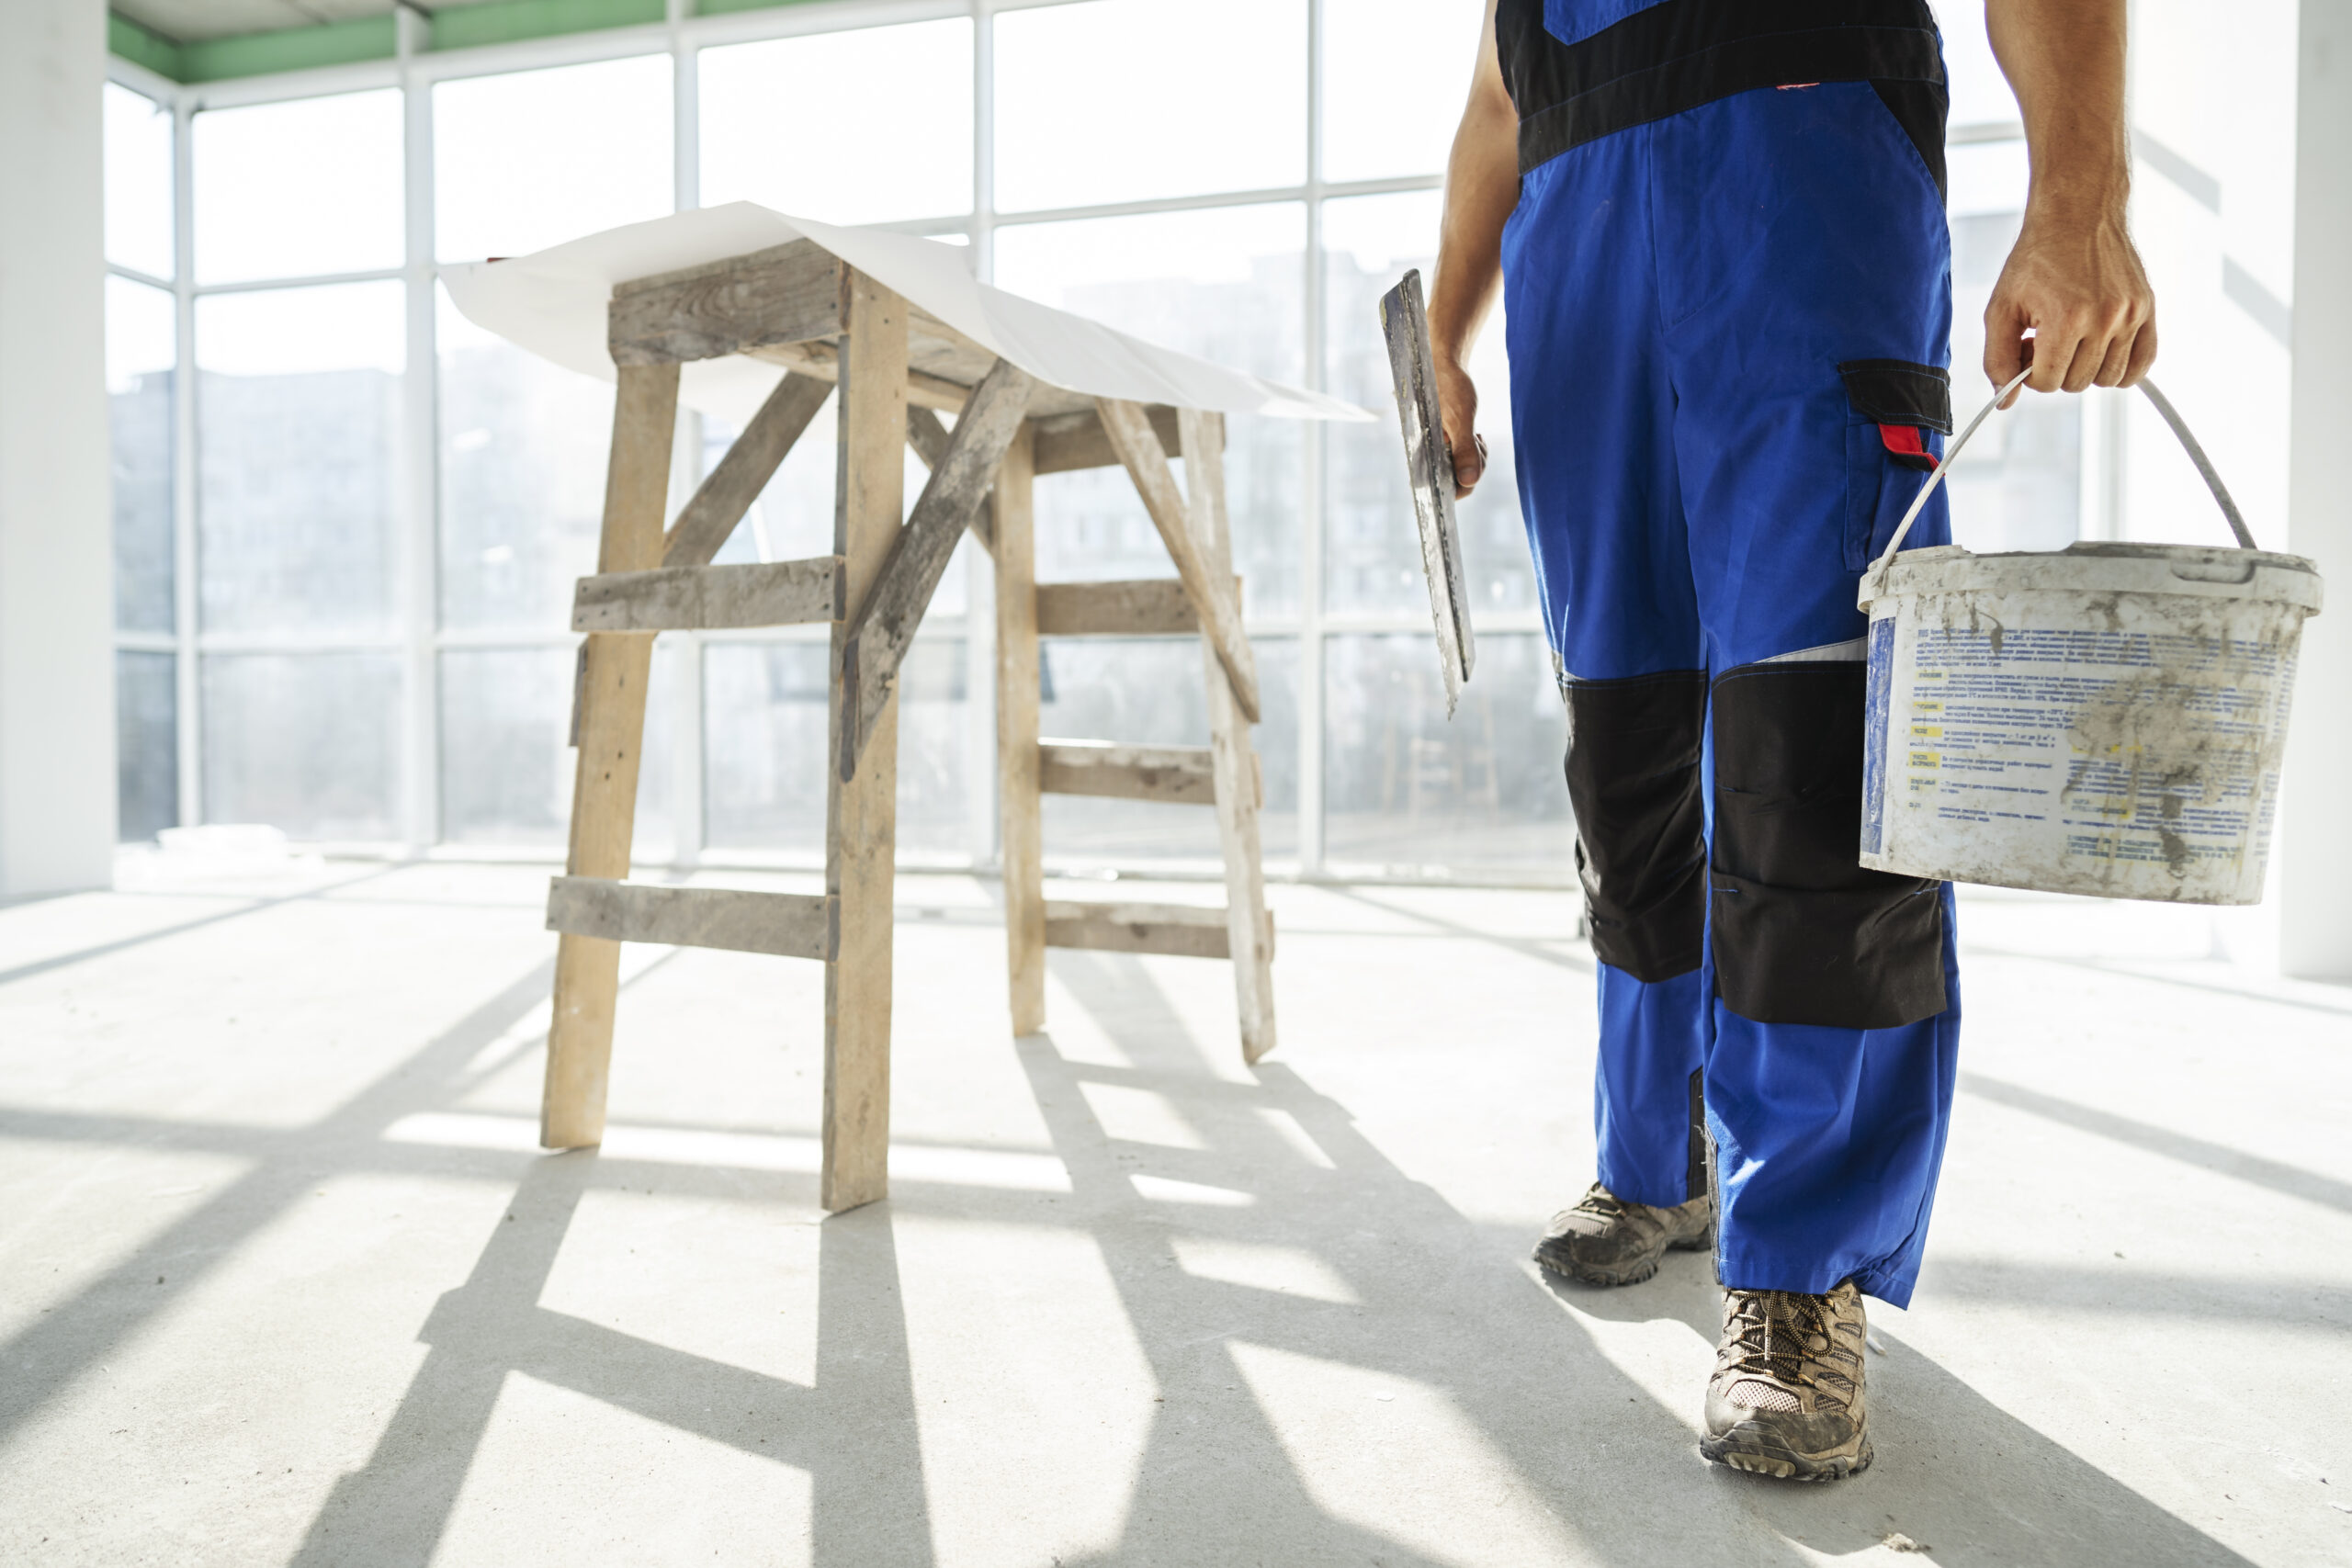
Once you complete the shooting, it does not end there. Wait to publish the photos. Drop them on your computer for editing. Understand the space where the images will be inserted. Edit them to fit that space. Fine-tune them to achieve the best quality.
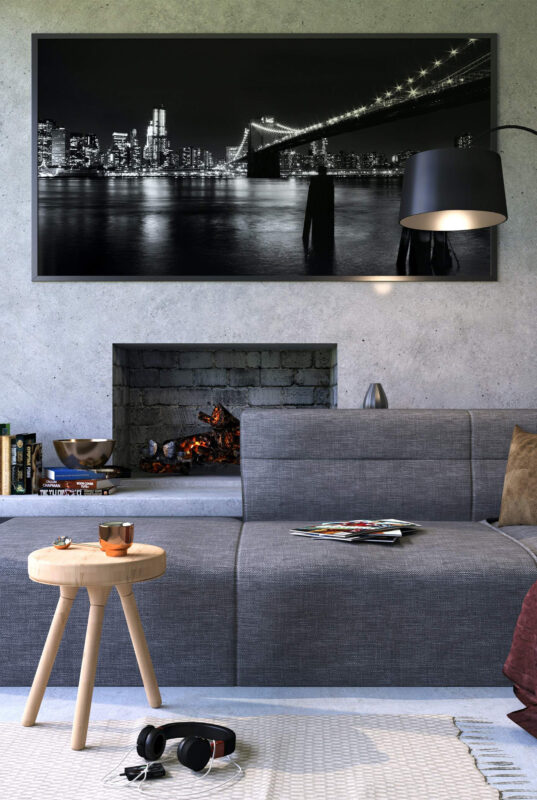
Sometimes, you might need to add different features to your photos. For instance, you might need wallpaper, flowers, or specific furniture. Make arrangements and fix the items where they are required. Some of the effects can be added while editing. Using interior design plans can help you plan and organize your photos.
What makes exceptional interior design photography is a combination of tricks and style, which can be showcased beautifully in photo books. The type of equipment and online tools you choose play a pivotal role. Have a plan for your shooting and editing, considering how the images will translate into a photobook format. Avoid artificial light and use natural light more. Focusing on details ensures you get quality photos that help you achieve your marketing goals and create stunning photobooks that leave a lasting impression.