Red Kitchen Decor: 15 Ideas for your Home
-
Posted by
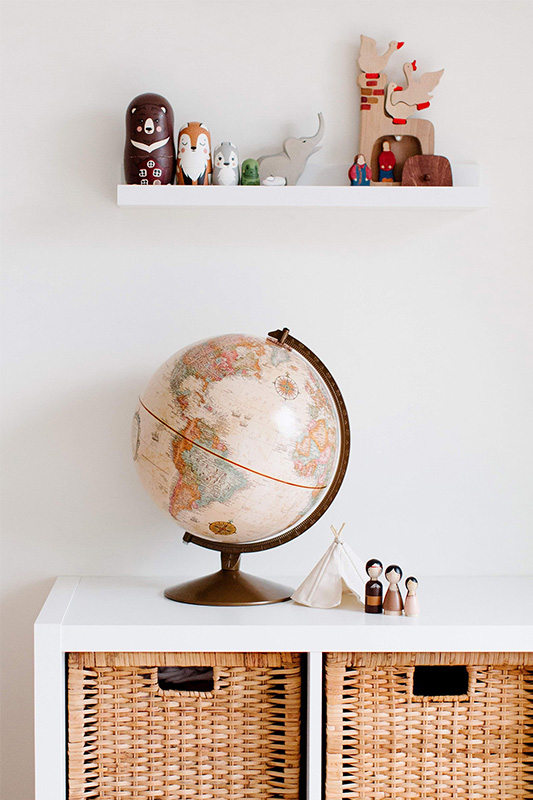
Red is a color that’s associated with a fiery passion, love, and of …
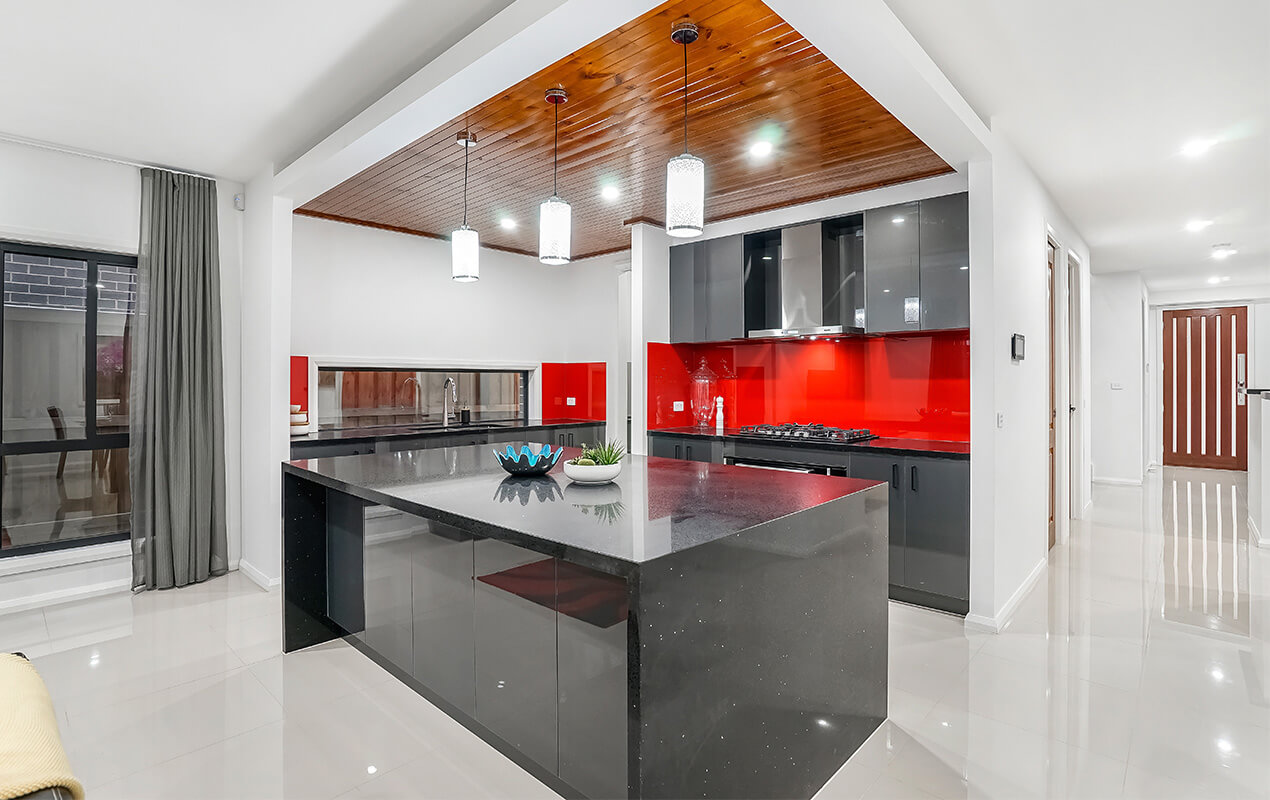
Red is a color that’s associated with a fiery passion, love, and of …


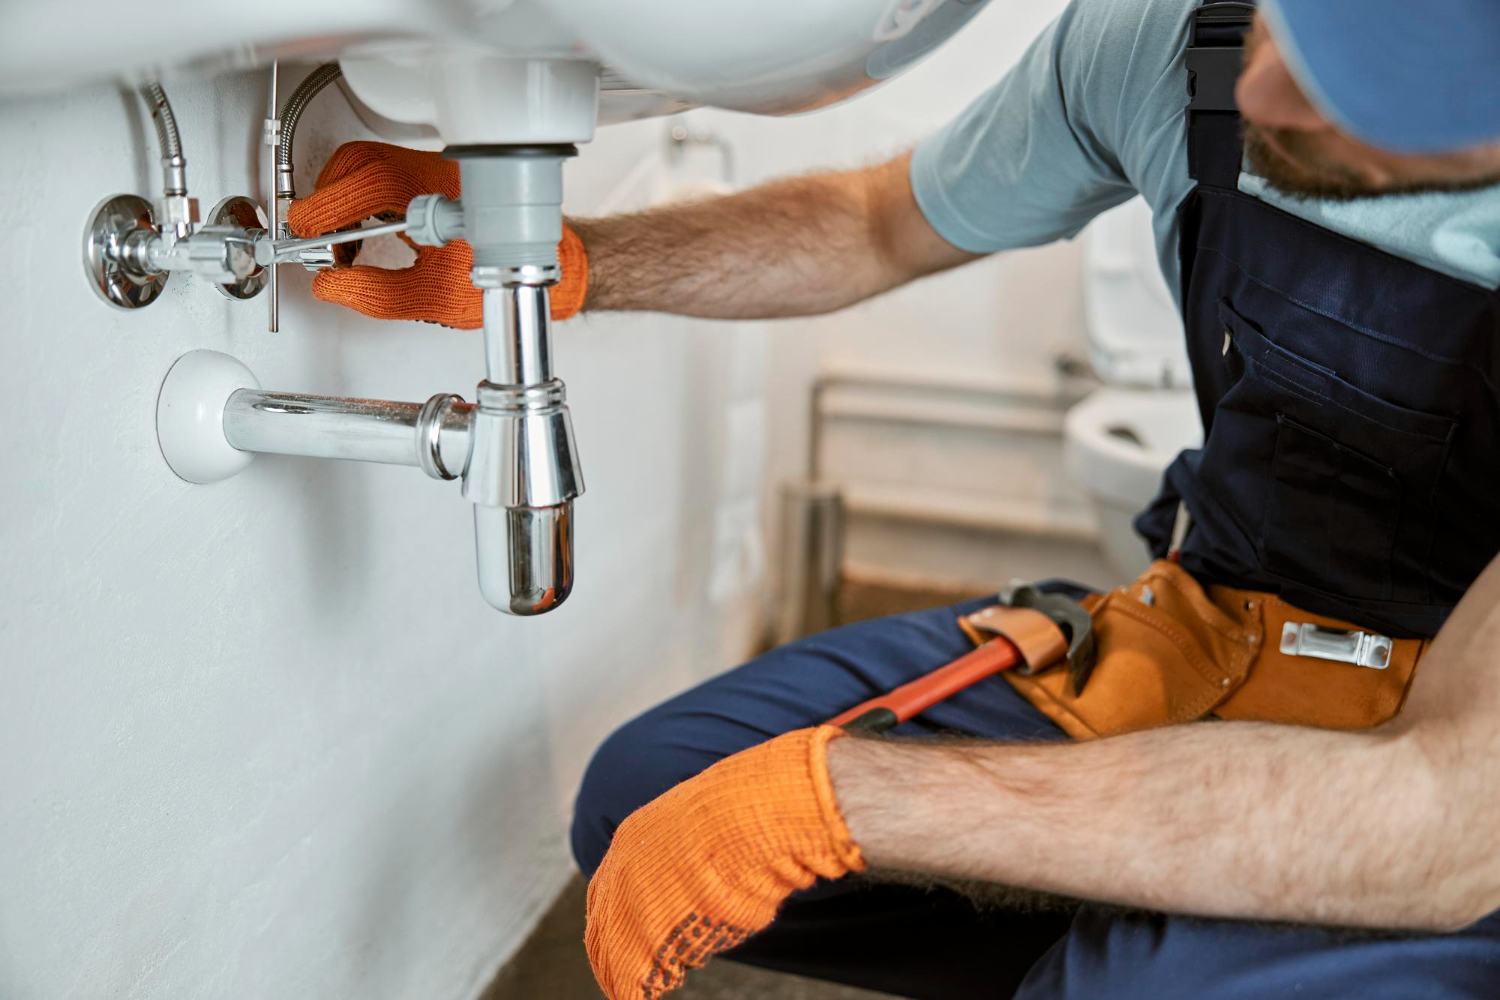
Keeping your home’s plumbing system safe starts with awareness and proper maintenance. Pipe failures can cause leaks, mold, and costly repairs, but most of these issues are preventable.
By planning your plumbing layout carefully, choosing quality materials, and scheduling regular drain camera inspections, you can spot early warning signs and avoid major damage. This guide explains the key steps to protect your home and maintain long-term pipe safety.
A clear and efficient plumbing layout can reduce future maintenance costs by up to 30%, according to home inspection data.
Work closely with your designer and contractor during the early planning phase to map out all water and drainage lines.
Avoid unnecessary bends, crossing pipes, or placing water lines too close to electrical systems.
Each extra pipe joint increases the chance of leakage by about 5–7% over time.
A well-organized layout ensures easier maintenance and minimizes water pressure loss, especially in high-humidity areas like bathrooms, kitchens, and laundry rooms.
Using the correct materials for each section of your home is one of the most effective ways to prevent leaks and corrosion.
| Area | Recommended Pipe Type | Key Benefit |
| Bathrooms & Kitchens | PPR (Polypropylene Random Copolymer) | Heat- and corrosion-resistant; ideal for hot water lines |
| Hot & Cold Water Lines | Color-coded (Red/Blue) PPR or Copper | Prevents installation mix-ups and allows better temperature control |
| Drainage Systems | High-pressure PVC or HDPE | Smooth inner surface prevents clogging and reduces noise |
Pro Tip: Investing in premium pipe materials may increase initial costs by about 10–15%, but they can last 20 years or more with minimal issues. In contrast, low-grade pipes often show leaks or corrosion in as little as 5–8 years, leading to much higher long-term repair expenses.
Inspection access panels and waterproofing are often overlooked but play a crucial role in long-term safety.
A properly installed access panel allows quick detection and repair, reducing average repair time by 40% compared to sealed walls.
In bathrooms, waterproofing layers should cover at least 1.8 meters of wall height and overlap at corners to ensure full protection against leaks.
According to maintenance specialists, inadequate waterproofing is responsible for nearly 25% of household mold problems — a costly and avoidable issue.
Even the best plumbing design can fail if the installation is careless. Studies show that nearly 45% of household water damage comes from poor workmanship rather than material defects. Paying attention to details during construction is the most effective way to prevent future pipe safety issues.
Choosing qualified contractors isn’t just about convenience — it’s about safety.
Licensed plumbers follow national installation standards (such as IPC or ASTM) and use pressure-rated fittings designed to handle continuous stress.
Homeowners who work with certified professionals are 60% less likely to experience early-stage leaks within the first five years after renovation.
Always ask for documentation of previous projects, insurance coverage, and warranty terms before work begins.
Pro Tip: Ask your plumber to provide a short video or diagram of your installed system. This small step saves hours of guesswork in future repairs.
Before tiles or drywall go up, conduct a hydrostatic pressure test — a key step that many homeowners skip.
Maintain water pressure at 0.6 MPa (≈ 87 psi) for at least 30 minutes and carefully monitor for drops.
If any pressure loss occurs, repair or replace the affected joint immediately.
Testing early prevents future wall breakage and repair costs that can exceed $2,000–$4,000 per incident.
You can also request a sewer camera inspection during this stage to confirm that drain lines are properly aligned and sealed. This helps detect hidden misalignments or obstructions that could cause slow drainage later.
Once installation passes inspection, take clear photos or videos of every wall and floor section that contains piping.
Label them with room names and key components (e.g., “Main water inlet — kitchen wall, east side”).
These records become invaluable for future maintenance — allowing plumbers to locate problem areas without unnecessary demolition.
In professional construction projects, maintaining this kind of “as-built” documentation reduces diagnostic time by up to 50% and helps homeowners save hundreds in inspection costs later.
Pipes expand and contract with temperature changes — a 10-meter PPR pipe can elongate by up to 1.5 cm with hot water flow.
To prevent cracking or joint separation, installers should include expansion loops, support clips, and high-quality sealants designed for pressurized systems.
Avoid generic silicone products — use plumber ”s-grade sealants that can resist temperatures up to 120°C (248°F) and maintain flexibility.
Quick Check:
A well-built plumbing system can still develop issues over time due to aging, mineral buildup, or temperature fluctuations. According to the U.S. Home Water Damage Report, one in every 50 homes experiences a water leak each year — and most could have been prevented through regular maintenance and early inspection.
Proper upkeep doesn’t just protect your home; it can reduce long-term repair costs by up to 70%.
Inspect key areas at least once a month to identify early warning signs:
Early detection allows small leaks to be fixed before they become structural problems that can cost $1,000–$5,000 to repair.
One of the most effective tools in modern plumbing maintenance is the sewer camera inspection.
This involves inserting a small, waterproof inspection camera into your drain or sewer lines to capture real-time video of the pipe’s interior condition. It helps identify:
Data Insight: Homes that perform a sewer camera inspection every 24 months report 40–60% fewer emergency plumbing repairs on average.
The inspection typically takes less than an hour and costs far less than fixing major leaks later.
Professional plumbers can also provide digital footage or a report after the inspection — a valuable record for home insurance or resale purposes.
If you want to save on hiring professional plumbers, you can also purchase a plumbing camera online and perform basic inspections yourself.
Brands like SANYIPACE, RIGDIG, VEVOR, and Milwaukee offer reliable, easy-to-use inspection cameras designed for homeowners.
They’re simple to operate, provide clear visuals, and can help you detect early issues before they turn into costly repairs.
Constant high pressure accelerates wear on joints and seals.
Install a pressure regulator to maintain household pressure around 0.3–0.4 MPa (45–60 psi).
For hot water systems, keep the temperature below 60°C (140°F) to reduce thermal stress on plastic pipes.
Energy Tip: Lowering your water heater temperature by just 5°C can save up to 5% on annual energy bills while extending pipe life.
Blocked drains are one of the top three causes of plumbing emergencies.
To prevent buildup:
A clean drain system ensures efficient water flow and helps maintain consistent pressure throughout your plumbing network.
Keeping track of routine checks helps ensure consistency and accountability.
Here’s an easy-to-follow example:
| Task | Frequency | Notes |
| Visual inspection under sinks | Monthly | Look for moisture or discoloration |
| Sewer camera inspection | Every 1 year | Hire a licensed plumber |
| Pressure & temperature check | Quarterly | Adjust the regulator if needed |
| Drain cleaning | Yearly | Especially for older systems |
| Full home plumbing audit | 3-5 years | Comprehensive check by professionals |
A consistent maintenance plan combined with sewer camera inspections gives you a complete picture of your plumbing health.
It prevents hidden issues from escalating, improves efficiency, and extends the lifespan of your entire system — saving you both time and money in the long run.
Despite the best precautions, leaks can still occur.
If you discover one:
A beautiful home isn’t just about style — it’s about lasting safety beneath the surface.
Your plumbing system may be hidden, but it plays a vital role in everyday comfort.
By combining careful design, quality installation, regular sewer camera inspections, and consistent maintenance, you can prevent most pipe issues long before they occur.
Taking these small, proactive steps today will ensure your home remains secure, comfortable, and worry-free for years to come.
| Inspection Task | Recommended Frequency | Status |
| Check water pressure stability | Monthly | ☐ |
| Inspect cabinet undersides for moisture | Weekly | ☐ |
| Verify water heater connections | Monthly | ☐ |
| Ensure drains flow smoothly | Weekly | ☐ |
| Look for pipe aging or loose joints | Yearly | ☐ |
| Sewer camera inspection | Every 2 years | ☐ |
💬 For more home maintenance and interior improvement tips, explore the latest guides at DeCasa Collections.