The Secrets to Capturing the Essence of Magnolia Home Decor
-
Posted by
Magnolia home decor doesn’t need to be bland. Adding a …
Magnolia home decor doesn’t need to be bland. Adding a …
Have you ever wondered how to decorate a door in your home? …

This year, many spirited designers are exuberantly declaring the …

Building your own brick smoker in the backyard isn’t just a great idea – it’s a project that delivers lasting rewards. Whether you’re smoking ribs low and slow or experimenting with new food and grill styles, a homemade classic brick smoker brings flavour, heat, and satisfaction together in one spot. With just some basic tools, a weekend or two of work, and a solid plan, you can create something awesome from the ground up.
Unlike store-bought options, a custom brick BBQ or smoker lets you control everything – from the design to the fuel type. Plus, it can blend into your garden layout, right alongside your wood-fired ovens, fire pit, or patio space. And while it might seem like a big job, this guide breaks the whole process down into practical steps, from picking a location to managing smoke and temp.
Ready to build? Let’s get into the planning.
Before you mix mortar or stack a single brick, it’s crucial to think through your plan. A good location is the backbone of your smoker. Pick a spot that’s flat, fire-safe, and has enough space around it. Avoid building too close to fences, sheds, or anything flammable. You’ll also want to consider wind direction – consistent airflow helps keep the smoke rolling and prevents it from hanging around your seating areas.
Next, sketch out your design. Think about the shape and height. Are you aiming for a classic brick smoker with a vertical chamber and chimney? Or something more horizontal with a separate firebox? This affects where the doors, grill, and chimney go, as well as how you control the heat and manage your fuel. It’s also a good time to decide where you’ll install the water pan – essential for moist food and steady temp.
Plan for airflow too. A well-balanced smoker needs air intake near the firebox and an outlet, usually through a chimney, for exhaust. You might want to include a damper to fine-tune this later.
Lastly, be realistic about your skills and supplies. If you’re already handy with bricklaying, you can go all in. If not, start simple – use more concrete blocks and fewer custom features. When sourcing durable masonry materials such as pavers, retaining wall blocks, or concrete elements for the smoker base, many DIY builders look to trusted suppliers like Rochester Concrete Products for long-lasting, outdoor-ready components. Either way, a solid plan now will save a lot of time and money later.
Every solid smoker starts with a level and sturdy base. Begin by choosing the right spot – ideally a flat piece of ground that’s easy to access and won’t flood. Mark out the area where your brick smoker will sit using stakes and string, ensuring you allow extra space around the sides for working.
Now dig a shallow hole, about 4 to 6 inches (ca. 10 to 15 cm) deep, and compact the bottom. This will be your form for the foundation slab. Create a wooden formwork around the perimeter if needed, and pour in your concrete. Use a shovel to spread it evenly, tapping out air bubbles as you go. A slight slope away from the centre is useful for drainage, but keep the surface largely level to support the walls.
Let the concrete cure for at least 24 to 48 hours – don’t rush this step. A weak foundation means cracks later, and no one wants to rebuild once the firebox is installed.
Once the concrete has set, dry-lay your first row of bricks without mortar to check your form and placement. This gives you one last chance to tweak the design before you start the full build.
Now that your base is dry and ready, it’s time to build the body of your brick smoker. This part takes patience and accuracy – but the results are worth it.
Start by mixing your mortar and spreading a thin, even layer along your foundation. Place your first row of bricks, checking each one with a level as you go. Keep your line straight and corners sharp – this first layer sets the tone for the rest of the build. Use a flat piece of timber or spirit level to press down gently and ensure everything’s stable and even.
Work upwards, adding each layer with consistent mortar joints. As you go, leave gaps in the walls for your doors – these will give you access to the firebox and the grill chamber. Use a steel or concrete door frame to make these openings sturdy. If you’re installing a bottom drawer or ash box, leave a section open near the base for that too.
Use firebricks to line the firebox. They handle heat far better than standard bricks, especially around the coals, logs, and direct flame. Position the grill or plate above the firebox, supported either by a brick lip or embedded steel rods.
Create a shelf or recessed area for a water pan above the fire, but below the grill – this helps regulate temp and keeps your food moist as it cooks. Some designs include multiple cooking levels, so feel free to add another rack if space allows.
As the walls rise, ensure everything remains plumb and balanced. A misaligned layer now can cause real trouble when you get to the chimney or try to attach the lid. Use temporary support if needed while mortar sets.
Take your time with each step. A solid structure not only holds heat better, but also ensures your smoker lasts for years. By now, your smoker is starting to take shape – and soon, you’ll be ready to control the smoke and airflow with a custom chimney and damper.
For your brick smoker to work properly, controlling airflow is key. Without it, you’ll either suffocate your fire or send too much smoke billowing into the cooking chamber. A well-positioned chimney and a simple damper give you the control you need to balance heat, oxygen, and flavour.
Your chimney should sit directly above the cooking chamber – usually at the centre or towards the back of the smoker. It allows smoke to escape while drawing fresh air in through the firebox. Use brick, metal piping, or a pre-made flue kit. Ensure the diameter is wide enough to carry out a steady stream of smoke, but not so wide that it causes a rapid loss of heat.
Fit a damper inside the chimney or just beneath it. This can be a metal plate or sliding insert that lets you control how much smoke and heat exit the smoker. Closing it slightly increases internal temperature, while opening it allows more smoke to escape and reduces temp.
On the opposite end – typically near the firebox or just under it – include an air intake vent. This provides oxygen to keep the fire burning. A small adjustable door or metal flap works well and gives you added control over fuel burn and coals intensity. Together, the air inlet and chimney create the perfect draw for consistent smoke and stable cooking conditions.
Without proper airflow, the internal temp will fluctuate, and your food may end up unevenly cooked. With it, your smoker becomes a reliable outdoor oven capable of handling anything from ribs to brisket.
You’re nearly there, but don’t rush these last few steps. A smoker is only as good as its finish – and how well it handles actual use.
After the final brick is laid and the chimney is in place, you’ll need to wait at least 48 to 72 hours for the mortar to fully cure. This ensures the structure can handle heat and won’t shift or crack when the fire is lit. Cover the build if rain is forecast – moisture can compromise drying.
Once dry, give the smoker a good scrubbing with a wire brush to remove any excess mortar or dust. Check all joins, especially around the door frame, grill, and chimney. Look for gaps or air bubbles that could affect performance or cause smoke leaks. You may want to seal parts of the firebox with high-temperature silicone or fire cement for extra durability.
Attach your doors using fire-safe hinges and bolts. These might be salvaged from old pizza ovens or BBQ units – or custom-made from steel. The lid (if you’ve included one) should fit snugly to trap heat, but still lift off easily for access. Some builders opt for a heavy steel sheet, while others use a hinged solution.
Make sure everything opens and closes smoothly. No part of the smoker should wobble, lean, or feel unstable.
Once complete, step back and admire what you’ve made – a solid, handcrafted brick smoker that’s ready to take centre stage in your backyard. All that’s left now is to fire it up.
Also Read: Best BBQ Grills for Small Backyards and Patios
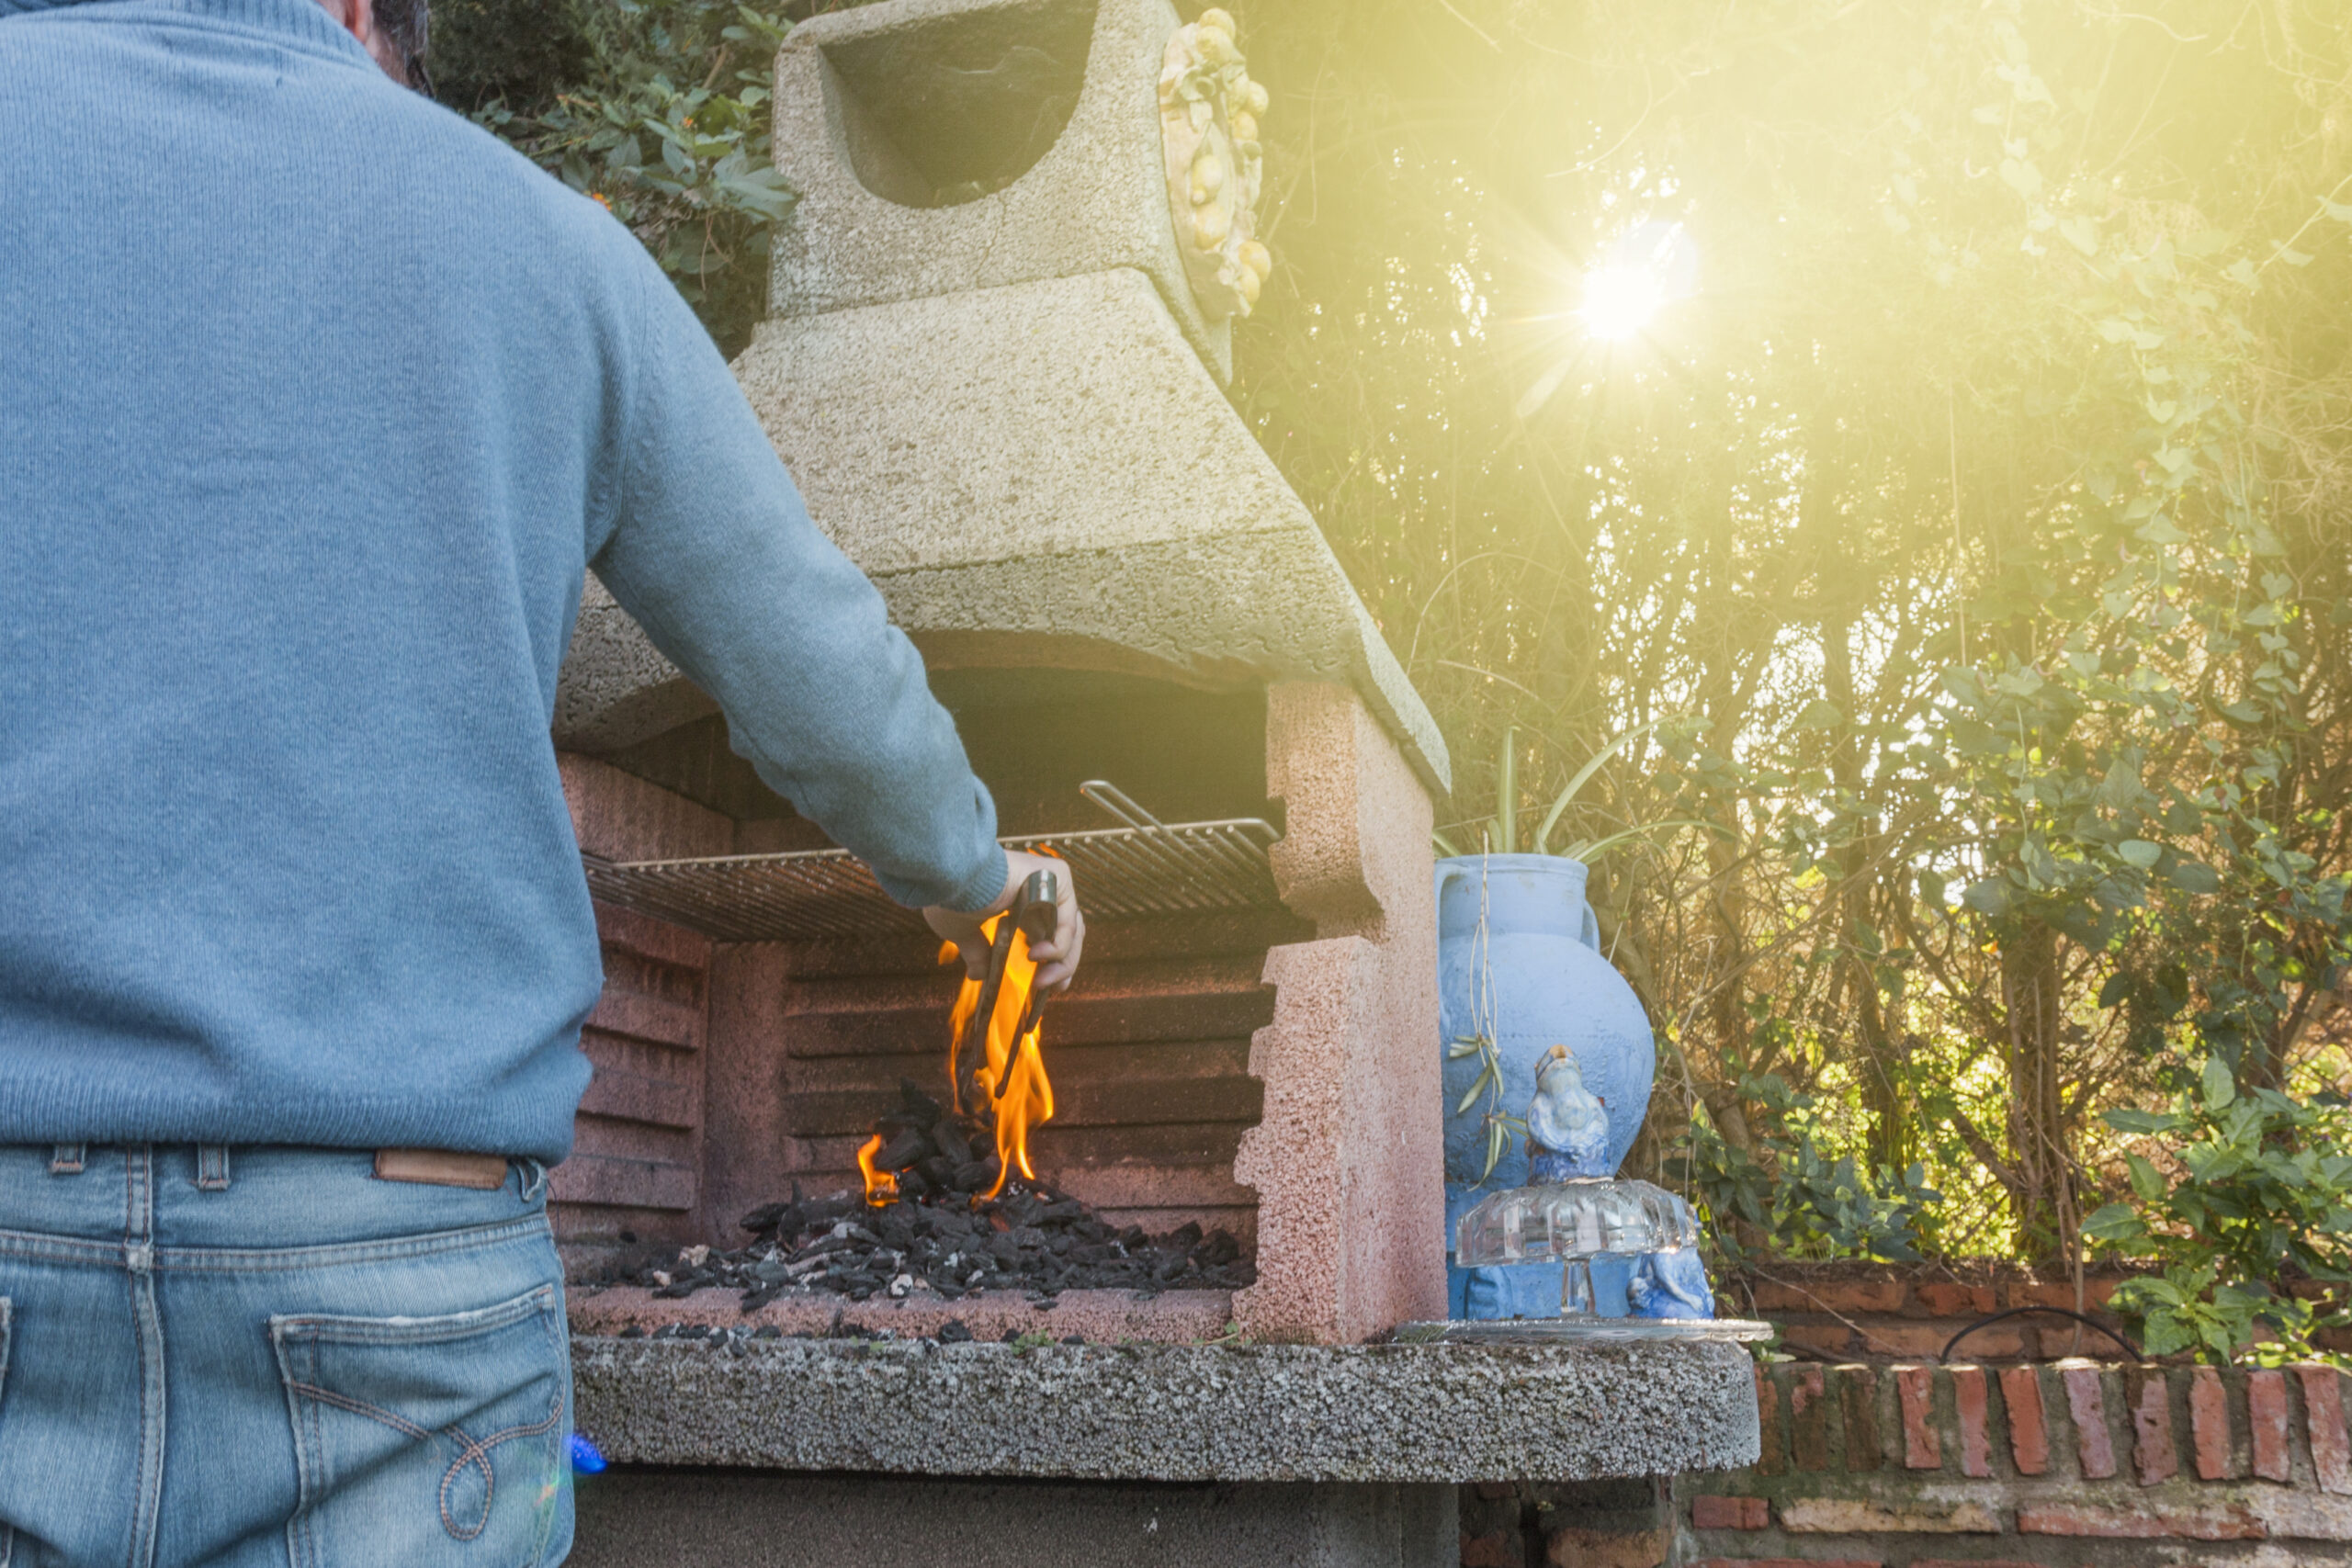
Before you start cooking, it’s important to season your brick smoker. This process not only burns off any lingering dust or debris but also helps the materials adjust to heat and prevents early cracking.
Start by lighting a small fire in the firebox using wood or a few logs, and let it burn for a couple of hours. Keep the damper and chimney open to let the smoke and gases escape. This initial burn helps dry out any remaining moisture in the bricks and sets the stage for future use.
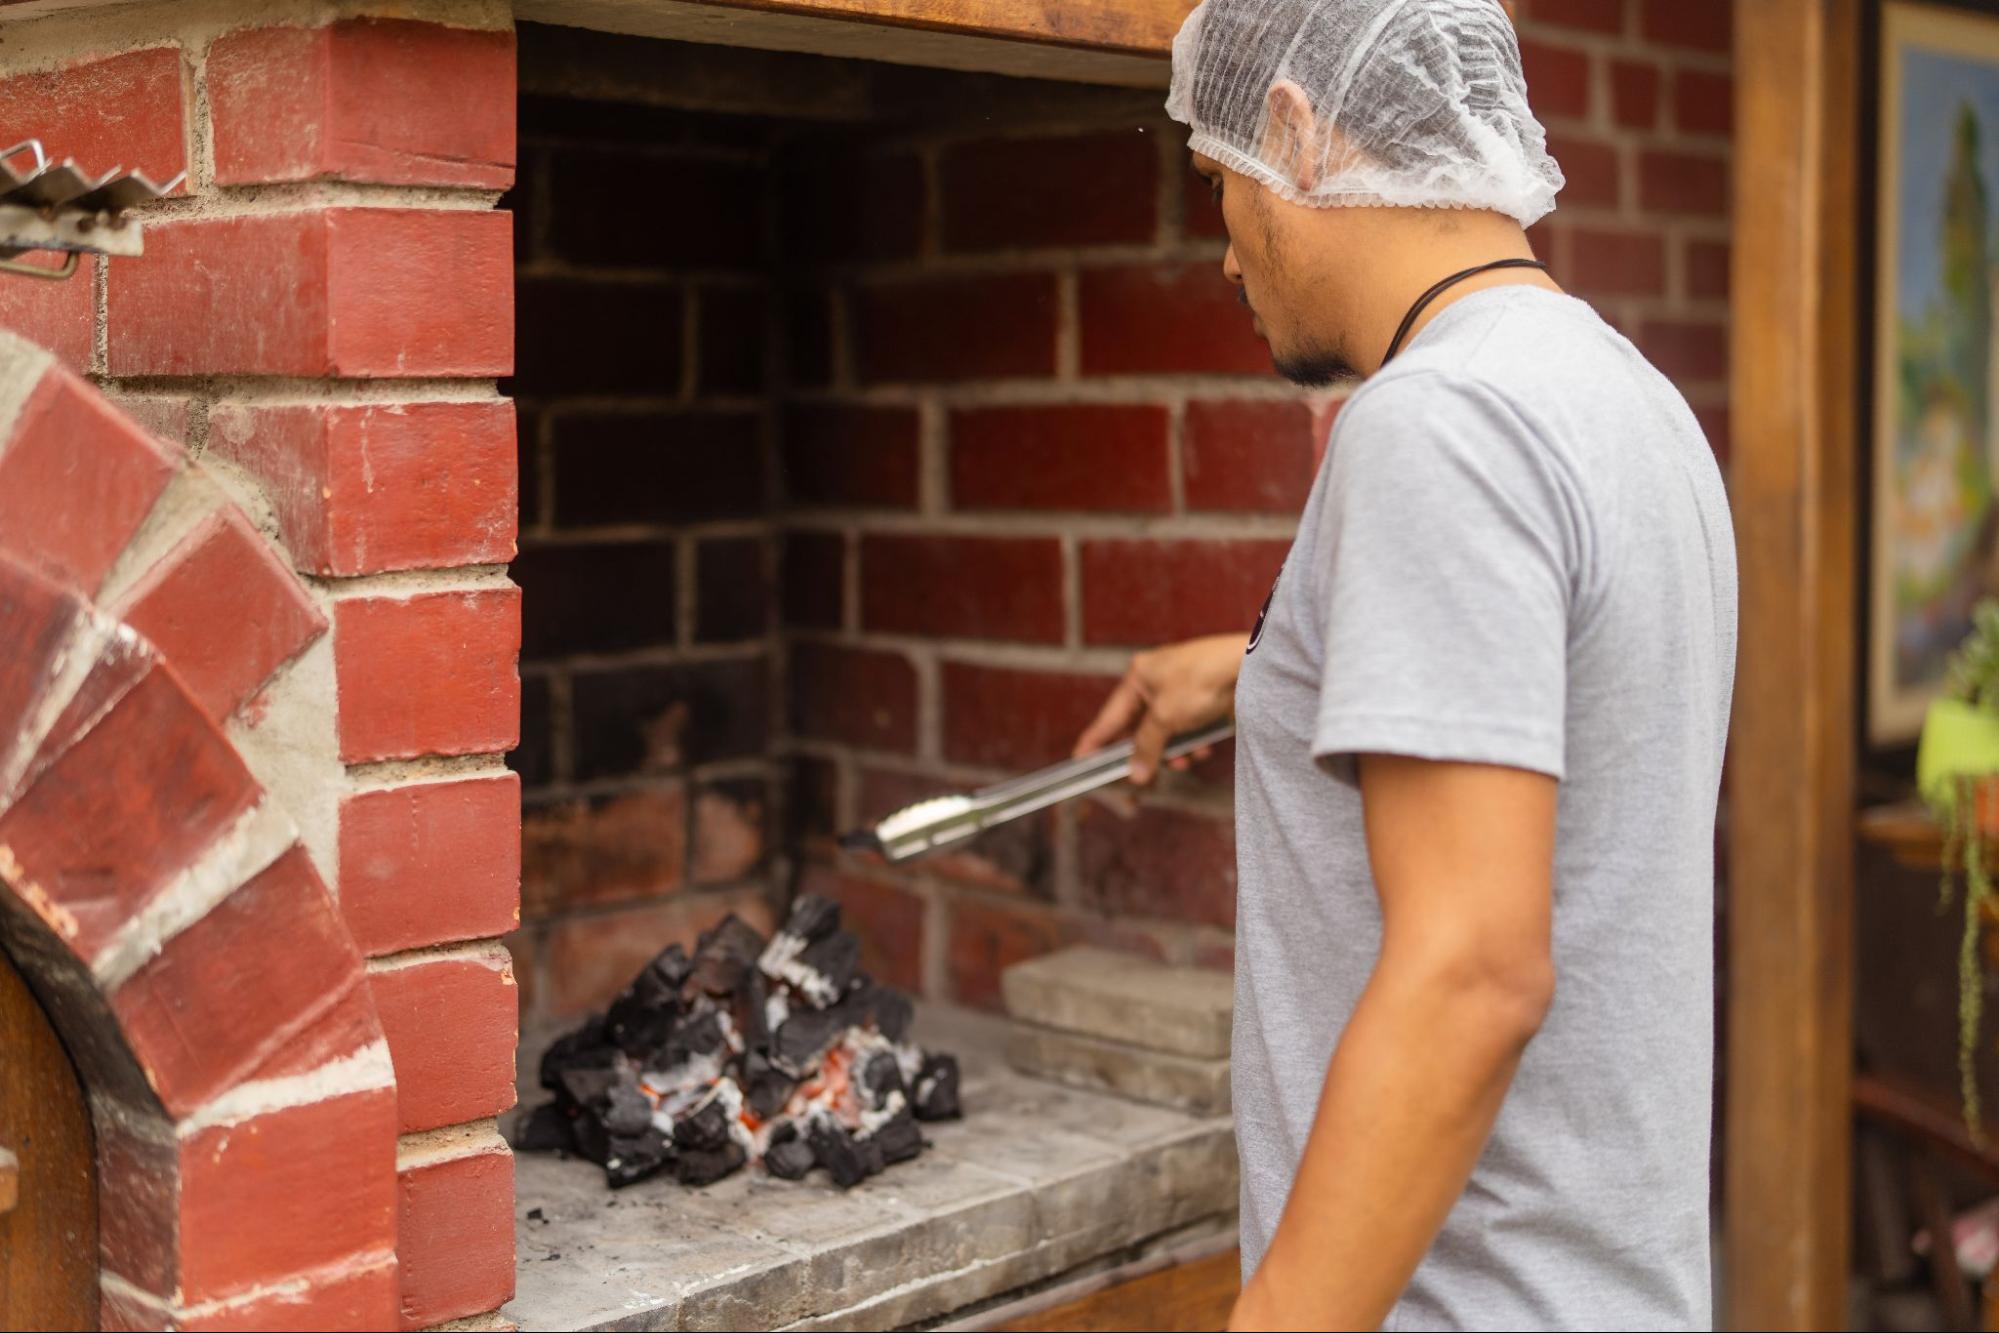
Watch how the heat moves through the walls, how the coals behave, and whether the grill area holds a steady temp. It’s also a chance to check that the doors, lid, and chimney are sealing properly and directing smoke as intended.
Each time you use the smoker, give the firebox a quick check and remove old coals or ash. Keep your grill clean – leftover grease or bits of food can ruin flavour and attract pests. After heavy use, a good scrubbing helps keep everything in top shape.
Inspect the structure every few months. Look for cracked bricks, loose mortar, or warping around metal parts. A well-maintained classic brick smoker can last for years with minimal upkeep. Replace worn-out parts and reseal joints as needed.
If you’re using the smoker often, consider installing a small shelf or storage block nearby to hold tools, fuel, and gloves – keeping everything to hand makes the job smoother and more enjoyable.
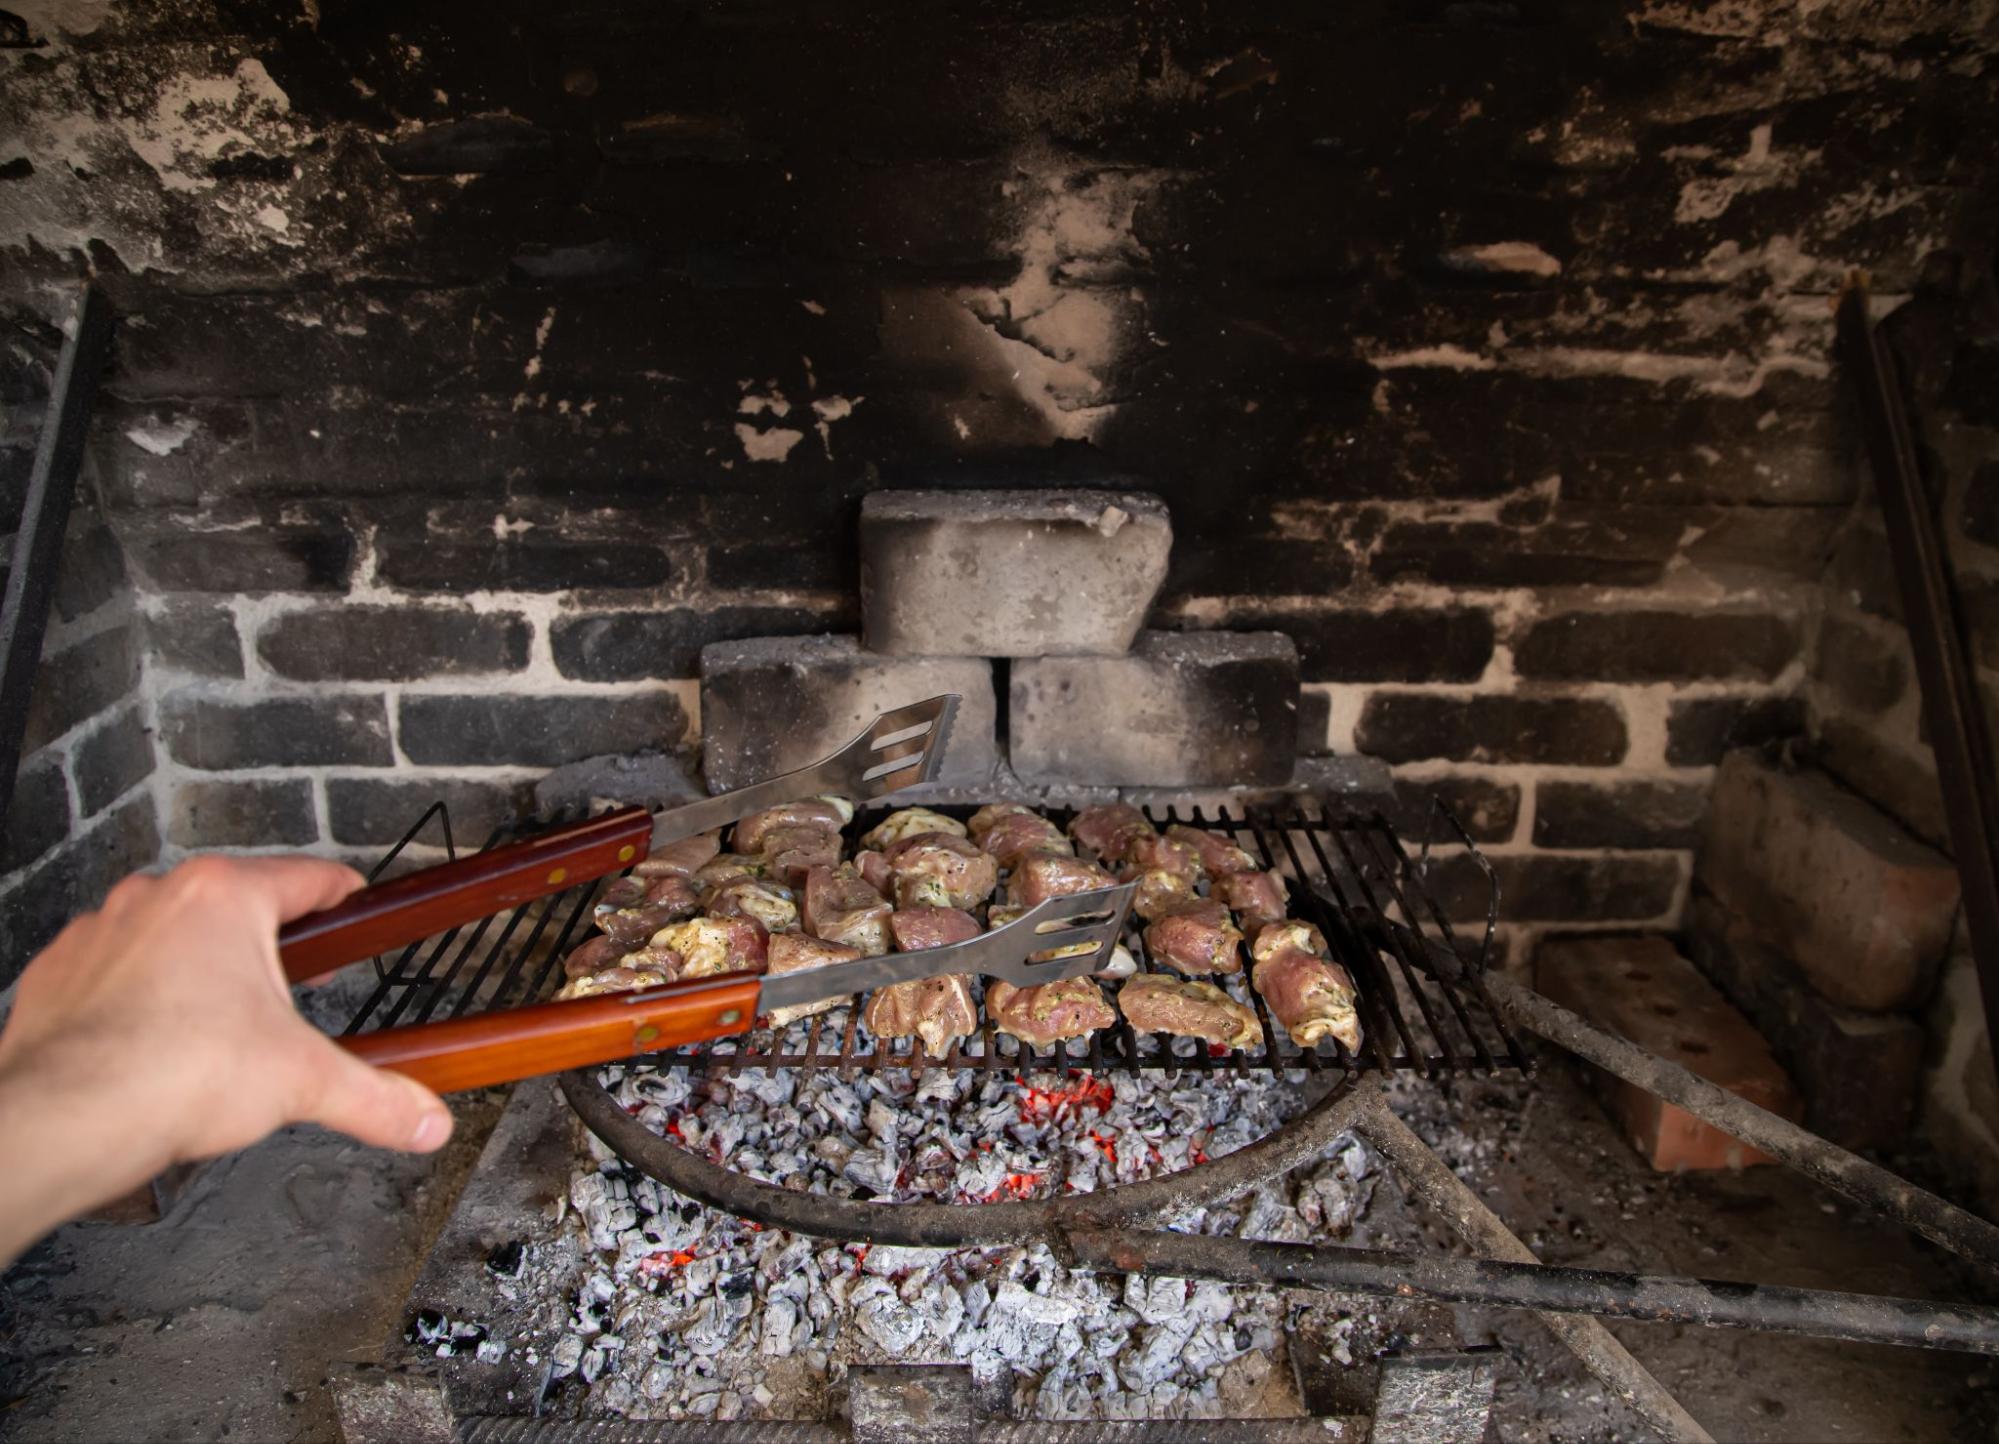
Building a brick smoker from scratch is no small task – but it’s a deeply rewarding one. You’ve created more than just a place to cook; you’ve built a centrepiece for your backyard, something that brings people together, fills the air with delicious smoke, and makes your food taste incredible. For more outdoor hosting inspiration, check out these backyard movie night ideas.
Whether it’s ribs, brisket, fish, or vegetables, your smoker will give you results that even the best shop-bought grill can’t match. You’ve mastered the basics of airflow, heat, and design, and turned raw supplies into something genuinely impressive.
Pair it with a brick BBQ, some seating, or a fire pit, and you’ve got a cooking space that’s not only functional but also a true feature of your garden. All it took was some mortar, time, patience – and a great idea.
Now, all that’s left is to fire it up, invite some mates round, and enjoy what you’ve built. Happy smoking. For more lifestyle inspiration and expert insights, explore the Decasa Collections Guides, where thoughtful living begins.