7 Reasons a Stretch Tent Is Perfect for Any Outdoor Occasion
-
Posted by
Did you know that one well-chosen tent can completely change the atmosphere...


Renovating an office after a fire, flood, or storm can feel overwhelming. The first steps you take will shape everything that follows, from safety to schedules to cost. Here is a clear, practical sequence to help you move from chaos to a safe and efficient rebuild.
Image Source:
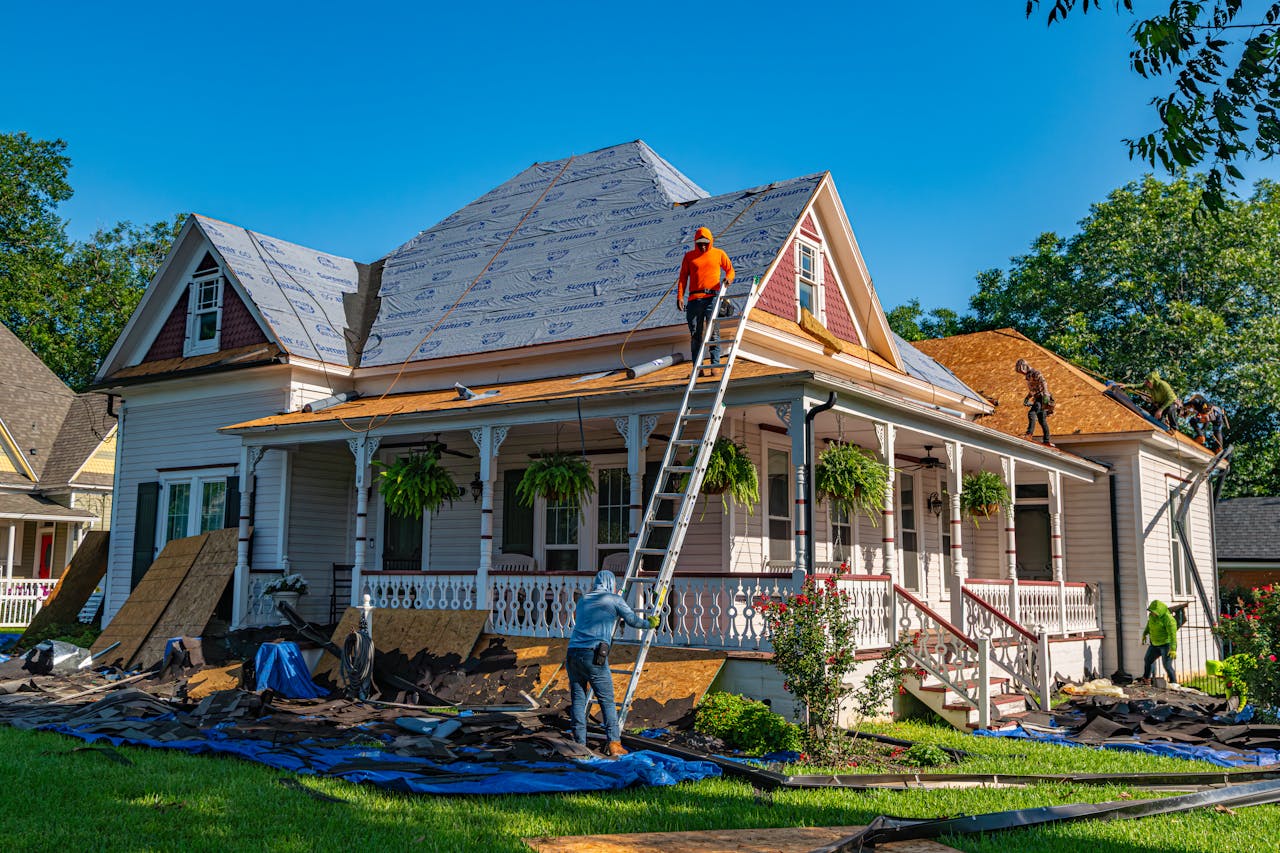
Before anyone rushes in, confirm the scene is safe. Shut off utilities if there is any chance of electrical, gas, or water hazards, and keep untrained staff out of the area. Stabilize obvious risks like falling debris, slick floors, and unsecured shelving.
If the building is accessible, use simple controls like caution tape and temporary barriers to mark unsafe zones. Place clear signage at entries so employees and vendors understand restrictions. Take photos from multiple angles without touching damaged contents.
Early documentation saves time and money later. Capture wide shots of rooms, then close-ups of walls, ceilings, equipment, and inventory. Keep a running list of serial numbers for electronics and major assets.
Contact your insurer as soon as you have the basics recorded. Ask about approved vendors, claim requirements, and temporary protection steps they expect you to take. Store all receipts for emergency purchases, including tarps, fans, and security boarding.
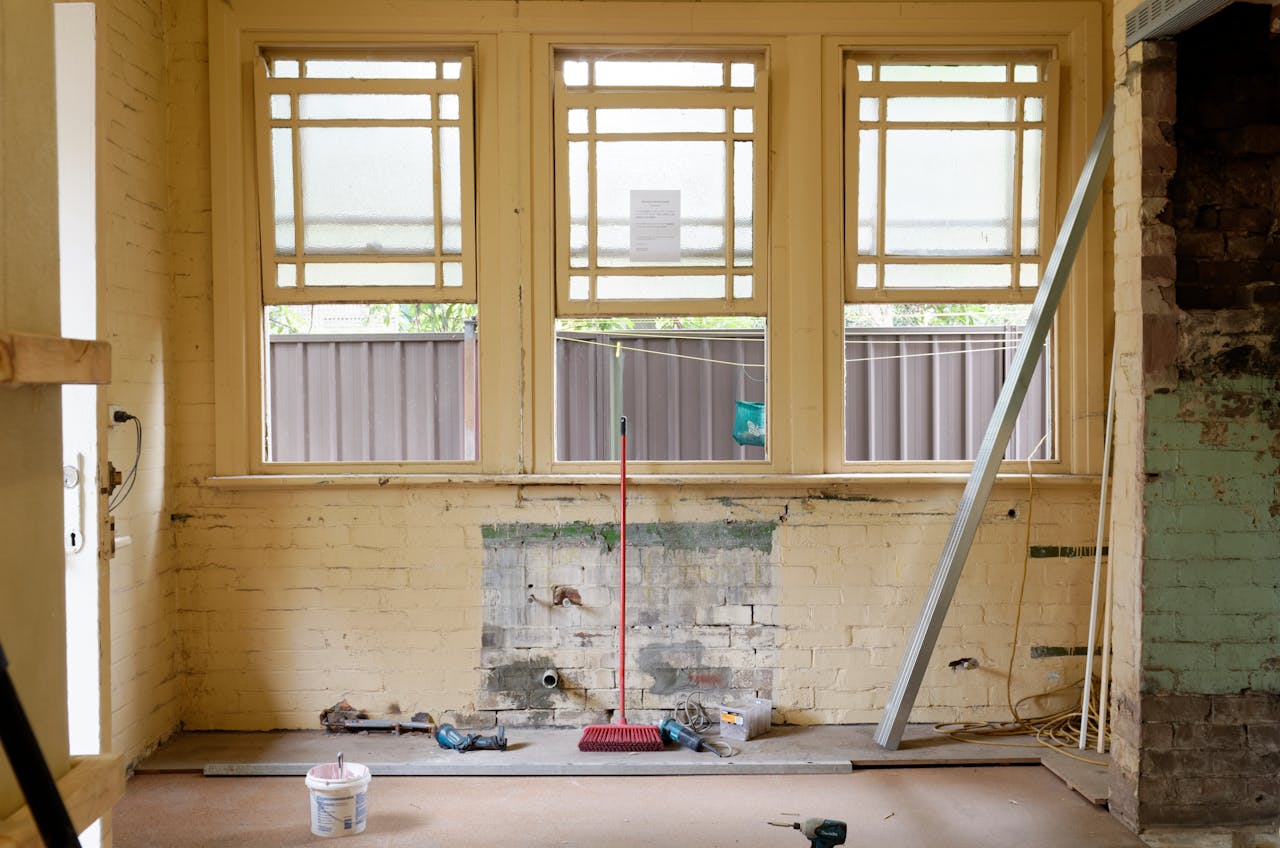
Cleanup is not the same as everyday janitorial work. It often involves hazardous materials, unstable structures, and specialized techniques to remove soot, sewage, or microbial growth. For smoke and odor issues on furniture and files, consider professional post-fire cleaning help from specialists, who can often save what looks unsalvageable. This early move prevents secondary damage that can derail schedules later.
A federal program for disaster site workers emphasizes hazard recognition, proper PPE, and safe decontamination steps for cleanup teams. That training highlights why qualified crews should handle initial removal, deodorizing, and waste disposal – especially when contaminants or structural concerns are present.
Getting people productive again is as important as repairing drywall. A business continuity plan outlines how to maintain operations while your space is restored. Guidance from the U.S. Small Business Administration explains that a well-prepared continuity plan reduces financial loss and speeds recovery by defining critical functions, backup locations, and vendor relationships.
Use a short huddle to identify the minimum setup your teams need for 48 to 72 hours. Prioritize devices, data access, and a temporary workspace. Communicate a simple timeline and point of contact so employees know where to work and how to get support.
Before rebuilding finishes, have qualified pros assess electrical panels, data cabling, HVAC, and plumbing. Wet insulation, soot in ducts, or corroded connectors can cause hidden failures later. Replace or professionally clean materials that are porous or contaminated beyond safe reuse.
Air quality matters for both health and speed. Use HEPA filtration, air changes, and source removal to keep particulate levels down. Keep a log of filter changes and clearance checks, which will help with insurance documentation and reassure returning staff.
With hazards controlled and cleanup underway, map the rebuild in phases. Start with shells and systems, then move to walls, flooring, and finishes. Build in inspections between phases so no one covers up work that needs adjustment.
Take the chance to improve resilience. Elevate critical equipment, add surge protection, or choose finishes that tolerate moisture and smoke better. Update evacuation maps and communication trees. An hour spent now on prevention saves weeks later when the unexpected happens again.
Align your restoration contractor, electrician, IT integrator, and furniture provider around a single schedule. Set daily check-ins and agree on how change orders will be handled. Keep material lead times visible so the team can resequence tasks instead of stalling.
Plan a soft opening before full occupancy. Invite a small group to test workstations, conference rooms, and connectivity. Share a simple checklist of what is ready, what is still in progress, and who to contact for issues.
One lesson many teams learn is that safety culture must show up on day one. Training for disaster site workers calls out the need for fit-tested respirators, eye protection, and decontamination procedures that keep contaminants from spreading to clean areas. Make those practices routine across vendors and internal staff so shortcuts do not creep in when schedules get tight.
Renovating after a disaster is never easy, but there is a path that keeps people safe and the business moving. Focus first on safety, documentation, and qualified cleanup, then layer in continuity, systems testing, and phased rebuilding. With a steady plan and clear communication, your office can come back stronger than before.