Breathable & Safe Bedding: What to Look for in a Healthy Sleep Setup
-
Posted by
When it comes to creating the perfect sleep environment, many people focus ...
Hosting friends and loved ones in your home is a real treat, …
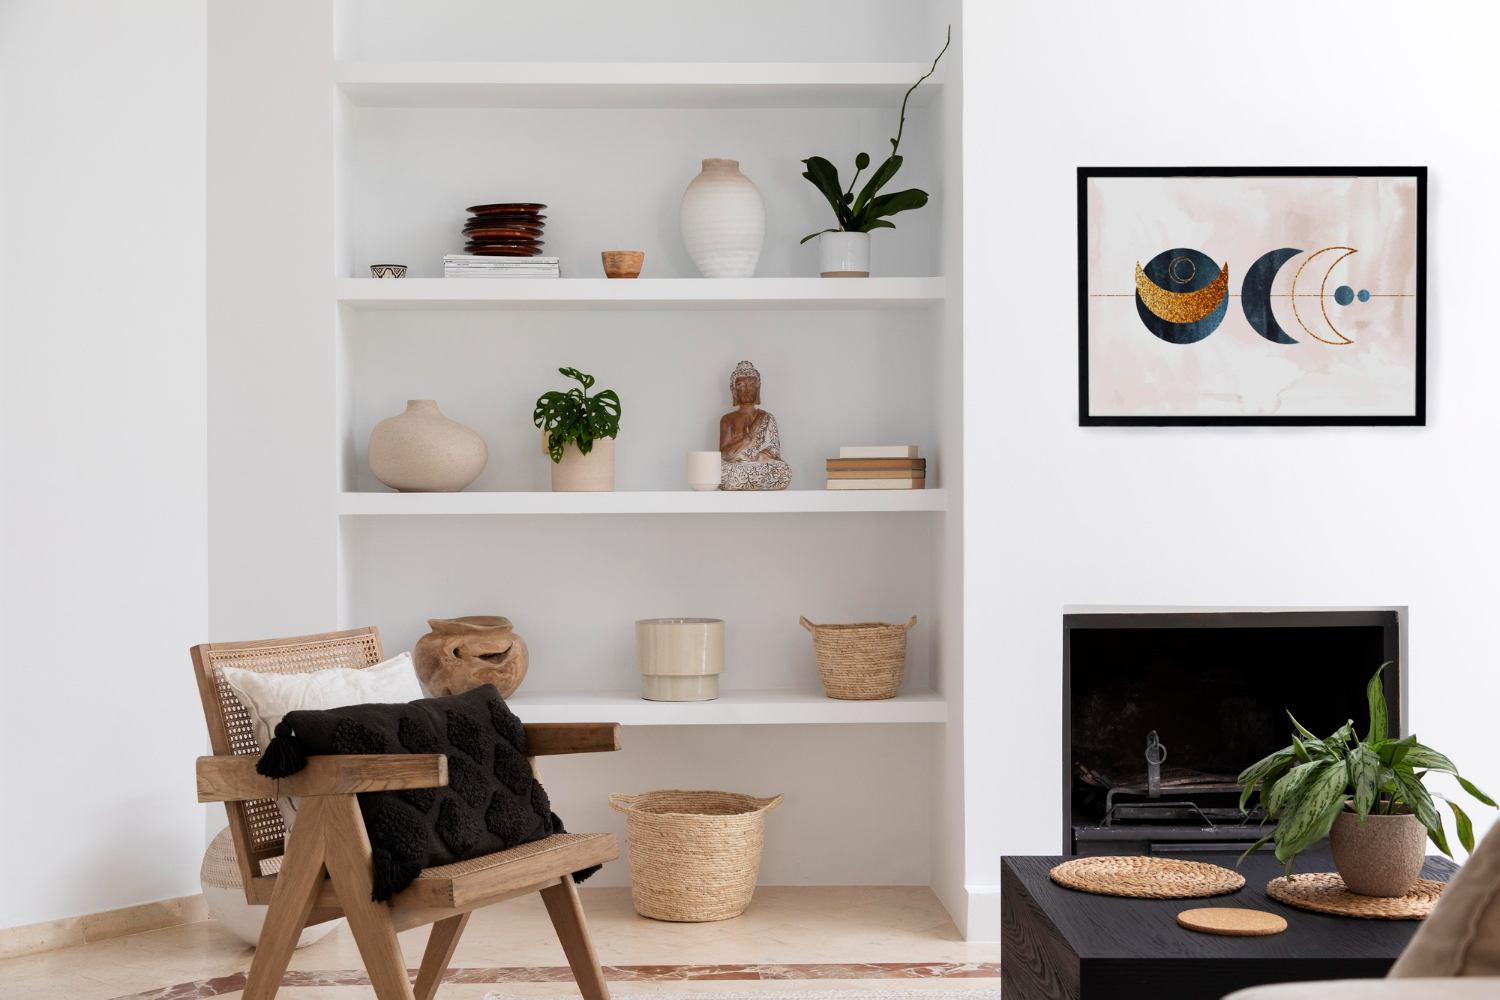
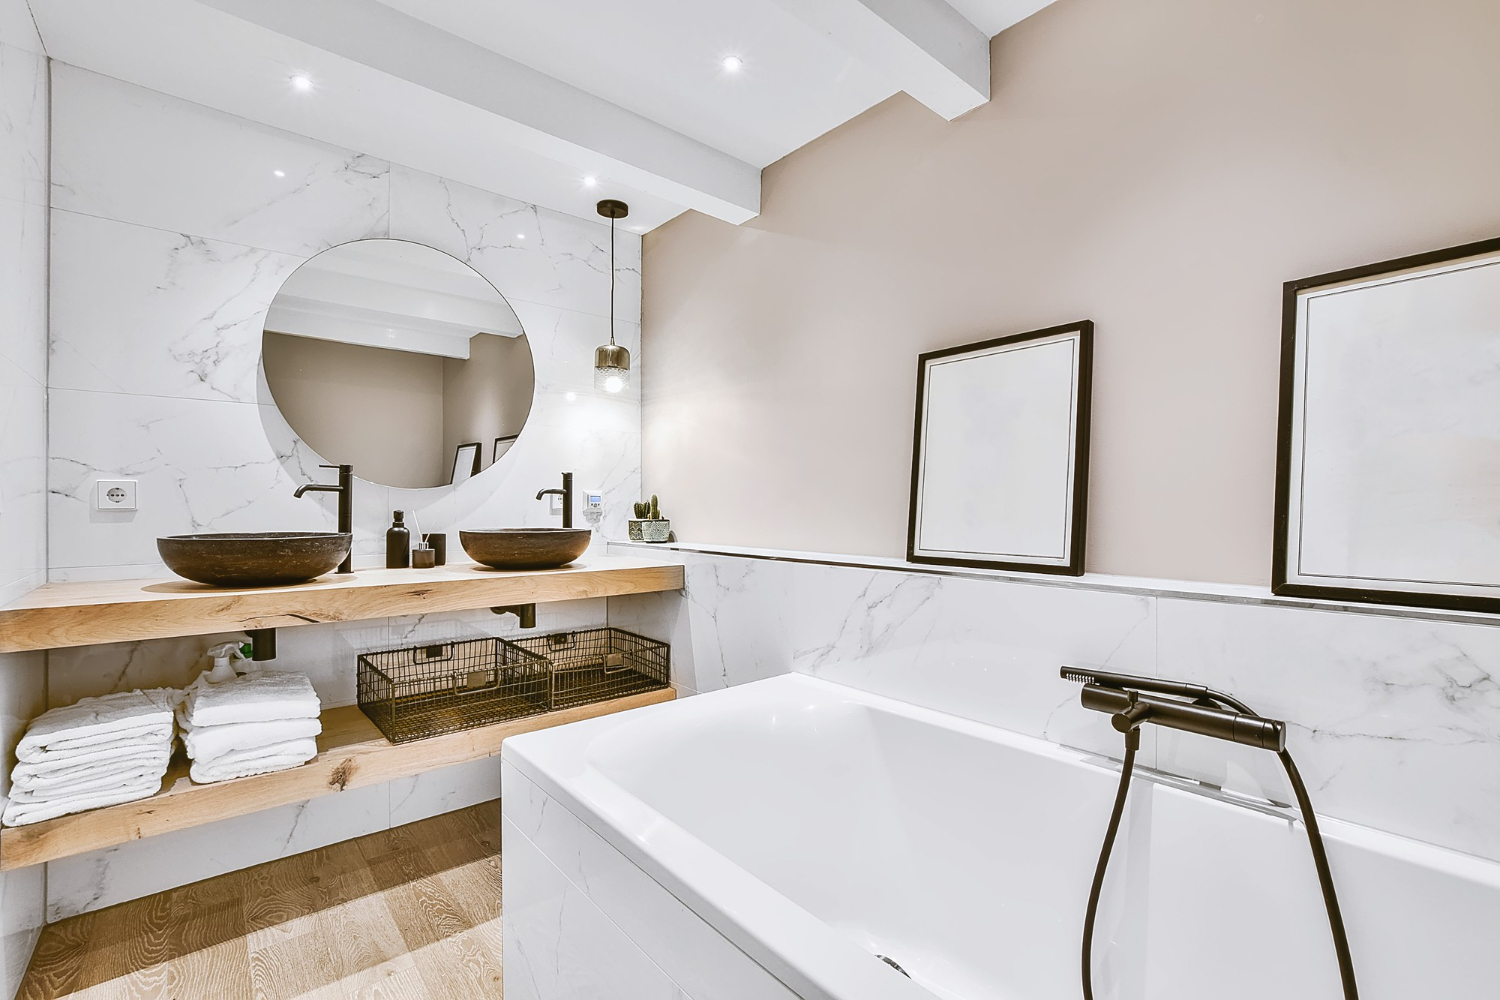


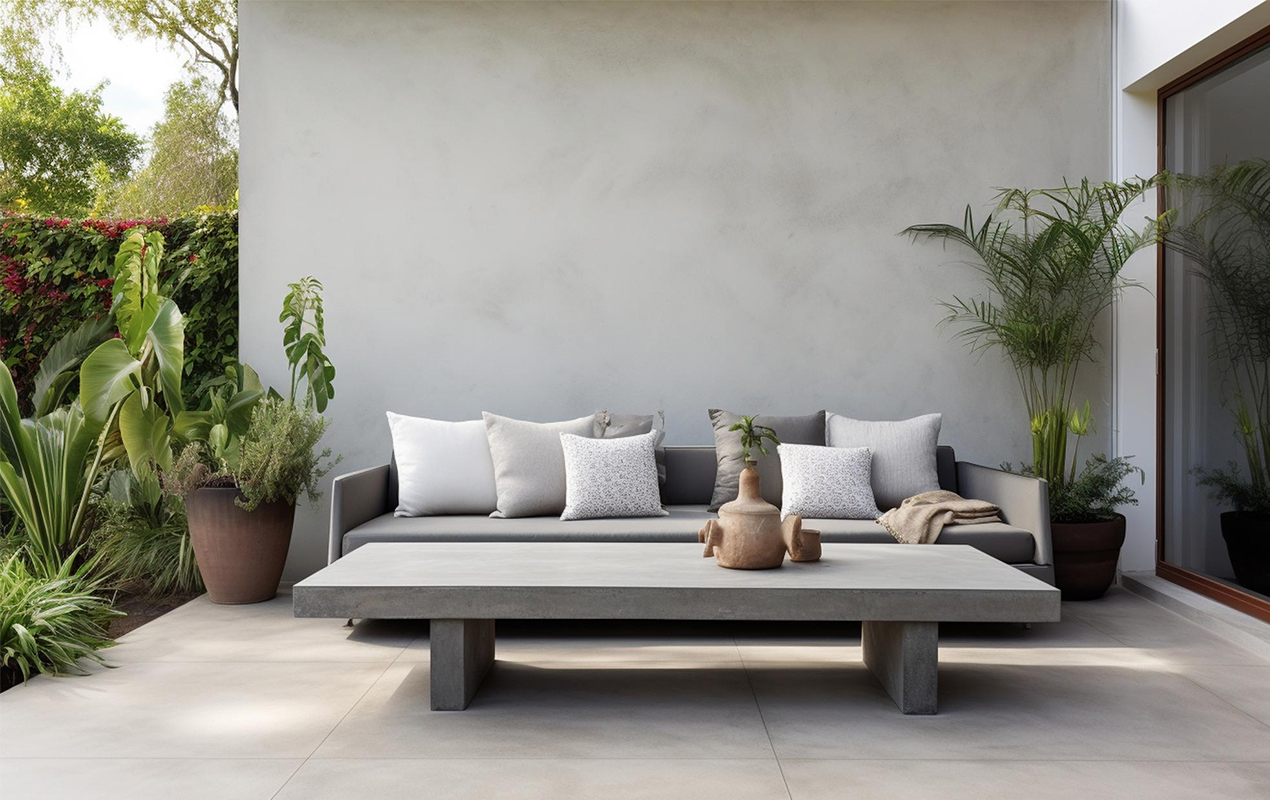
DISCLAIMER: The images in this post are for informational purposes to illustrate potential possibilities, recognizing that individual tastes vary. We aim to capture your wants and needs, expanding on each style where possible to offer a range of available options from reputable designers and affiliated brands. This selection process considers a variety of factors to ensure we cater to the diverse preferences of our readers.
Been admiring those industrial-style concrete coffee tables online but hesitating because of the hefty price tags? If so, don’t despair. You’ll be happy to hear you can concoct your own concrete coffee table that’s both affordable and stylish. All you need is a concrete mix, a mold, and some free time over the weekend. Once you finish, you’ll have a chic piece that you can proudly show off to your friends. Imagine how your living room will look with this sleek concrete slab as its centerpiece. Your friends will be amazed, but you’ll just smile, knowing that you’ve tapped into your inner DIY artist. Although the project may seem daunting, we’ll guide you through the process step by step. By the end of it, you’ll feel like a DIY champion, and you’ll have a stunning new coffee table to enjoy. Let’s get started.

Photo by Julienprotz from Freepik
Insight – To strengthen the structure, you can add reinforcement by laying rebar or wire mesh inside the forms. This will provide extra strength.
You’ll need to gather the essential supplies to make your own concrete coffee table.
For the base, you’ll want wooden boards for the tabletop frame. Pine boards work tremendously and are budget-friendly. You’ll also need concrete mixing supplies like:
To reinforce the concrete and prevent cracking, you’ll need:
To finish the table, gather the following:
Related Article: 22 Chic Concrete Coffee Table Design Ideas That Ooze Inspiration
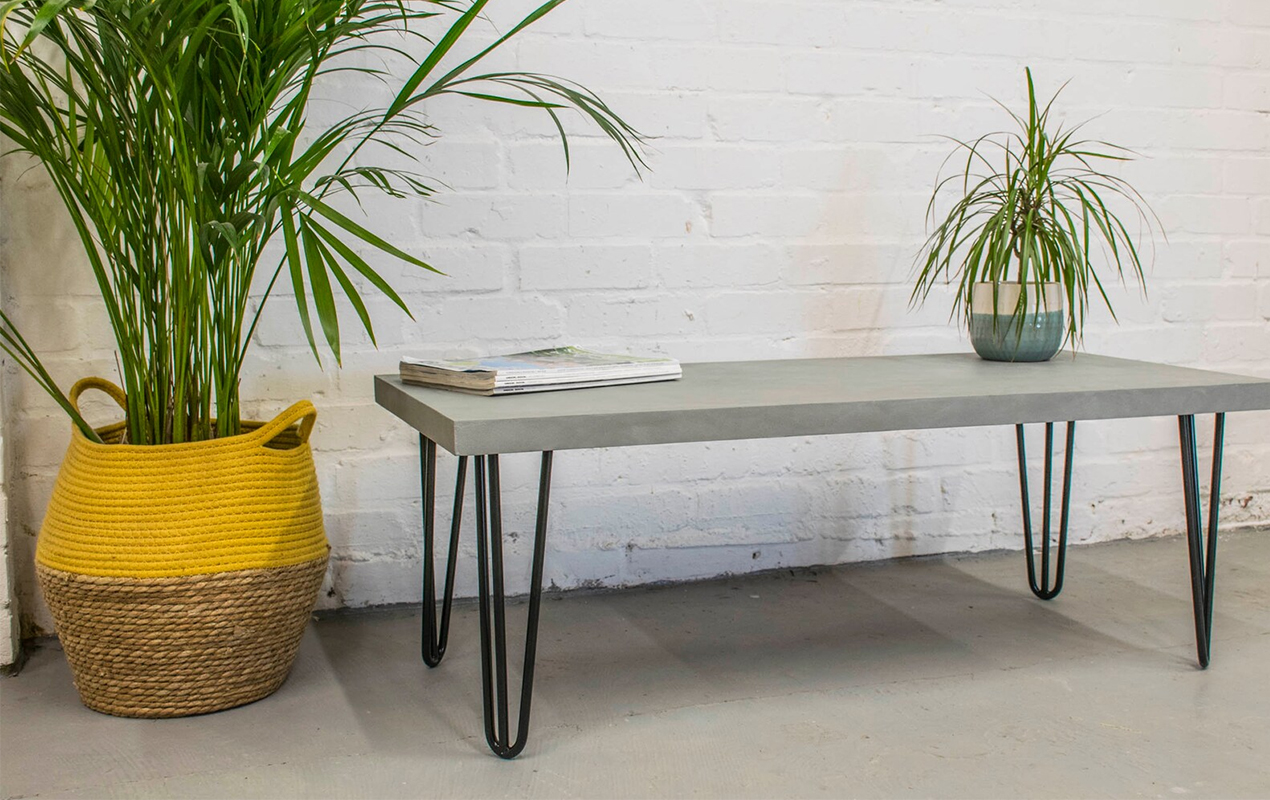
Photo by Bespokecrete from Freepik
Insight – Achieve a perfectly level surface by screeding the concrete with a specialized tool. Don’t settle for a subpar finish — take the extra step to ensure a flawless result.
To form your concrete table, you’ll need to construct a sturdy mold to hold the wet concrete in place as it dries and hardens. For the base, use 3/4-inch plywood cut to the dimensions you want for your tabletop. Secure the boards together at the edges to form an open box. You’ll also want to attach legs to the base so you can move the mold around. Wood boards, metal pipes, or plastic legs all work well.
For the sides of the mold, you have a few options. You can use:
Whichever you choose, the sides should be at least three inches high to contain the concrete. Be sure to seal any cracks in the mold—you don’t want your concrete seeping out. Once your mold is built, you’re ready to mix and pour your concrete. Take your time and be meticulous—your coffee tables is about to be set in stone.
Read More: 27 Coffee Table Design Ideas You Never Knew You Needed
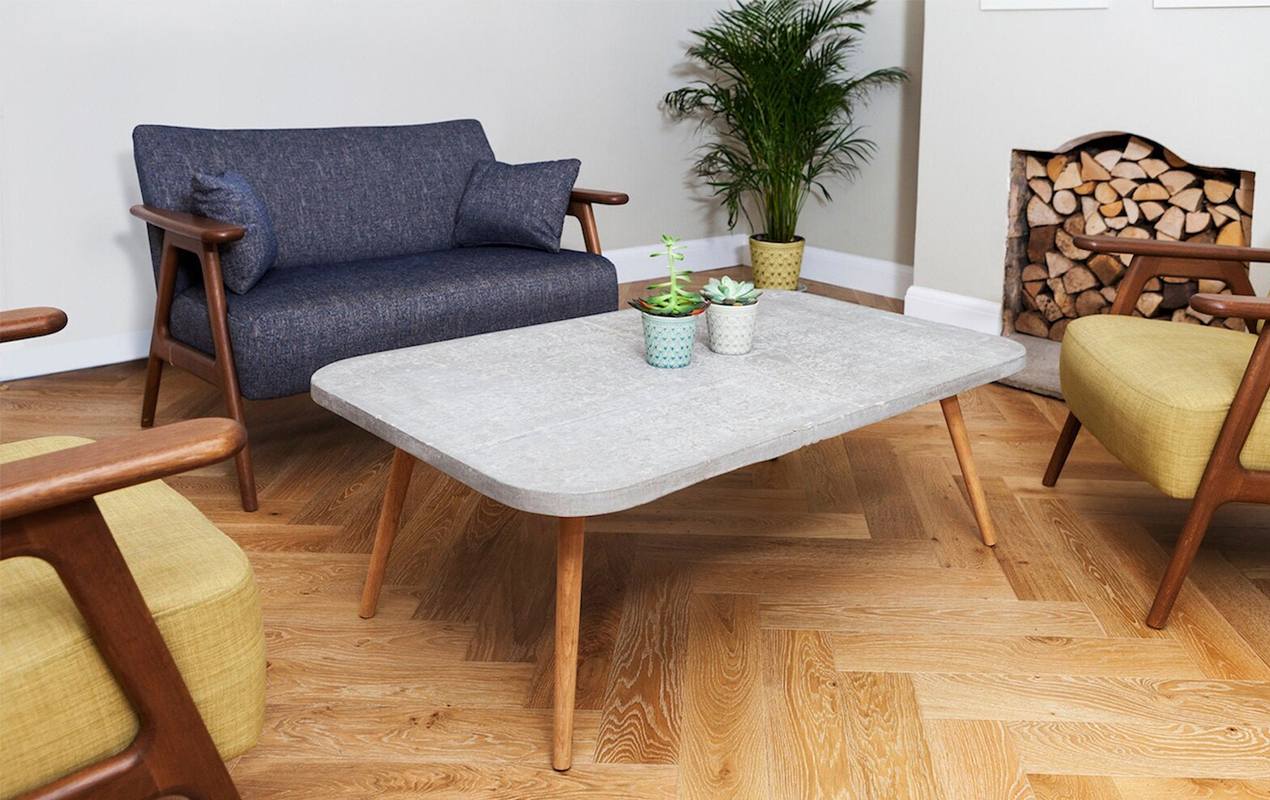
Photo by ConcreteCoDesign from Freepik
Insight – Achieving a perfect finish for your concrete project is easy! Once the concrete has slightly hardened, you can apply a smooth or textured finish using a trowel or brush. Don’t settle for a mediocre result when you can create a professional-looking finish with just a few simple steps.
Once you have the mold built, it’s time to mix and pour the concrete for your tabletop. This is a messy process, so make sure to wear old clothes and gloves.
You’ll need concrete, sand, water, a wheelbarrow or mixing tub, a shovel, a trowel, a level, and a float. For a standard four-foot-square tabletop, get about six bags of concrete and three cubic feet of sand.
In your wheelbarrow, combine the concrete, sand, and water. Start with four to six bags of concrete and two to three cubic feet of sand. Add water a little at a time, mixing thoroughly with your shovel after each addition. The consistency should be thick but still pourable. If it’s too dry, it won’t level properly; too wet, and it won’t harden correctly.
Pour the concrete into your mold. Use your shovel to spread and distribute it evenly. Tap the sides of the mold with your trowel to release any air bubbles.
Use your level to make sure the concrete is evenly distributed. Screed off excess concrete with your trowel. Once leveled, use your float to lightly smooth the surface. Cover the tabletop with plastic sheeting and let it cure for at least three to seven days before removing the mold. After removing the mold, you may need to sand down any imperfections or uneven areas. Apply a concrete sealant to help protect the surface. Add hairpin legs, and your concrete coffee table will be ready to use!
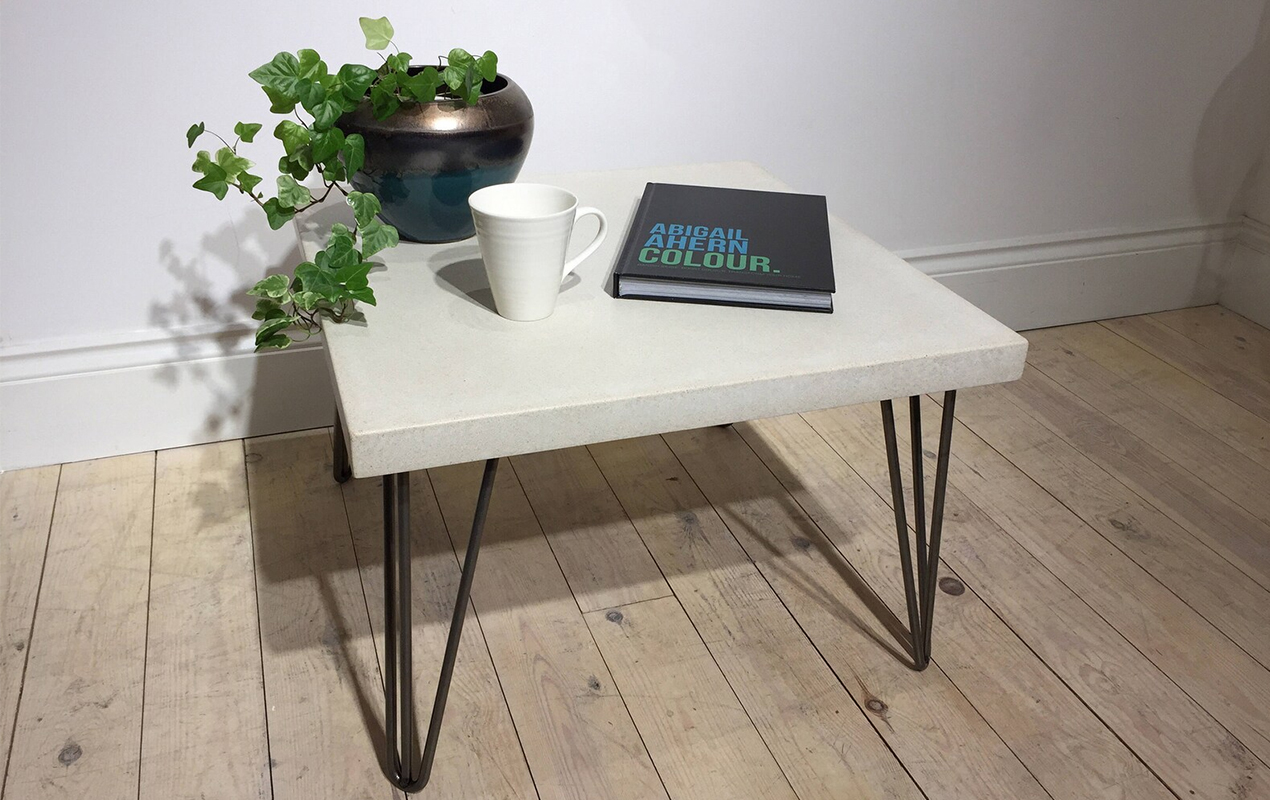
Photo by WovenstoneUK from Etsy
Once your concrete has cured for at least three to seven days, it’s time to unmold your masterpiece. This is an exciting step, as you’ll finally get to see the results of all your hard work!
Slowly and carefully pry off the sides of your mold. Use a rubber mallet to gently tap the edges until the sides come loose. Remove any remaining debris from the surface with a damp cloth.
Lightly sand down any imperfections and smooth the edges and surface. Use 120- to 220-grit sandpaper and gently sand in small circular motions. Wipe away dust with a tack cloth.
Apply two to three coats of concrete sealer, waiting two hours between coats. The sealer will protect your tabletop from stains and scratches. Wipe away any drips or uneven areas between coats.
For an ultra-smooth finish, you can polish your concrete table. Start with 400-grit sandpaper and work your way up to 3,000 grit, wiping away dust after each grade. Then, buff the surface with a polishing compound and a buffing pad. Polishing will result in a glossy, glass-like finish.
If desired, you can attach pre-made hairpin legs, trestle legs, or other table legs to the bottom of your table base. Flip the table over and mark where you want to attach the legs. Drill pilot holes, then screw the legs into place. Flip the table back over—your concrete coffee table is now ready to use.
Discover More: Craft a Custom Piece With Our 19 DIY Coffee Table Design Ideas

Photo by User16639364 from Freepik
Insight – Proper curing is essential for solid and durable concrete. Cover the concrete and keep it moist for at least three days to achieve this. This will ensure that the concrete cures properly and reaches its maximum strength. Don’t skip this crucial step and enjoy the benefits of a long-lasting concrete structure.
If you’re looking for a fun DIY project that lets you unleash your inner creativity, look no further than a concrete coffee table. Once you’ve completed this project, you’ll have a captivating piece to show off in your space. Your friends will be impressed with your handiwork, and every time you place your coffee cup on the smooth concrete surface, you’ll feel a sense of satisfaction knowing you built it yourself. Who knew you had an artistic side? It just goes to show that all you need is a little inspiration to get started. Keep exploring your creative side and see what other amazing things you can make with your own two hands. The possibilities are endless once you tap into your imagination.