The Top Pest-Proofing Tips For A Functional Home
-
Posted by
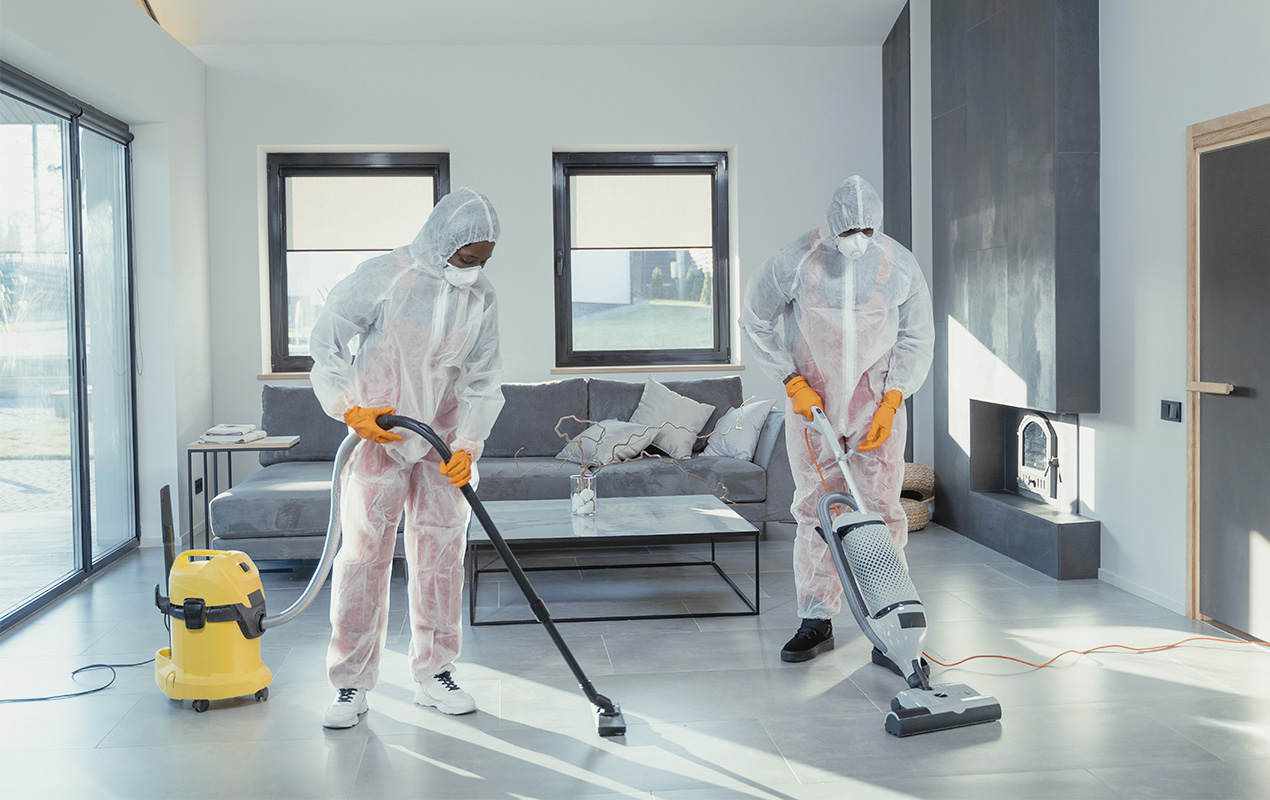
Having pest-proofing in the home can be a real nuisa...


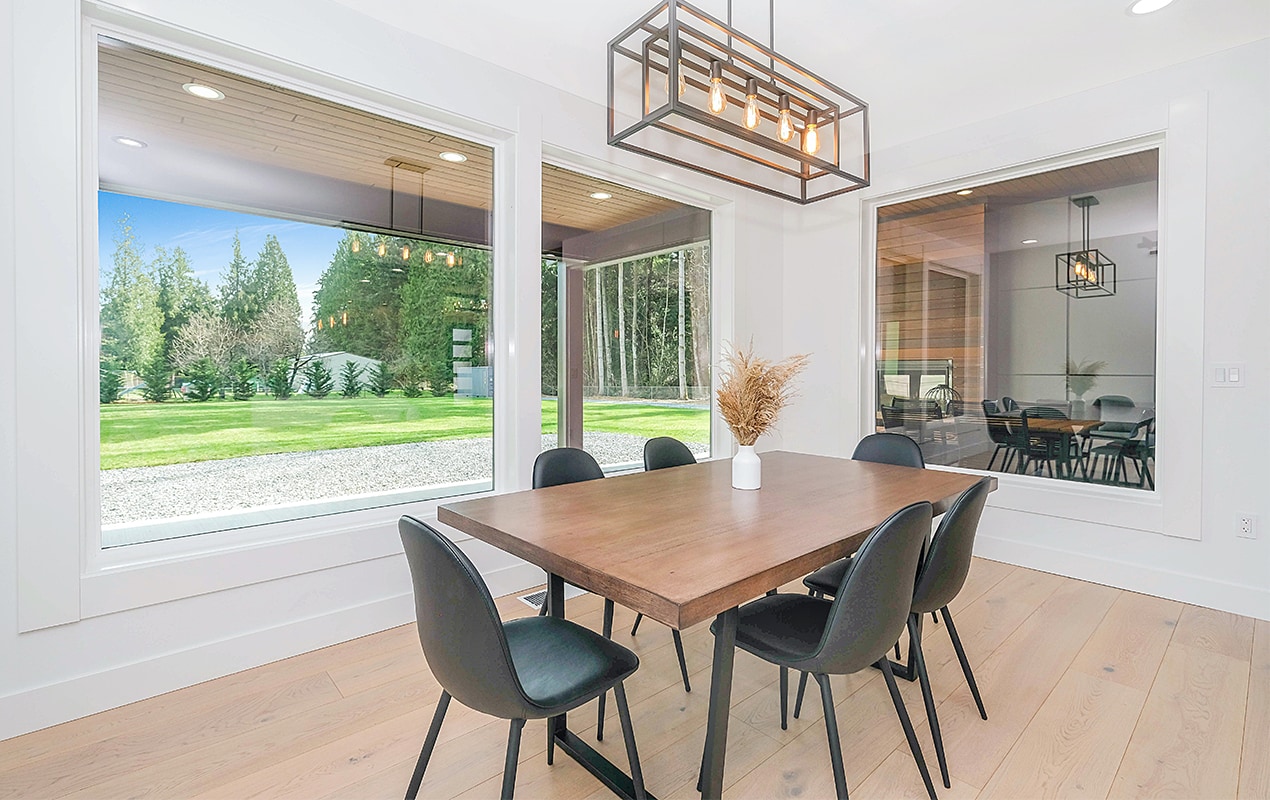
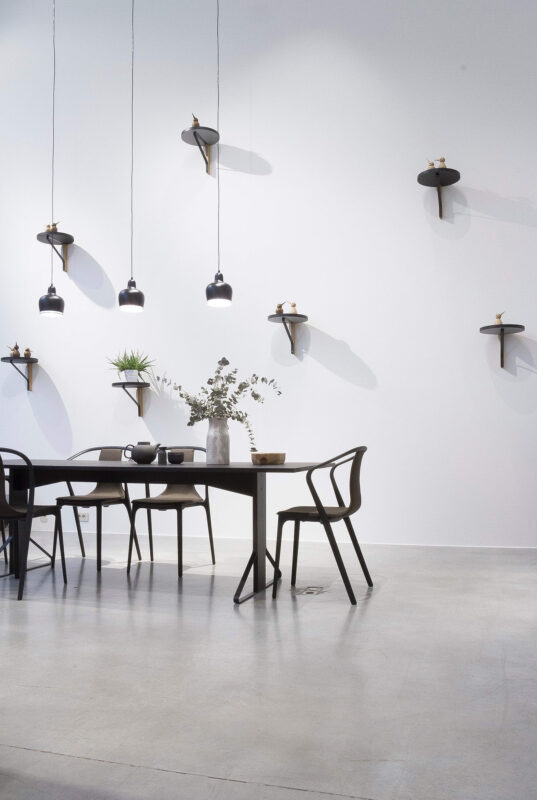
The dining room can be the venue for so many memories, from …
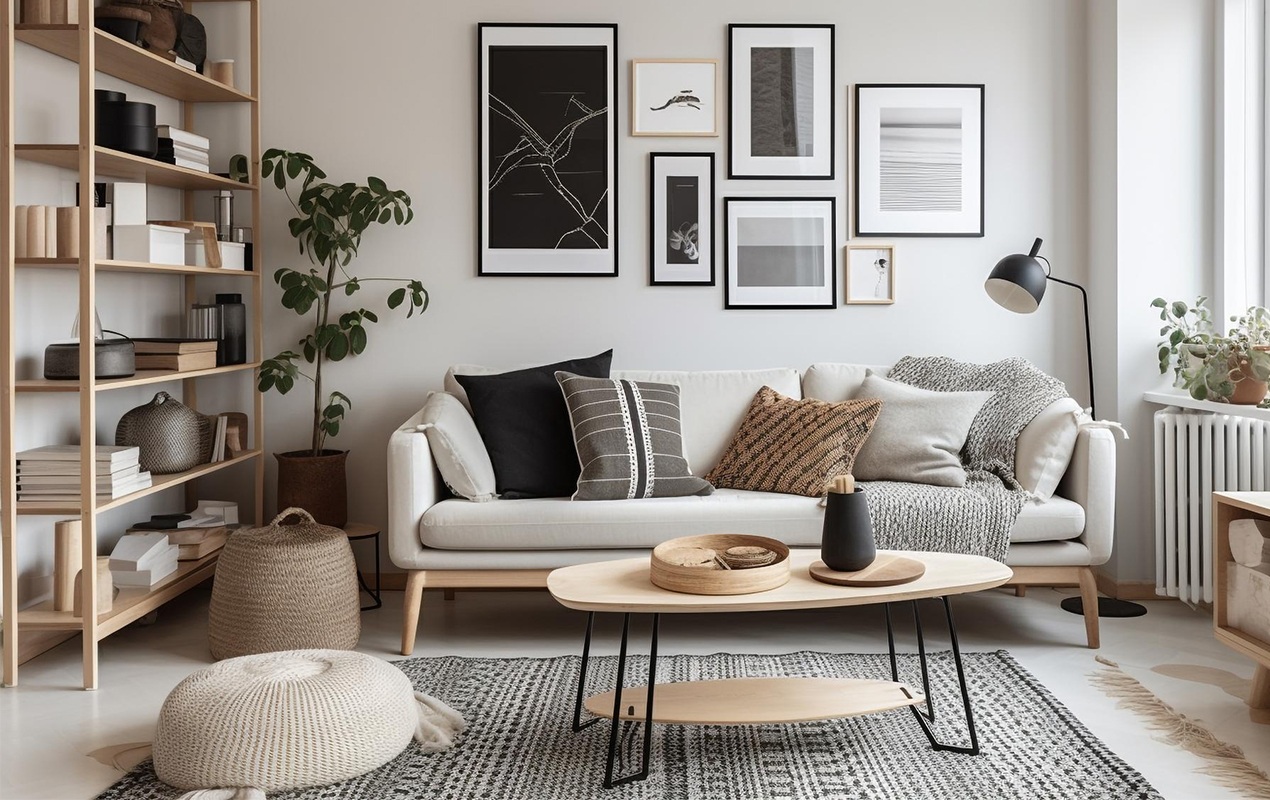
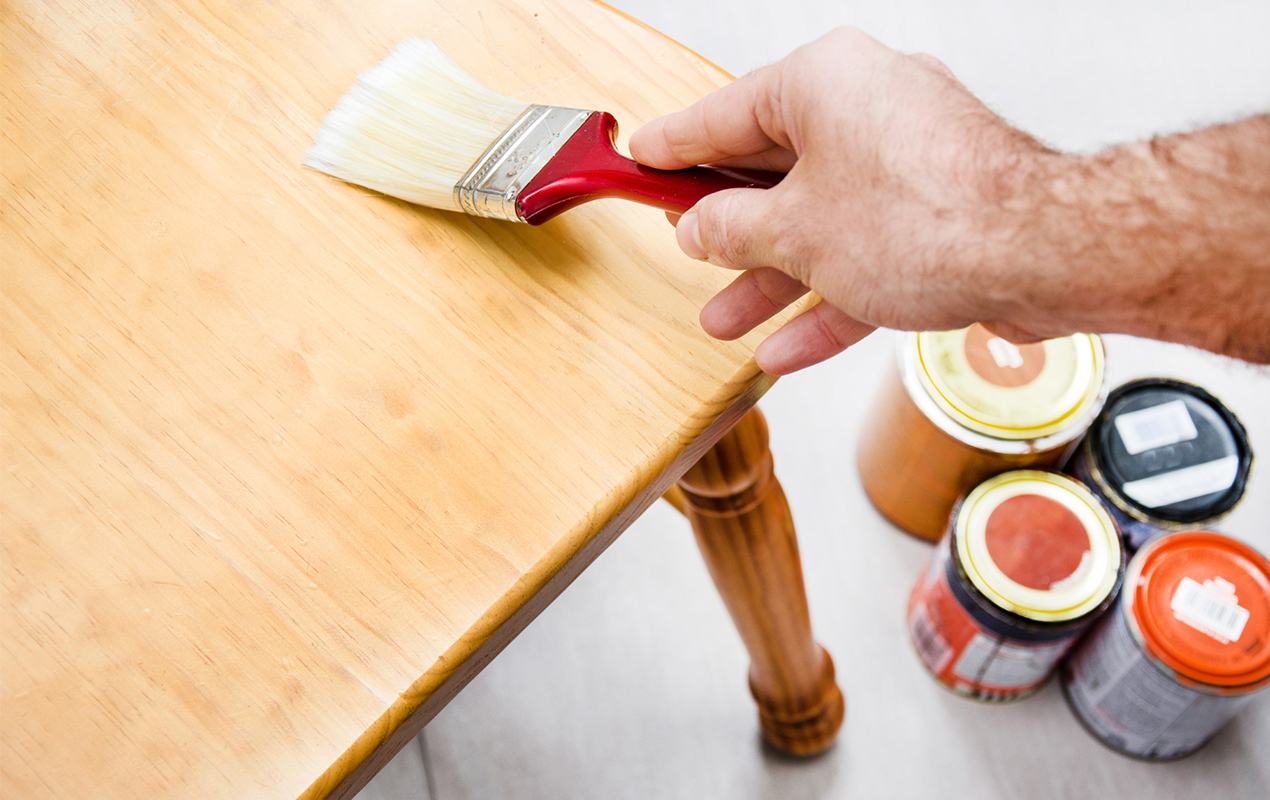
Feeling dull every time you walk into your room? A fresh coat of paint might elevate your room’s atmosphere and mood. But before you brush your way in, stop! A little planning is essential to ensure your interior painting project is a success. If you need to know where to start, you’re on the right page. In this post, you’ll learn everything you need to confidently transform your space, from choosing the perfect color to gathering your supplies.
Whether you’re a DIY enthusiast or hiring professionals like Goodwin & Sons Painting, this guide will help you avoid pitfalls for an astonishing, long-lasting finish. So, ditch the painter’s fatigue and get ready to create an interior that reflects your style.
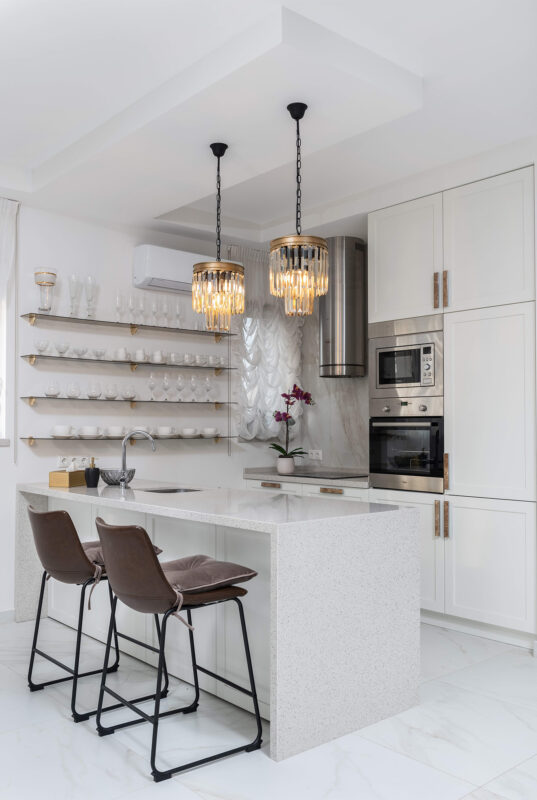
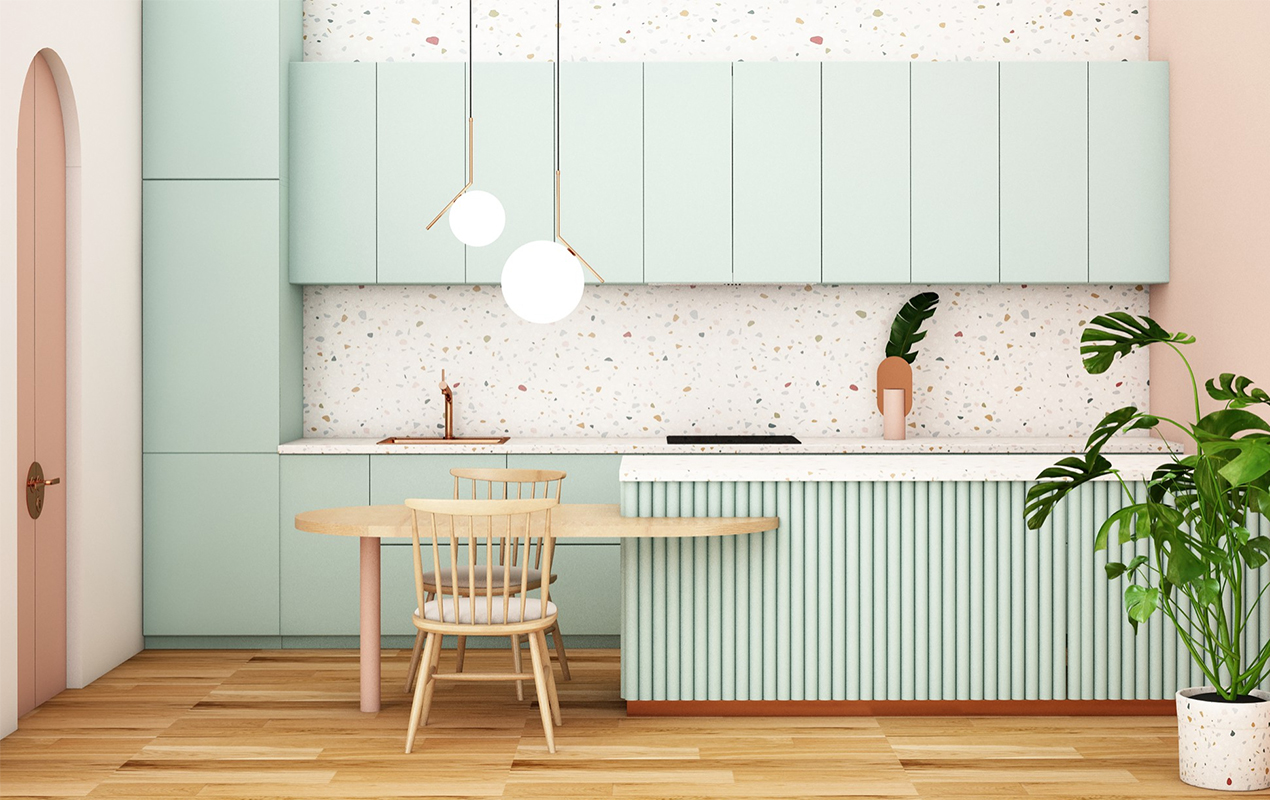
Is your kitchen feeling dingy from years of cooking splatters? Do the sunshine-yellow walls leave you feeling seasick? Maybe the once-trendy mauve in your living room now screams ‘grandma’s basement.’ Identifying these pain points is the first step.
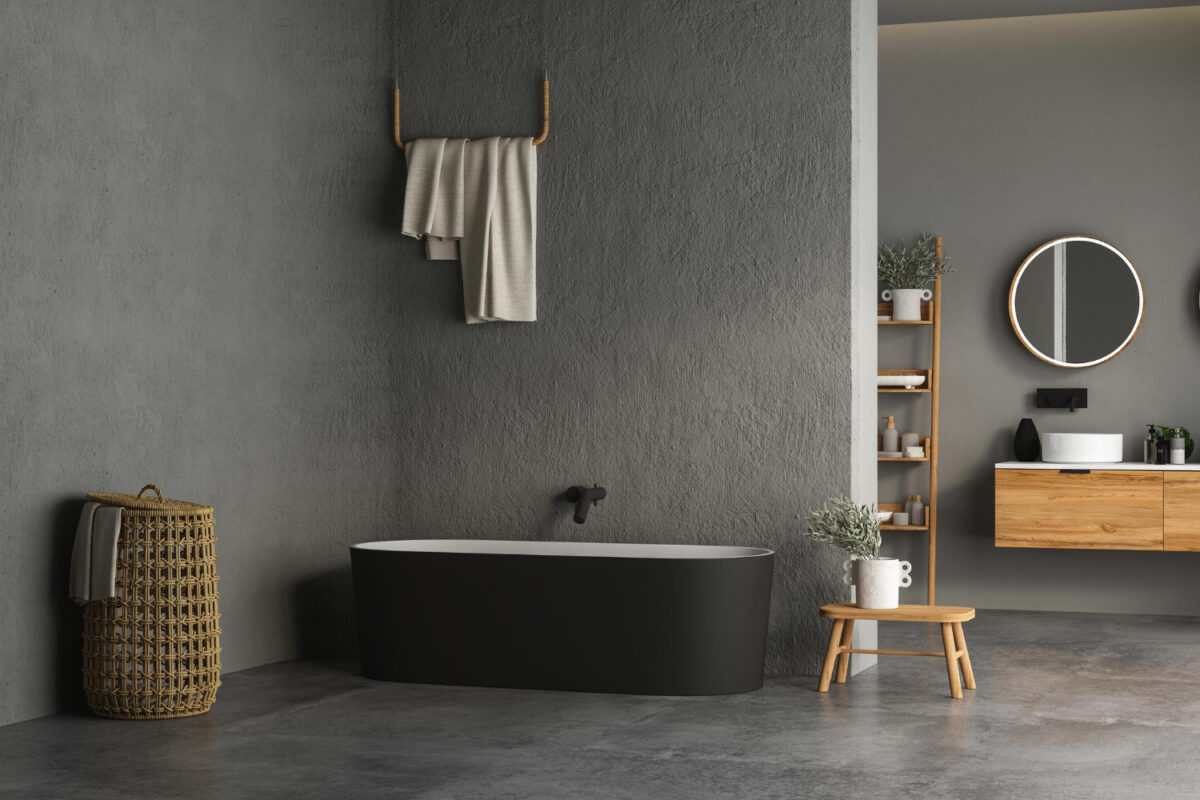
Don’t forget about functionality! High-traffic areas like kitchens and bathrooms need paint that can withstand wear and tear. Flat paints hide imperfections well and create a cozy vibe in living rooms, while a semi-gloss finish in the bathroom makes cleaning up messes a breeze. Knowing your needs and goals will guide you in choosing the perfect color, finish, and even the budget you allocate for your project.
Imagine yourself walking into the finished room. What feeling do you want it to evoke? Tranquil and spa-like? Warm and inviting? Energetic and modern? Colors have a powerful influence on mood and atmosphere; here’s a quick cheat sheet to get you started:
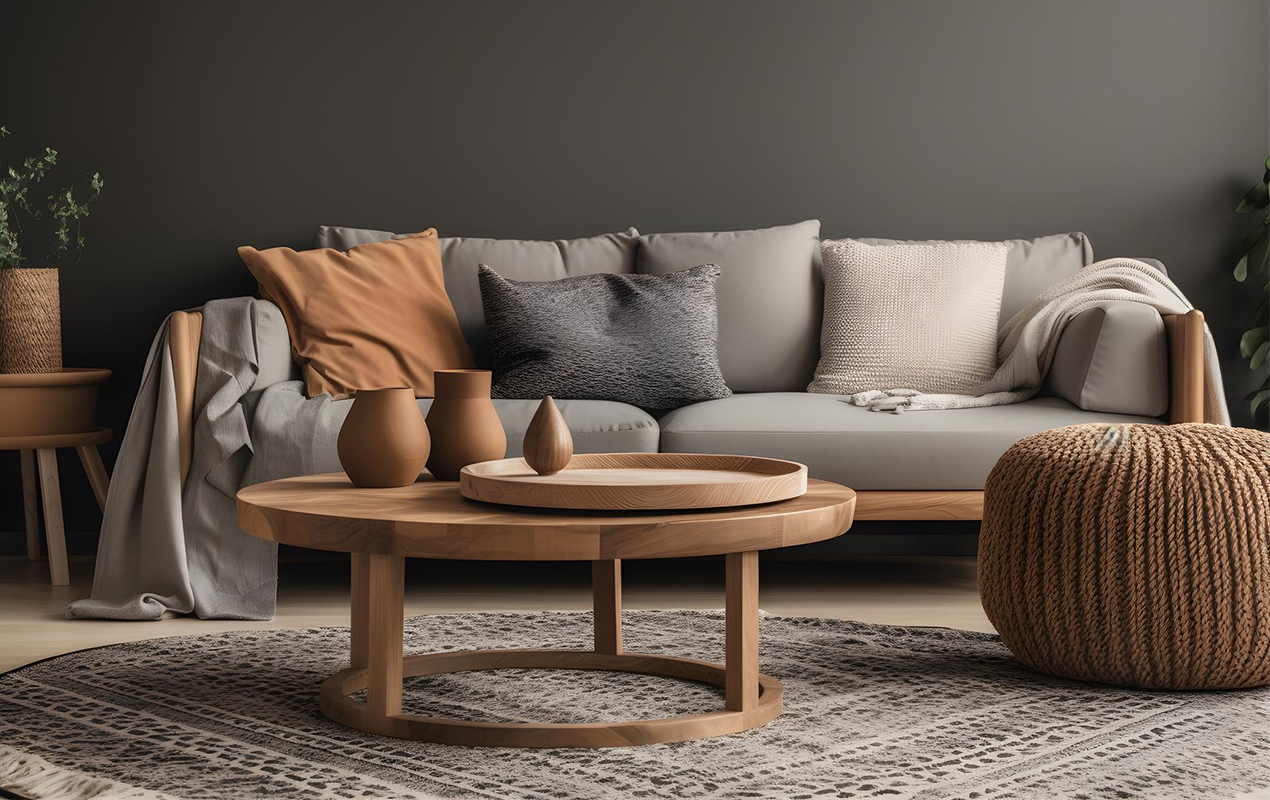
Think about the existing furniture and decor in the space, too. Do you want the paint color to be the star of the show or complement your existing pieces? Cohesive is key!
Picking the perfect paint goes beyond the color on the swatch. It’s about choosing the right formula for the job. Here’s where things get interesting—and maybe a touch confusing.
Ultimately, the best paint for your project depends on the room, the desired finish, and your budget. Still feeling overwhelmed? No problem! The friendly experts at your local paint store can help you navigate the options and choose the perfect paint for your needs.
Picking a paint color is fun, but the finish? Don’t worry—here’s the lowdown on those mysterious sheens:
Now you’re armed to choose a finish that reflects your style and makes cleaning a breeze!
You wouldn’t build on a shaky base, would you? The same goes for painting. A little prep work now will save you tons of headaches (and touch-ups) later. First, clear the room. Anything that could get splattered or bumped needs a temporary vacation elsewhere. Now, it’s time to clean. Grab a damp cloth with a mild detergent solution and give those walls a good once-over. Let the walls dry entirely—moisture is another no-no.
Next, spot any imperfections like holes, cracks, or uneven surfaces. These need to be filled with spackle. Apply, smooth it out with a putty knife, and let it dry. Once dry, grab some sandpaper and give the spackled areas a gentle buff to create a seamless surface. Now, you’re ready to paint with confidence, knowing rogue brushstrokes won’t mar your paint job.
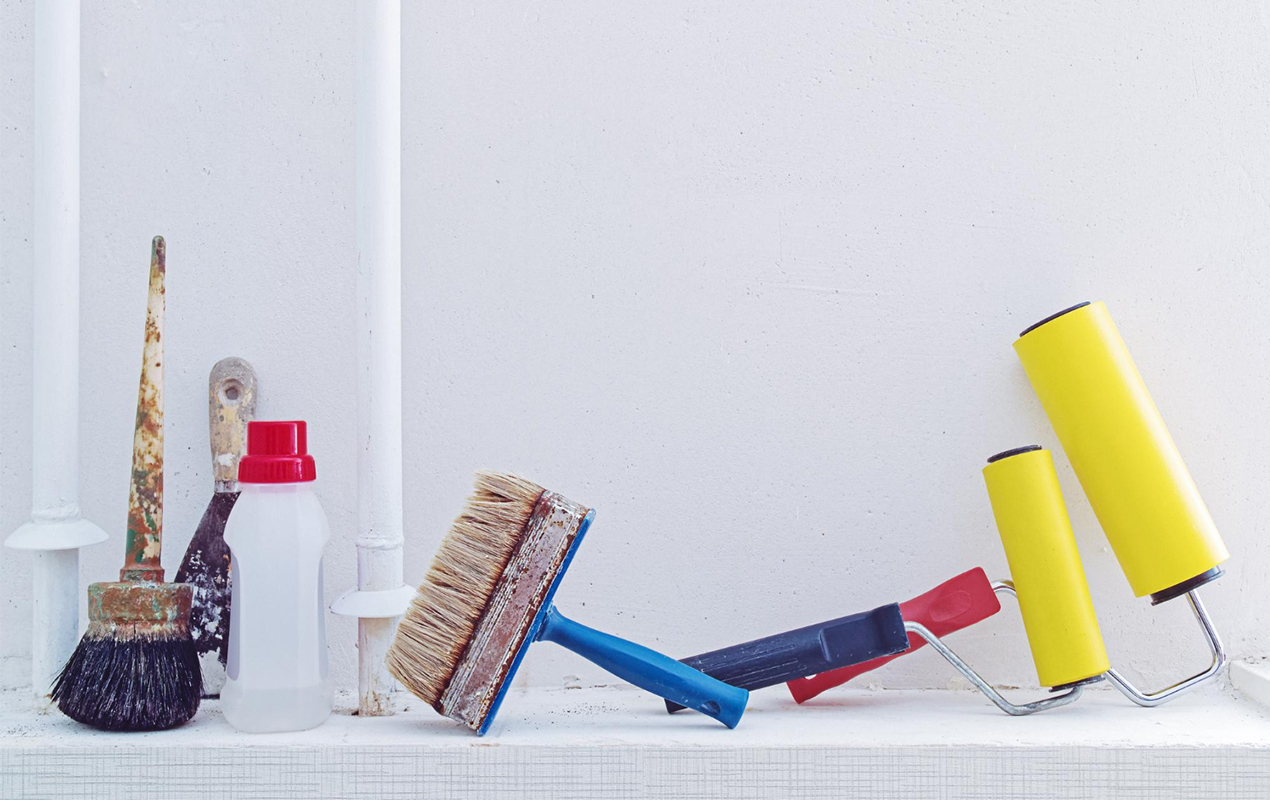
Painting your interior is like going into battle. It would help to have the right weapons to conquer those tired walls. Here’s your essential toolkit for a victorious outcome:
With these supplies by your side, you’re well on your way to achieving a professional-looking paint job!
Ready to transform your walls from drab to fab? Painting doesn’t have to be scary! Here are some tips you can use from the pros:
Painting can be a fun and rewarding experience. With a little practice and these pro tips, you’ll be a wall-painting whiz in no time!
Painting can be a big undertaking, but the transformation is worth the effort. Now that your project is finished take some time to reflect on the process. What went well? What could you do differently next time? Your freshly painted space is a testament to your creativity and dedication.