4 Must-Have Steps for the Perfect Gaming Room Design
-
Posted by
Turning a standard room into a dedicated gaming sanctuary needs more than j...

Rebalance the ambiance in your bedroom by transforming …


Decorating your home is an exciting opportunity to let your creativity …
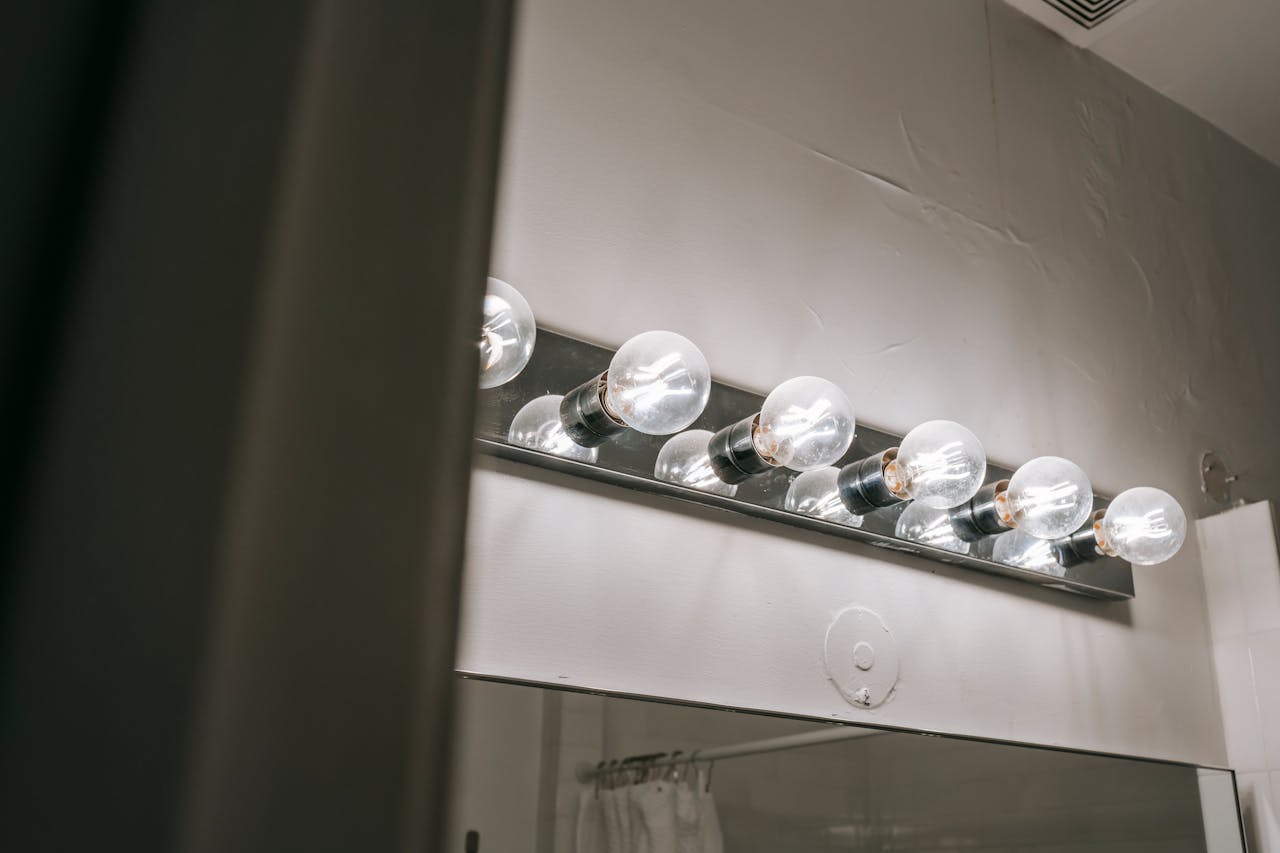
Proper lighting plays a key role in maintaining both the comfort and functionality of a home. When a bulb burns out or dims significantly, replacing it isn’t just about convenience—it’s about keeping your home well-lit, safe, and inviting. While changing a light bulb may seem straightforward, doing it carelessly can lead to damaged fixtures, injury, or even electrical hazards. Understanding the correct approach helps prevent common mistakes and makes the task much easier.
Before reaching for a ladder or twisting out the old bulb, it’s important to know what kind of bulb you’re replacing. Each light fixture is designed to accommodate a specific wattage and type of bulb.
Using the wrong kind can shorten the life of your fixture or create safety risks. Whether you’re working with incandescent, LED, compact fluorescent (CFL), or halogen, matching the specifications printed near the socket or on the previous bulb helps avoid compatibility issues.
Wattage matters more than many realize. A bulb with a higher wattage than recommended can overheat the fixture, which in turn can cause wires to degrade. Lumens, which measure brightness, should guide your selection rather than just wattage alone.
For those shifting from older bulbs to energy-saving options, comparing lumens across types will give a better sense of which replacement will maintain your preferred lighting level.
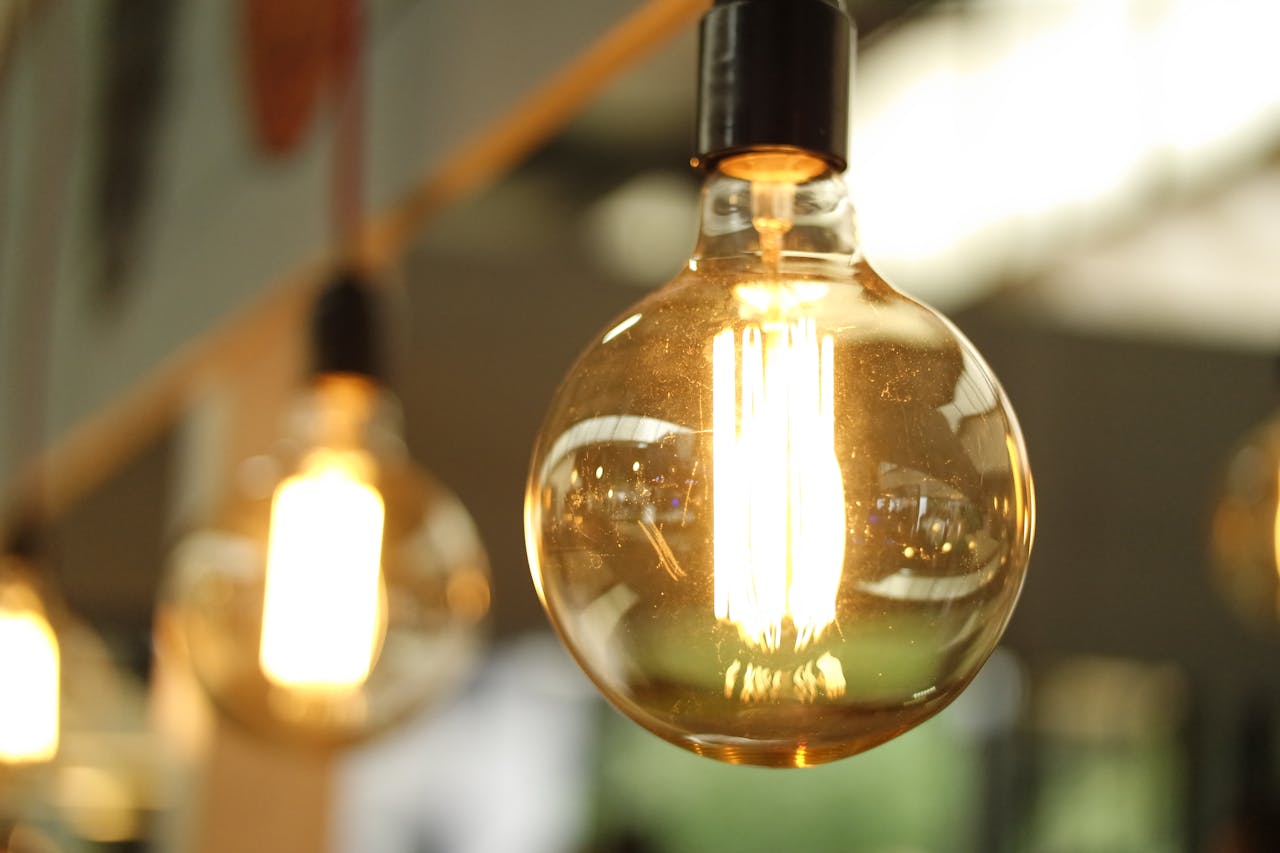
Photo by Burak The Weekender from Pexels
One of the most common oversights when replacing a light bulb is failing to turn off the power. Even if a bulb appears to be nonfunctional, current could still be running to the fixture. Always switch off the light and, for ceiling or wall fixtures, flip the circuit breaker when possible. Waiting several minutes after turning off the power allows the bulb and its surroundings to cool down, especially if it’s been in use.
Using proper tools makes a difference. For ceiling fixtures or high wall sconces, a stable ladder with non-slip feet provides the safest access. Avoid standing on chairs or unstable furniture, which can easily tip over. For recessed or hard-to-reach bulbs, consider using a suction cup bulb changer. These are especially helpful for those with mobility issues or limited access to tall ceilings.
Not all bulbs come out the same way. Some screw out with a counterclockwise twist, while others may require a gentle tug if they’re pin-based or twist-lock varieties. Applying too much force can break the bulb or damage the socket. If you’re unsure, refer to the manufacturer’s instructions for that specific fixture.
If a bulb breaks during removal, never attempt to unscrew it with your bare hands. Use gloves and pliers or a broken bulb extractor tool to reduce the risk of cuts. Once the old bulb is out, inspect the socket. Any signs of burning, melting, or loose wiring may indicate a larger issue, and it’s wise to pause the replacement process until the fixture can be evaluated.
Once you have the correct replacement and a safe setup, carefully align the bulb with the socket. If it’s a screw-in type, gently turn it clockwise until it’s snug but not overly tight. Over-tightening can make future removals difficult and may crack the bulb’s base. For pin-based bulbs, line up the pins with the holes and push gently until it click into place.
It’s easy to rush this step, especially when dealing with high or awkwardly placed fixtures, but a slow and deliberate approach ensures both bulb and fixture stay intact. After the bulb is securely in place, restore power and test the light. If it doesn’t turn on and you’re confident the bulb is good, double-check the circuit and socket before trying again.
While most standard bulbs are simple to replace, others—such as recessed lighting, under-cabinet fixtures, or decorative chandeliers—can be more complicated. Improper handling of delicate or high-voltage components can lead to damage or safety hazards.
If you’re unsure about handling more intricate setups or specialty bulbs, reaching out to a professional is often the safest choice. This is especially true if you’re not certain how to replace a halogen light bulb, which can get extremely hot and requires careful handling.
Improper installation can cause premature failure or even pose a fire risk. Experts are familiar with the nuances of different bulb types and fixtures, and their insight can help preserve your lighting setup long-term.
Photo by Charlotte May from Pexels
Throwing bulbs directly into the trash isn’t always the best course of action. CFLs contain small amounts of mercury and must be recycled responsibly. LEDs, while more eco-friendly, still contain materials that shouldn’t end up in regular landfills. Some hardware stores offer collection bins or recycling programs for used bulbs, making disposal more convenient.
Broken bulbs need to be handled with extra care. Sweep up pieces with a broom—never with your hands—and place them in a sealed container. Wipe the area with a damp paper towel to catch any remaining shards. Disposing of the fragments in a separate bag reduces the risk of injury to sanitation workers or anyone handling the trash.
Light bulbs in tall entryways, vaulted ceilings, or exterior soffits pose a unique challenge. Using extension poles can help in some cases, but climbing a ladder may still be necessary. Always have a second person assist if you’re working above a certain height to stabilize the ladder and provide tools. For outdoor fixtures, replacing bulbs during dry weather avoids the risk of slipping or shorting out a damp socket.
Outdoor fixtures tend to collect debris and insects, which can make replacement messier. Cleaning the enclosure while replacing the bulb helps keep your outdoor lighting at full brightness and extends the lifespan of the fixture. Some people take this opportunity to upgrade to weatherproof LED options, which offer longer lifespans and better energy savings.
Replacing a light bulb becomes more complex when dealing with dimmers or smart lighting systems. Not all bulbs are compatible with every dimmer switch, and using the wrong match can cause flickering or humming. Check both the fixture and the bulb packaging for compatibility information before making a purchase.
Smart bulbs that connect to home assistants or Wi-Fi networks need more than just a standard screw-in. Follow the setup instructions to sync the bulb with your chosen system. If the new bulb causes connectivity issues, it could be an indicator that your network or device needs updating. Taking time to review the manufacturer’s guidance avoids unnecessary troubleshooting later.
Even after installation, you can take steps to maximize the longevity of your bulbs. Avoid switching lights on and off repeatedly in a short span, as this shortens the life of many types, particularly CFLs. Keeping fixtures clean and free of dust ensures proper heat dissipation and reduces stress on both the bulb and the socket.
Voltage fluctuations can play a role in early bulb failure. Installing surge protectors or consulting an electrician about uneven power distribution may help. Choosing quality bulbs from reputable brands, while slightly more expensive upfront, often results in longer lifespans and fewer headaches over time.
If you’re replacing bulbs more frequently than expected, the issue may lie with the fixture rather than the bulb. Loose wiring, corroded contacts, or overheating components can all cause premature burnout. A flickering bulb or a socket that frequently needs adjustment can be an early sign of a worn-out fixture.
Inspect fixtures during each bulb replacement. Discoloration, a burning smell, or unusual noise are signs that it might be time to invest in new hardware. Making small upgrades, such as switching to LED-compatible fixtures or updating outdated sockets, can improve efficiency and reduce the need for constant maintenance.
Switching out old bulbs is a perfect time to consider making your home more energy-efficient. Traditional incandescent bulbs consume a lot of electricity and have short lifespans, leading to more frequent replacements. Modern alternatives like LEDs use a fraction of the power and last significantly longer. Over time, this can result in noticeable savings on your electric bill and fewer trips up the ladder.
LEDs are available in a variety of color temperatures and brightness levels, allowing for customization to fit each room’s needs—from soft warm tones for bedrooms to brighter, crisper lighting for workspaces. One major advantage of upgrading is reduced heat output. Unlike older halogen or incandescent options, LEDs remain cool during operation, making them safer to handle and better suited for enclosed or recessed fixtures.
With more choices than ever before, from dimmable bulbs to smart color-changing versions, making the shift to energy efficiency doesn’t mean sacrificing style or functionality. As older bulbs burn out, replacing them with efficient options helps bring your home lighting into the modern age without needing to overhaul your entire electrical setup. For more ideas, explore modern lighting design that seamlessly integrates style and function.
Some homes have unique lighting features that require special attention. Track lighting, pendant lights, and multi-bulb vanity fixtures often use non-standard bulbs that may not be available at your local store.
These types can include GU10s, MR16s, or bi-pin bases, which must be matched exactly for proper function. Misalignment or forcing the wrong bulb into a socket can damage both the bulb and the fixture, making it crucial to read the label on both the old bulb and the fixture before purchasing replacements.
Recessed lighting presents another challenge. Some of these fixtures are rated only for certain types of bulbs and can become dangerously hot if paired incorrectly. Check for any stickers or labels inside the housing that provide information on acceptable wattage and bulb type.
If the information isn’t visible, the fixture’s manufacturer or manual can often provide the needed guidance. Making these checks before installation helps prevent damage and ensures your home lighting is both safe and effective.
Flickering bulbs are more than just a nuisance, they can be signs of deeper issues that need attention. Sometimes, the bulb itself may be the problem, particularly if it’s nearing the end of its life or has manufacturing defects.
But flickering can signal poor contact in the socket, a failing dimmer switch, or fluctuations in your home’s electrical supply. Ignoring this behavior could lead to further complications, including damage to your lighting system or a risk of fire.
To troubleshoot, start with the simplest fix: remove and reinstall the bulb, making sure it’s seated properly. If the flickering continues, try using the bulb in another fixture to see if the issue persists. If it works fine elsewhere, the problem likely lies in the original fixture or switch.
Electrical irregularities are best handled by a qualified technician. Avoid attempting in-depth repairs unless you have experience with wiring and circuit systems. Addressing the root cause quickly can prevent a minor annoyance from becoming a serious hazard.
Replacing bulbs is a good time to perform some basic fixture maintenance. Dust, grime, and insect debris can accumulate around bulbs, especially in enclosed or outdoor fixtures.
These buildups can block light, reduce performance, and increase heat retention, all of which affect the bulb’s life and the fixture’s condition. A quick cleaning with a soft cloth or microfiber duster can restore both brightness and airflow, helping your lighting function more efficiently.
When cleaning, make sure the power is off and the bulb has cooled completely. Remove any detachable covers or glass shades and wash them separately if needed. A damp cloth works well for most surfaces, but avoid harsh chemicals or abrasives that might damage finishes or compromise electrical components.
Regular upkeep keeps your fixtures looking good and functioning properly, and it’s a simple step that often gets overlooked. This small habit can make a significant difference in the long-term performance of your home’s lighting.
Also Learn: How to simplify house cleaning routine!
Photo by Vladimir Srajber from Pexels
Homes with outdated wiring or older fixtures may pose risks that go beyond basic bulb replacement. Two-prong sockets, ungrounded wiring, or deteriorated insulation can all impact how safely a bulb can be replaced.
If your home hasn’t been electrically updated in decades, even a routine task like changing a light bulb might come with hidden dangers. Buzzing sounds, warm wall plates, or flickering lights could be red flags that should not be ignored.
Rather than simply replacing the bulb and hoping for the best, consider having an electrician inspect your system. Updating wiring or changing out old fixtures can bring your home up to modern standards and reduce the chance of electrical fires.
It’s especially important for anyone living in a house built before the 1980s, as outdated systems were not designed to handle today’s higher electrical loads. A small investment in safety upgrades can provide peace of mind and make routine tasks like changing a bulb completely stress-free.
Changing a light bulb might seem like a minor task, but it plays a key role in keeping your home safe, functional, and welcoming. Approaching the process with care—understanding your fixture, selecting the right replacement, and taking proper safety steps—can make all the difference.
From basic screw-in bulbs to specialty halogen or smart lights, each type has its quirks, and handling them with the right knowledge helps avoid unnecessary risks. Whether you’re maintaining ceiling fixtures, addressing flickering lights, or cleaning outdoor enclosures, each action adds up to a more efficient and safer home lighting experience.
When in doubt, don’t hesitate to seek help, especially for unfamiliar or high-risk tasks. Taking the extra time today ensures a brighter, safer tomorrow. For more lifestyle inspiration and expert insights, explore the Decasa Collections Guides, where thoughtful living begins.