Choosing the Right Sauna Size for Your Space and Lifestyle
-
Posted by
When considering a sauna, choosing the right size is essential to ensure bo...

DISCLAIMER: The images in this post are for informational purposes to illustrate potential possibilities, recognizing that individual tastes vary. We aim to capture your wants and needs, expanding on each style where possible to offer a range of available options from reputable designers and affiliated brands. This selection process considers a variety of factors to ensure we cater to the diverse preferences of our readers.
So there you were, enjoying morning coffee like any other day. You reach over to set your mug down on your trusty coffee table but whoops, your hand slips and coffee splashes all over the tabletop. Panic sets in as you see the wood start to warp and stain. Don’t worry, all is not lost. Quick action and simple DIY strategies can save your table, allowing you to revive and restore it to its former glory. In just a few easy steps, you’ll be back to enjoying coffee again in no time. Read on to discover how to fix water damage on a wood coffee table and rescue it from a soggy fate. The solution is easier than you think!
Discover More: 27 Coffee Table Design Ideas You Never Knew You Needed
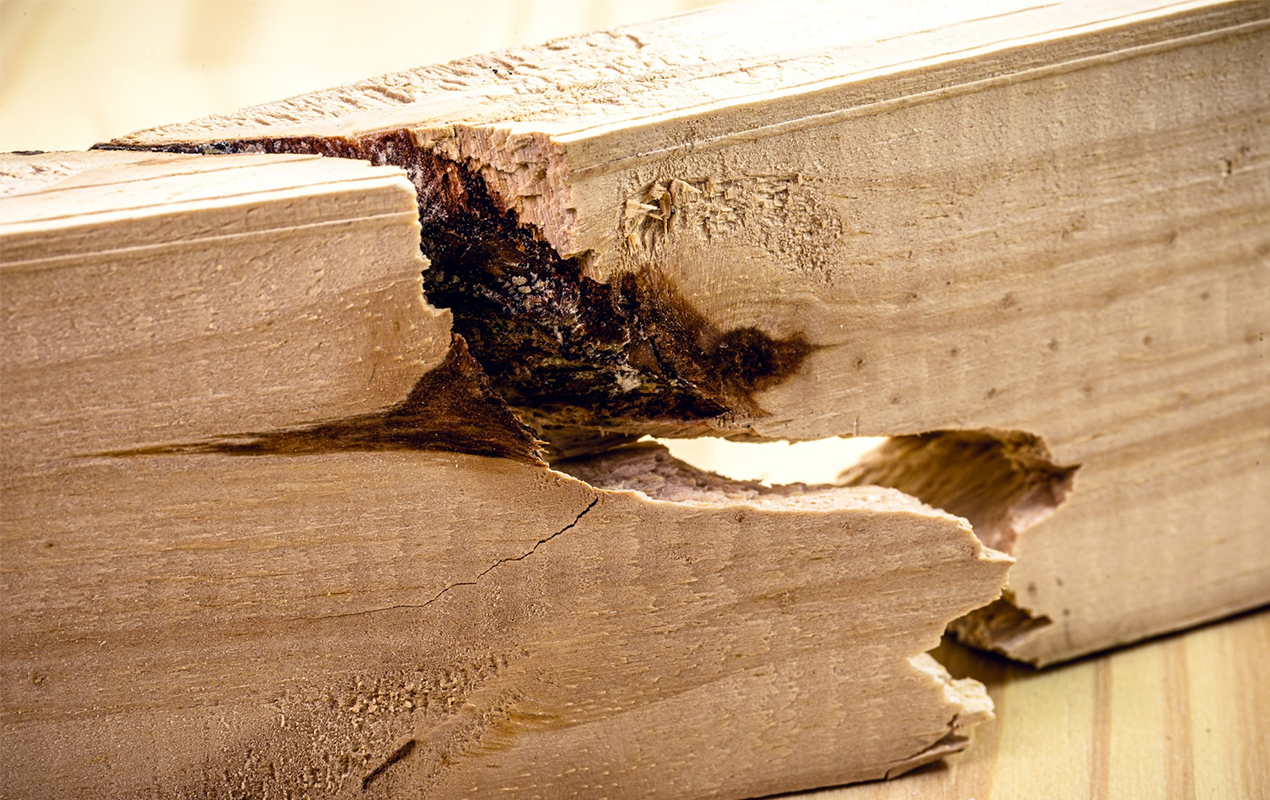
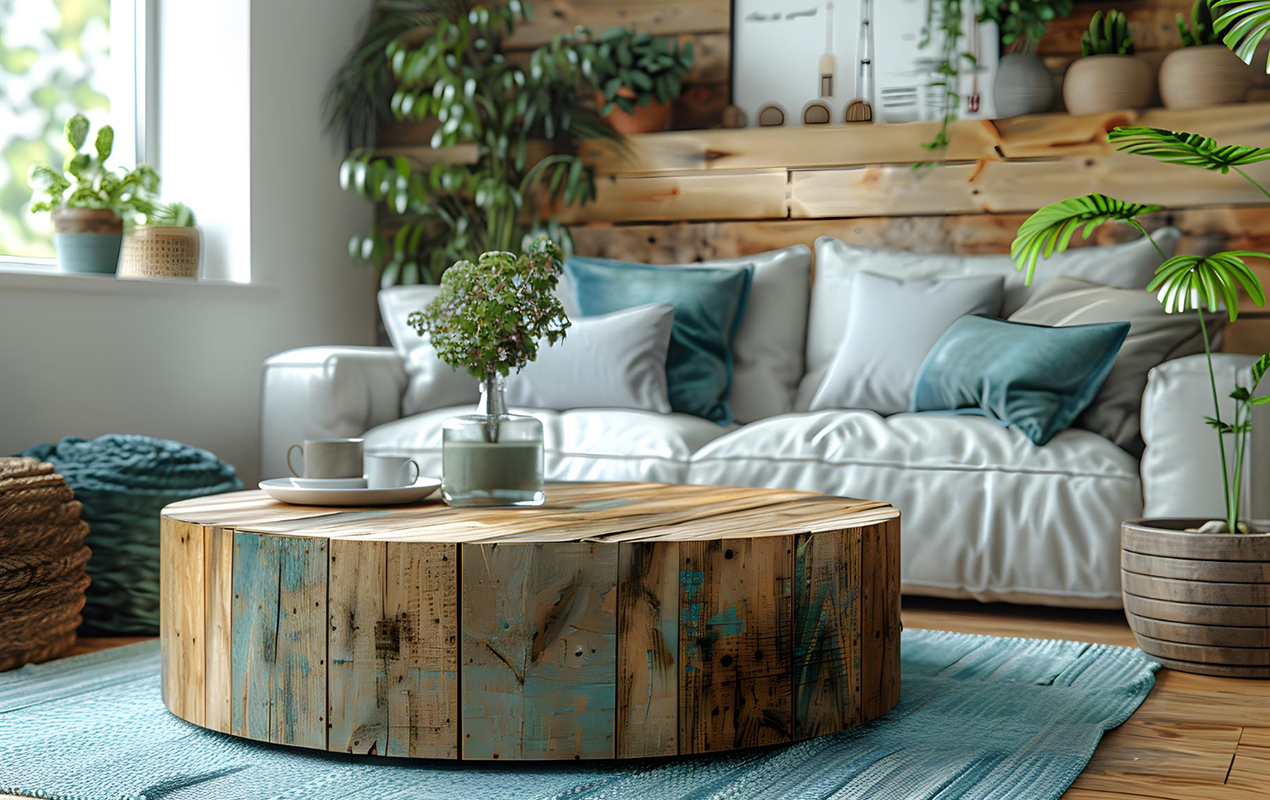
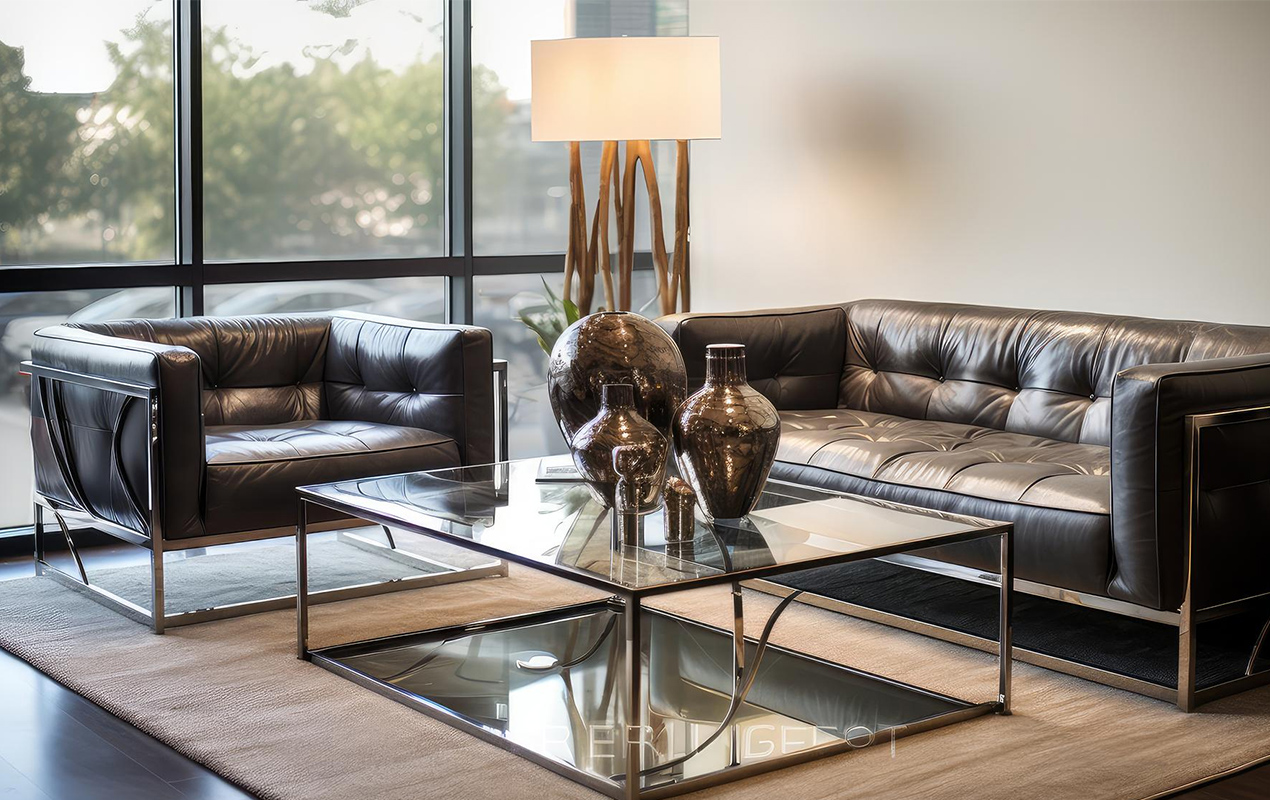
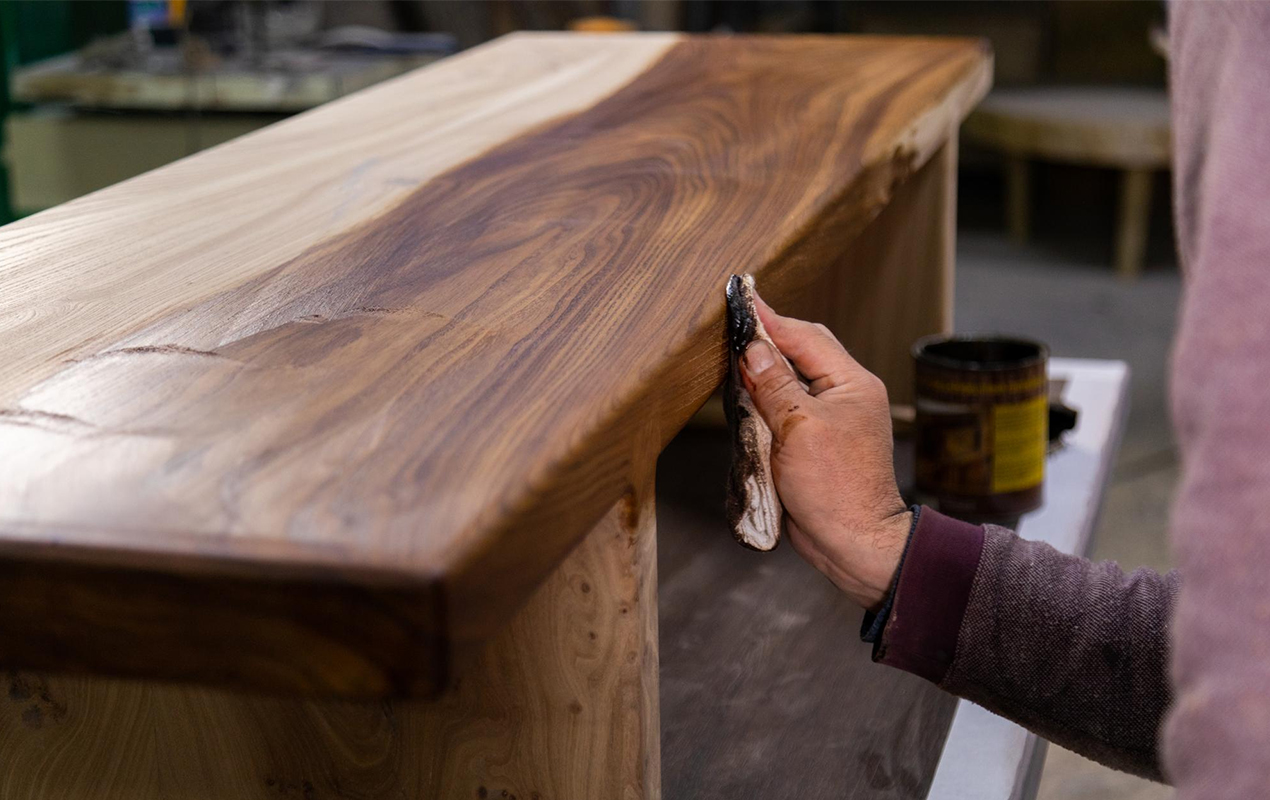
Photo by Rhjphotoandilustration from Freepik
Insight – By applying a wood hardener, you can ensure that the fibers of your wood are strengthened and protected against any future moisture damage. Simply follow the instructions on the bottle and enjoy the peace of mind of knowing your wood is well protected.
The first thing you’ll want to do is check how much damage was actually done. Was it a small spill that soaked into the surface, or did your clumsy cousin dump an entire water pitcher? Assess the wood for signs of warping, swelling, or staining.
Run your hands along the tabletop’s surface to feel for any uneven, bowed, or rippled areas that indicate the wood has warped. Check that the legs and edges are still straight and secure. Swelling usually appears as raised grain or small bumps across the surface. If warping or swelling is minimal, the table may return to its original shape as it dries.
Water stains range from light discoloration to dark blotches, depending on the type of wood and the length of time the water sat. Stains often become more noticeable once the wood is dry. Unfortunately, water stains can be difficult to remove completely. You may need to sand out and refinish the entire tabletop. It’s time to take action before the water does any further damage. The following steps focus on how to absorb remaining moisture, stabilize the wood, and protect the finish.
Read More: 22 Teak Coffee Table Ideas for an Eco-Friendly and Elegant Interior
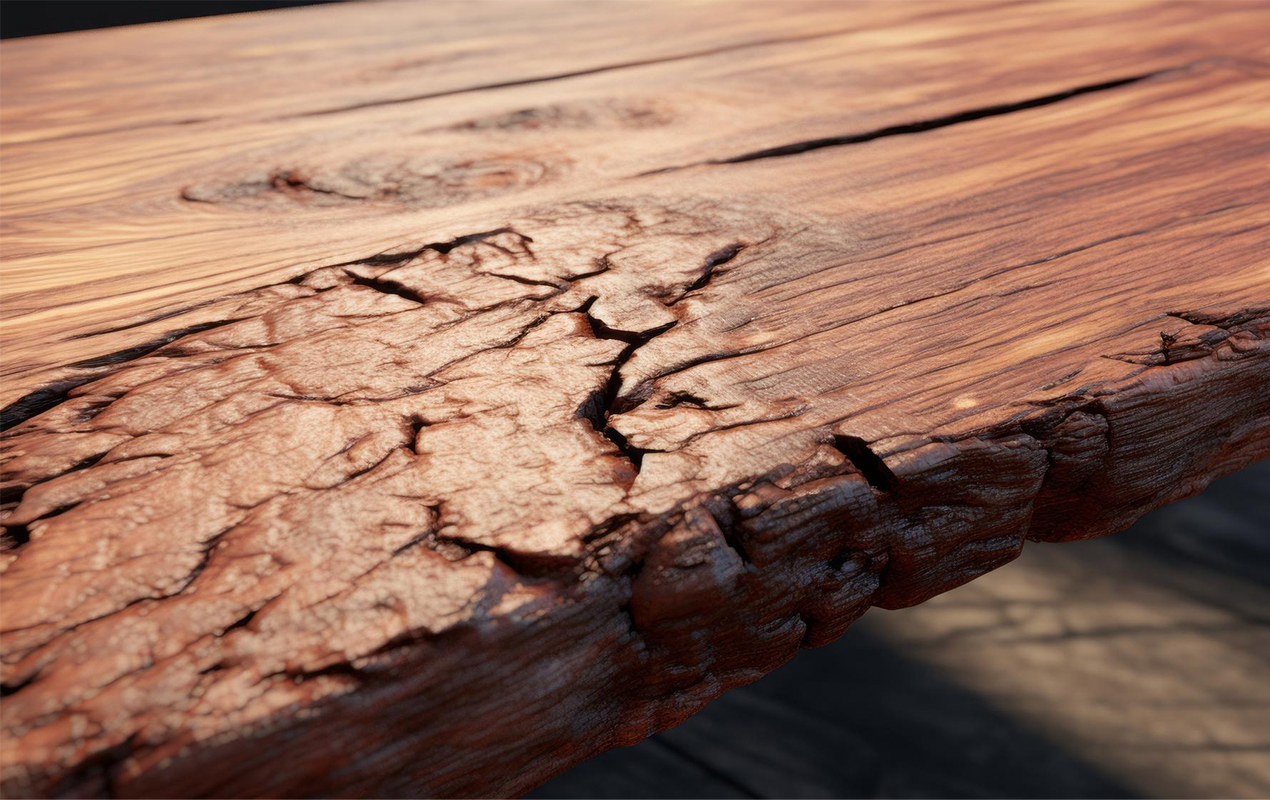
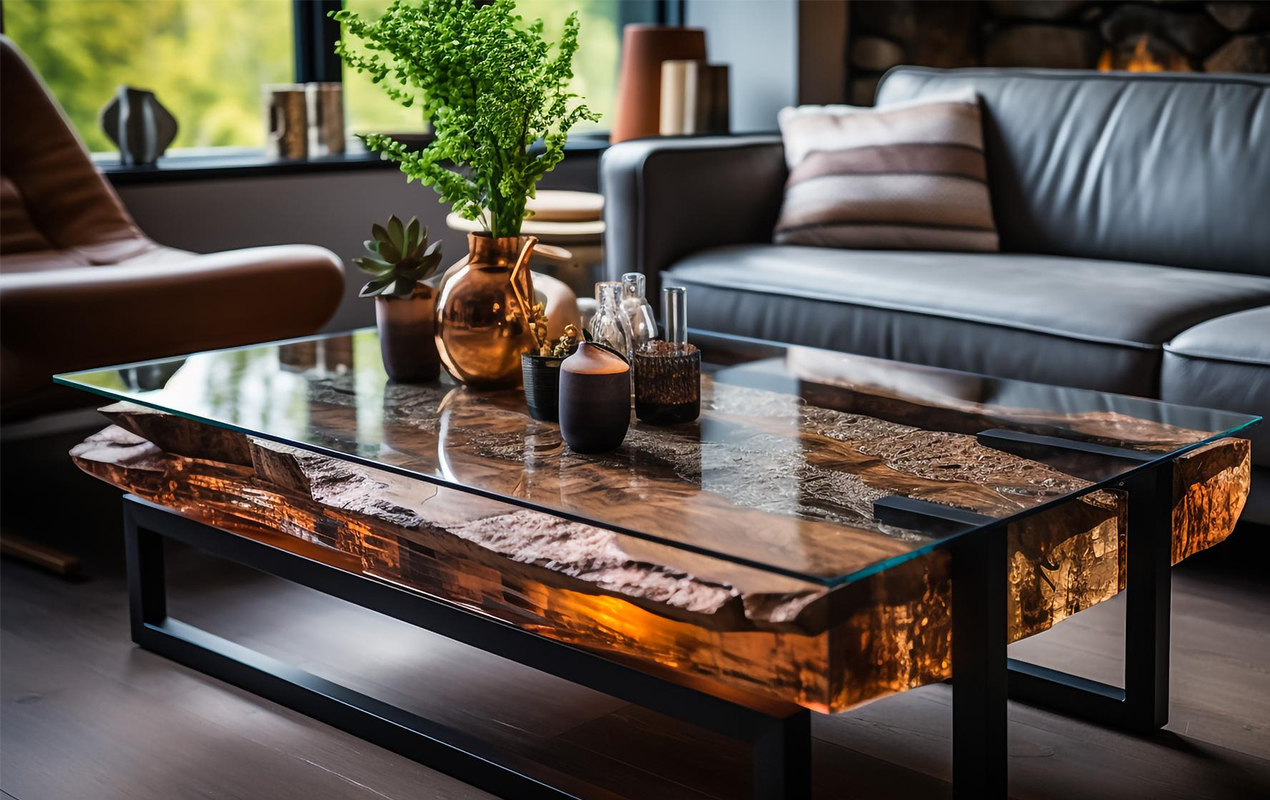
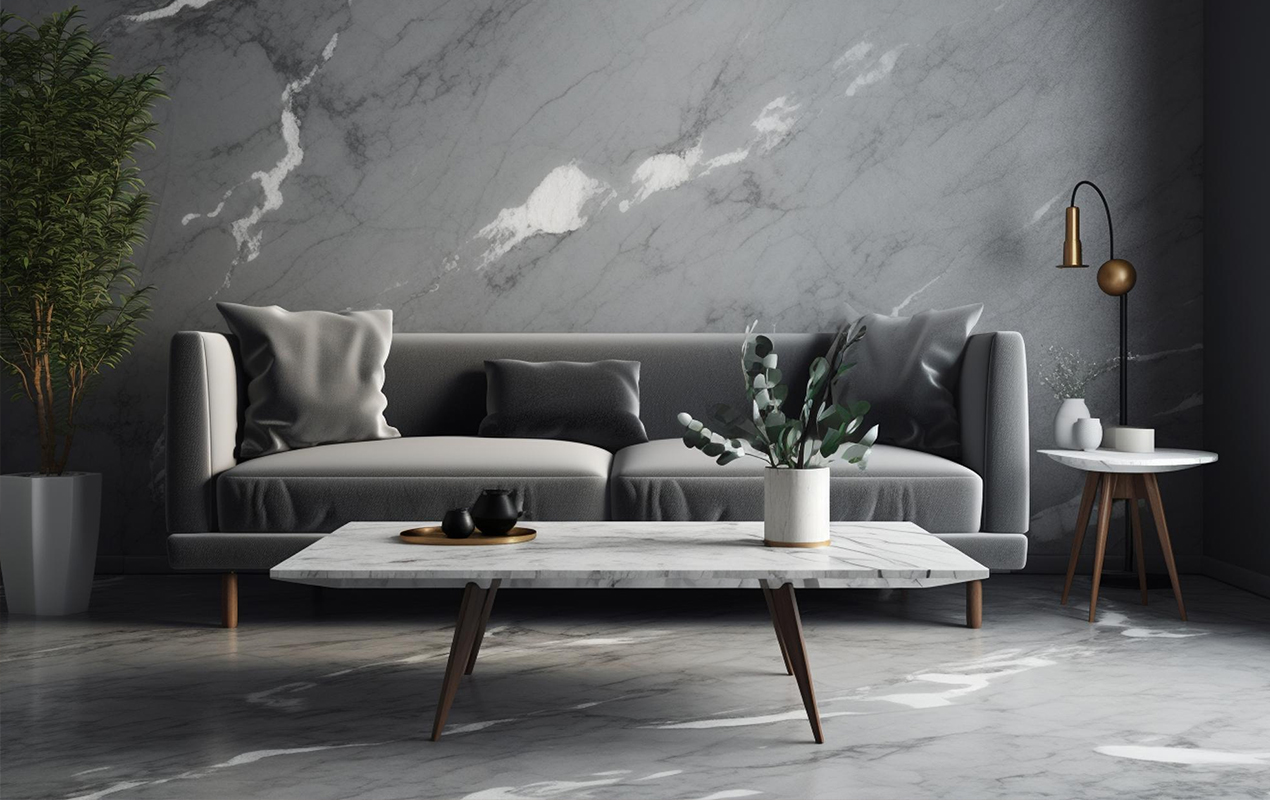
Photo by Digital Galaxy from Freepik
To fix water damage on your table, you’ll need a few supplies.
You’ll want to fill in any cracks, holes, or gouges in the wood. Look for a wood filler that closely matches your table’s natural tone. Apply with a putty knife or spatula and sand smooth when dry.
You’ll need varying grits of sandpaper (around 220, 400, and 600) to sand out water stains and rough areas, then smooth the surface. Be sure to wipe away dust with a tack cloth before applying sealers or stains.
To protect the wood from future water damage, apply two to three coats of polyurethane sealant or wood stain. For a natural look, choose a sealant with UV protection. For darker wood tones, oil-based stains work well. Remember to wipe away any drips or uneven areas between coats.
For More Info: Sand, Stain, Seal: A Guide On How to Refinish A Coffee Table
Use a high-quality paintbrush to apply the sealers and stains. Foam brushes can leave bubbles. Don’t forget to clean brushes in between product uses with paint thinner.
Gain Insight: How to Paint A Coffee Table: Tips to Paint Your Way to Success
Have rags, tack cloths, and paper towels on hand to wipe away spills, drips, and dust during the repair and refinishing process.
Wear eye protection gear like safety goggles when sanding wood and applying chemical products to avoid irritation.
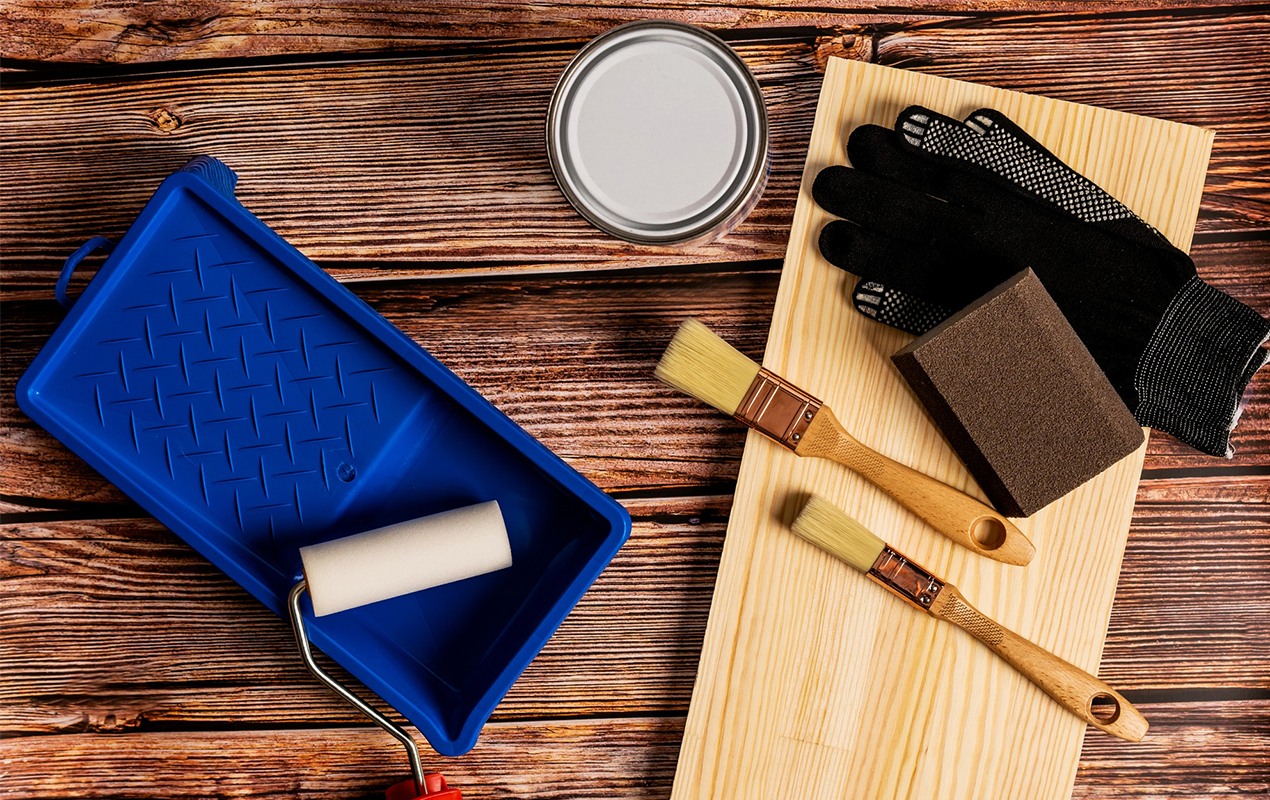
Photo by Kseniajoyg from Freepik
Insight – Revive damaged wood by applying a wood conditioner or oil. This simple step helps the wood fibers absorb moisture and regain their original shape. Take your time to massage the conditioner into the wood using your fingers and see the magic happen!
Once you’ve dried the tabletop and tightened any loose joints, it’s time to deal with water stains or discoloration. There are a few methods you can try to restore your table’s surface.
For light stains, you may be able to sand out the damage. Use fine-grit sandpaper (around 220 grit) and gently sand over the stained area using small circular motions. Wipe away dust with a tack cloth and check your progress. Restain the sanded area to blend in with the rest of the tabletop. You may need to sand and restain a few times to fully restore the surface.
If water leaves white stains or rings on your coffee table, bleach can help lift them. Make a solution of one part bleach to three parts water. Wearing gloves, apply the solution with a cloth to the stain and let sit for two to three minutes. Rinse with water and wipe away. The wood under the stain may be lighter, so you’ll likely need to restain the area to blend in the color. Test the bleaching solution in an inconspicuous area first to check for colorfastness.
Related Article: How to Clean a Wood Coffee Table for a Natural Flawless Finish
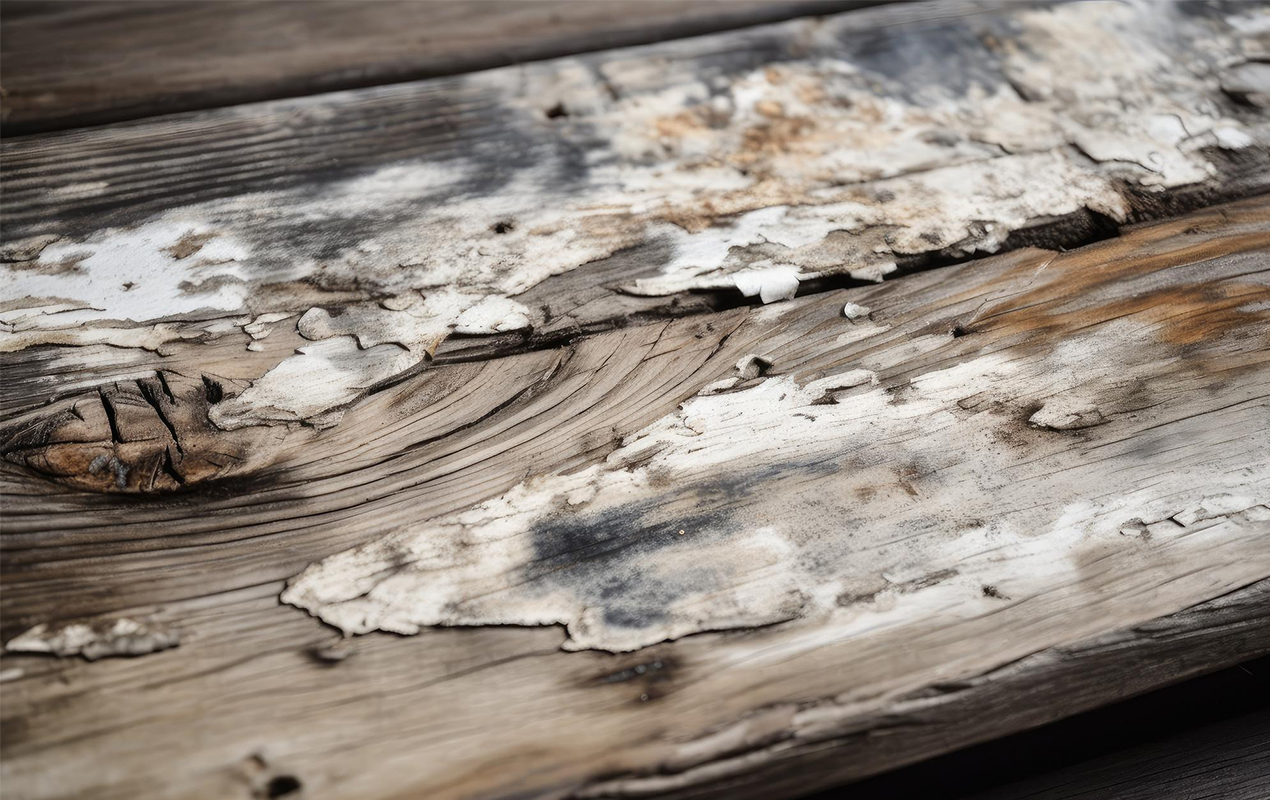
Photo by Studioworkstock from Freepik
Insight – Use a dehumidifier or desiccant packs to ensure your table remains pristine. Placing them in the vicinity of the table can draw out excess moisture that may be trapped within the wood, safeguarding it against potential damage.
Once the water damage has been addressed and the table has dried completely, you’ll want to repair any deep scratches, gouges, or holes in the wood. For this, you’ll need wood filler, which comes in a paste form that can be sanded and stained to match your table.
Wood filler comes in a variety of wood tones, so find one that matches your table. You may need to mix two similar shades to get the right match. Be sure to test the filler on a discreet area of the table to check the color match before applying it to damaged areas.
Use a putty knife or wood filler applicator to spread the filler over damaged areas. Press down firmly so it adheres well. Let it dry as advised, usually three to five minutes. Then, use a sanding block and fine-grit sandpaper (around 220 grit) to sand the filler smoothly and even with the surface of the wood and wipe away dust with a tack cloth.
Once sanded, apply a sealant like polyurethane or lacquer over the wood filler and the entire tabletop. This will protect the wood and give you a smooth, durable finish. You may need to apply two to three coats, letting it dry in between. The sealant also helps the wood filler blend in better with the natural wood.
Gain Insight: 20 Maple Coffee Table Ideas For A Woodworker’s Dream Design
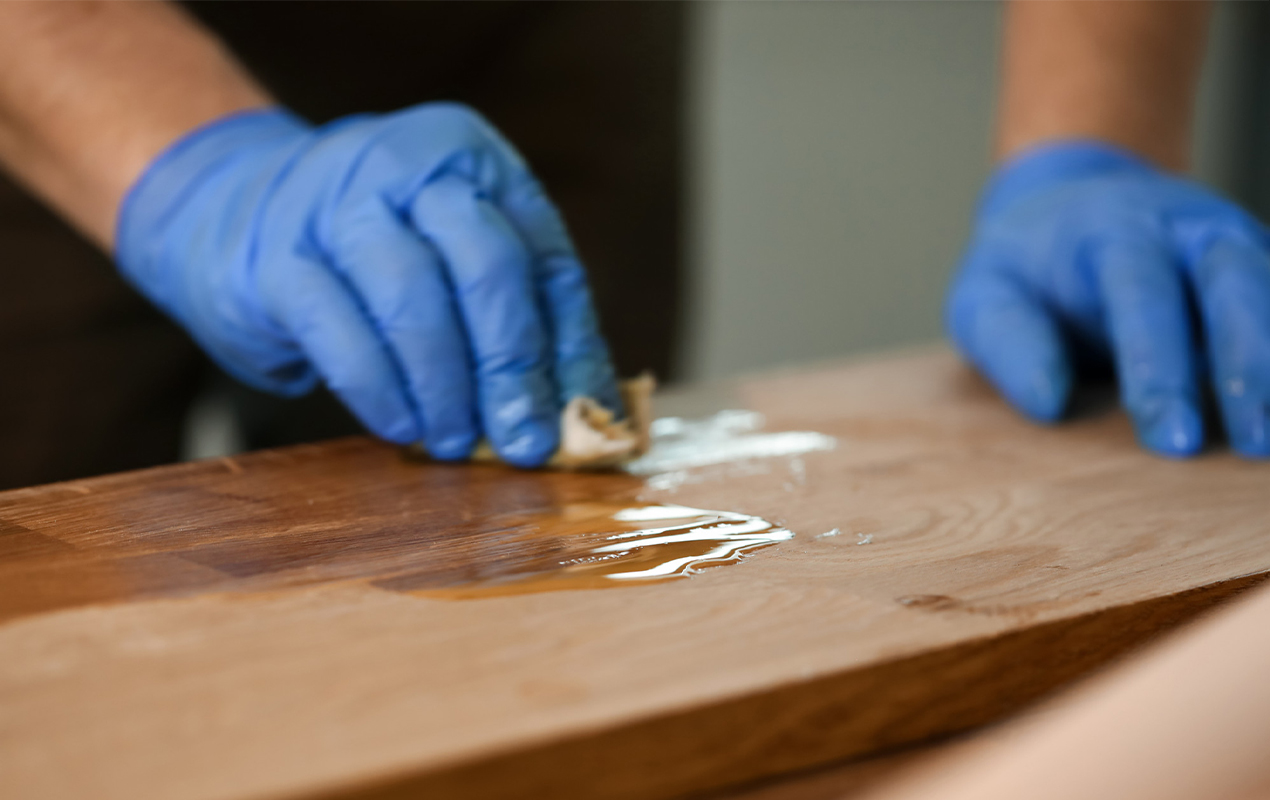
Photo by Kuprevich from Freepik
Now that the water damage is repaired, it’s time to refinish your table to safeguard it from future water damage and spills. Refinishing will also restore your table’s appearance.
Lightly sand the entire surface of the coffee table with fine-grit sandpaper (around 220 grit) to rough up the existing finish and provide a “tooth” for the new finish to adhere to. Wipe away dust with a tack cloth.
For added protection, you can apply a sealant, such as polyurethane, to the sanded surface. Water-based polyurethane is easy to apply and dries quickly. Apply two to three coats, waiting two hours between coats. Sealants protect the wood from water penetration and scratches.
To refinish your table, pick a water-resistant finish, like lacquer, polyurethane (as above), or water-based acrylic. Lacquer and polyurethane provide the most durable protection but have strong fumes. Water-based acrylic is water resistant, has a low odor, and dries quickly. Apply two to three coats of your chosen finish, waiting two to four hours between coats.
To protect your table from water damage, wipe up spills immediately, use coasters for drinks, and avoid placing the table in direct sunlight or near heating vents. Reapply an additional coat of your finish every one to two years or if water no longer beads up on the surface. By refinishing and routinely maintaining your coffee table, you’ll prevent water and other damage from threatening its longevity again in the future.
Discover More: Make a Statement With 24 Sustainable Acacia Coffee Table Ideas
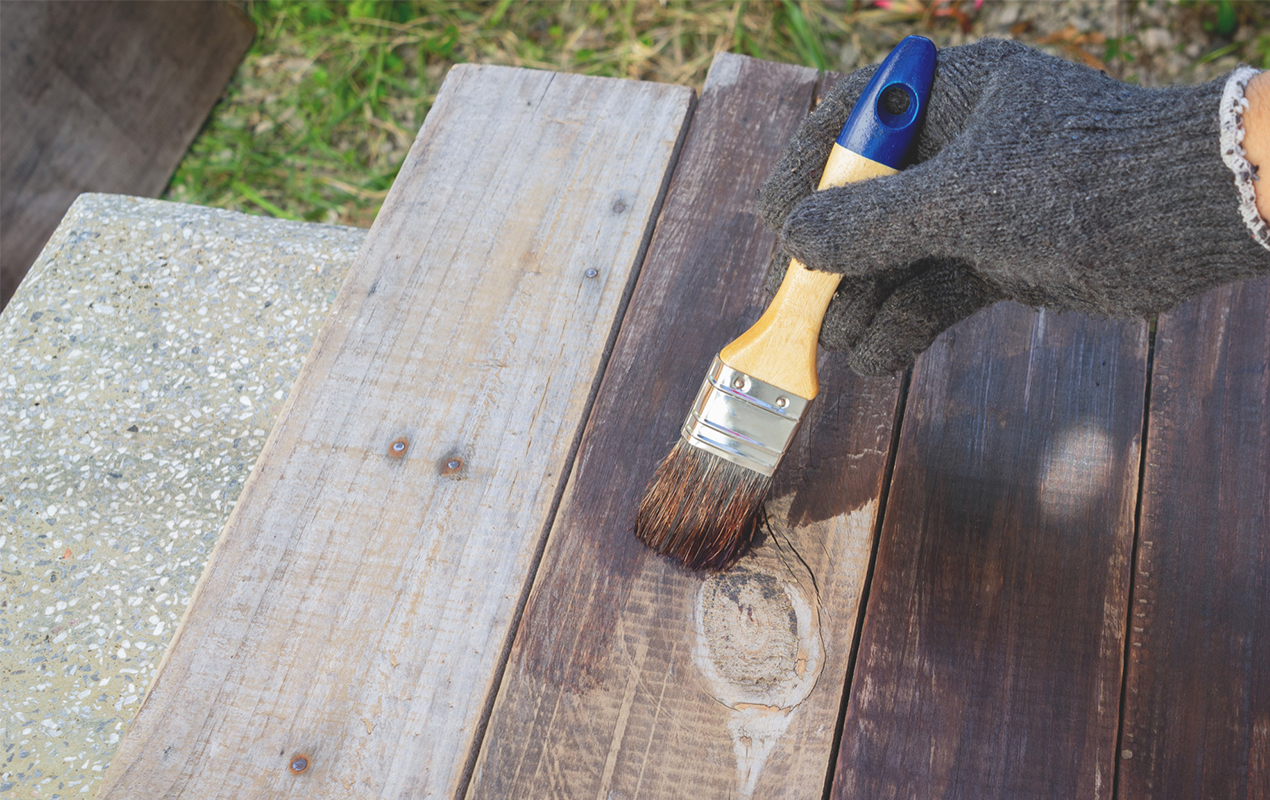
Photo by Sarayute.smalldog from Freepik
Insight – To ensure a clean and healthy environment, it’s essential to check for mold in your surroundings. If you happen to spot mold, don’t panic! Simply mix water and bleach and carefully scrub it off. Afterward, let the area dry completely before sealing it with a finish, which will help prevent mold growth.
As we come to the end, we hope you found our insights helpful. By using wood filler, sandpaper, stain or paint, and sealant, you can bring your water-damaged coffee table back to life. Although it will require some elbow grease, the end result will be worth it. Your refinished table can once again become the centerpiece of your living room, providing a place to share laughter with friends over drinks or a board game. You don’t have to spend a lot of money on a new table.
By being resourceful, you can give your table a new lease of life and prevent it from ending up in a landfill. Be proud of yourself—restore your coffee table and apply the valuable knowledge of how to fix water damage on a wooden coffee table. Now, sit back, relax, and enjoy a celebratory coffee or cocktail!