How Building Project Management Shapes the Success of Construction
-
Posted by
Building project management stands as a central pillar in the success of co...


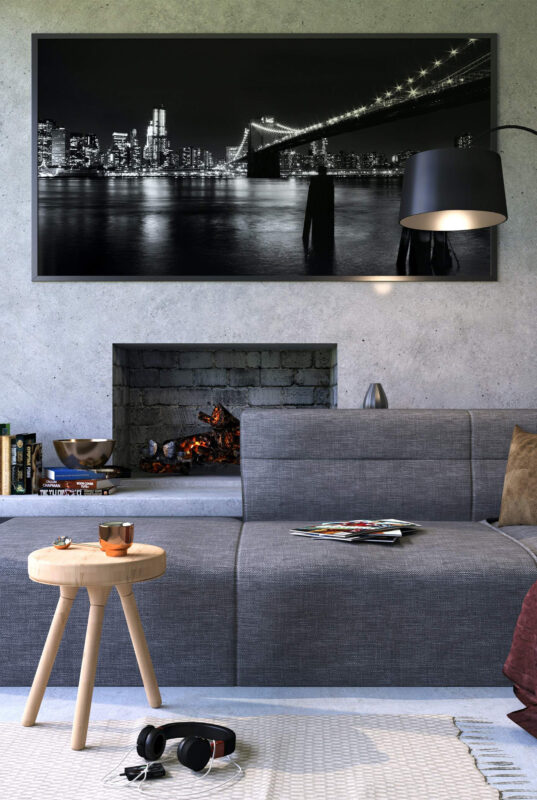
Interior design displays personal flair in homes. A mood board is an effective strategy to visually reflect design ideas. In this article, we will highlight the steps to crafting a practical and pleasing mood board. The mood board, like a compass, steers you through with ease and convenience. Gathering a board that captures your style and likes helps you tailor your living spaces. to mirror your character. It makes interior design user-friendly and enjoyable.
Design a mood board that exhibits your style for your living area. You’ll find this straightforward procedure helps you assemble an expressive board. This method turns decorating into a journey, adjusting your room to reflect your individuality.
Show who you are through your decorating choices, and use a mood board to make it easier. They’re like a roadmap for your room design plans, and knowing your style and what you want is essential for a design that feels right. You find an abundance of ideas in places like magazines, websites, or social media.
A mood board is simply a big picture made of many small ideas, arranged to look and feel good, with special touches that make it unique. Nowadays, people face less daunting situations while making mood boards, with the help of AI, in space designing and interior designing helping like a wizard. Utilizing AI, when beneficial, makes designing your space fun and doable for anyone, whether seasoned or a newbie.
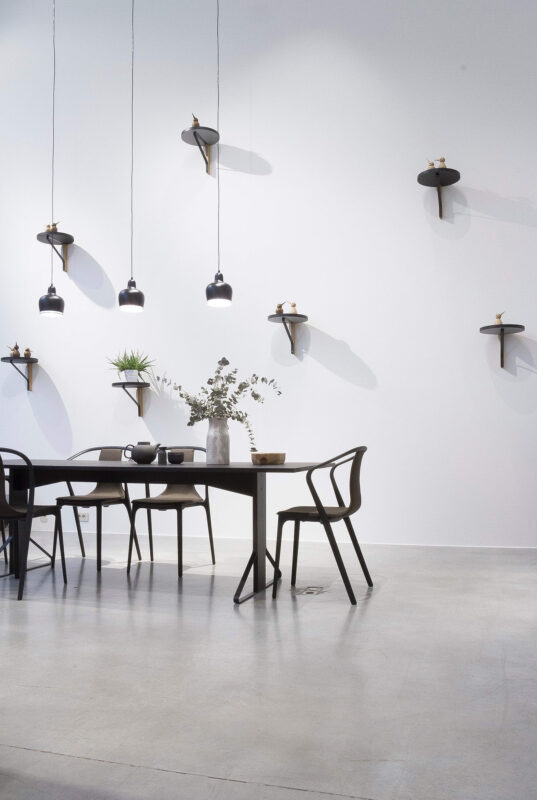
Interior design starts with pinpointing your desired style and objectives. It’s the start a new art project, customized to you. Suppose your style is the range of colors on a paint palette, and your objectives are the brushstrokes that make it take shape. Choose colors that attract you—maybe you like warm, inviting feelings or perhaps sleek and sharp styles. Consider your goals as your endpoint in the design process.
They’re there to stir feelings and ensure their usefulness. Once they’re clear, you’re ready to create a space that looks good and meets your requirements. Giving due attention to your style and objectives makes navigating design smoother and more sure-footed, allowing every decision to resonate with your unique vision for a personalized living space.
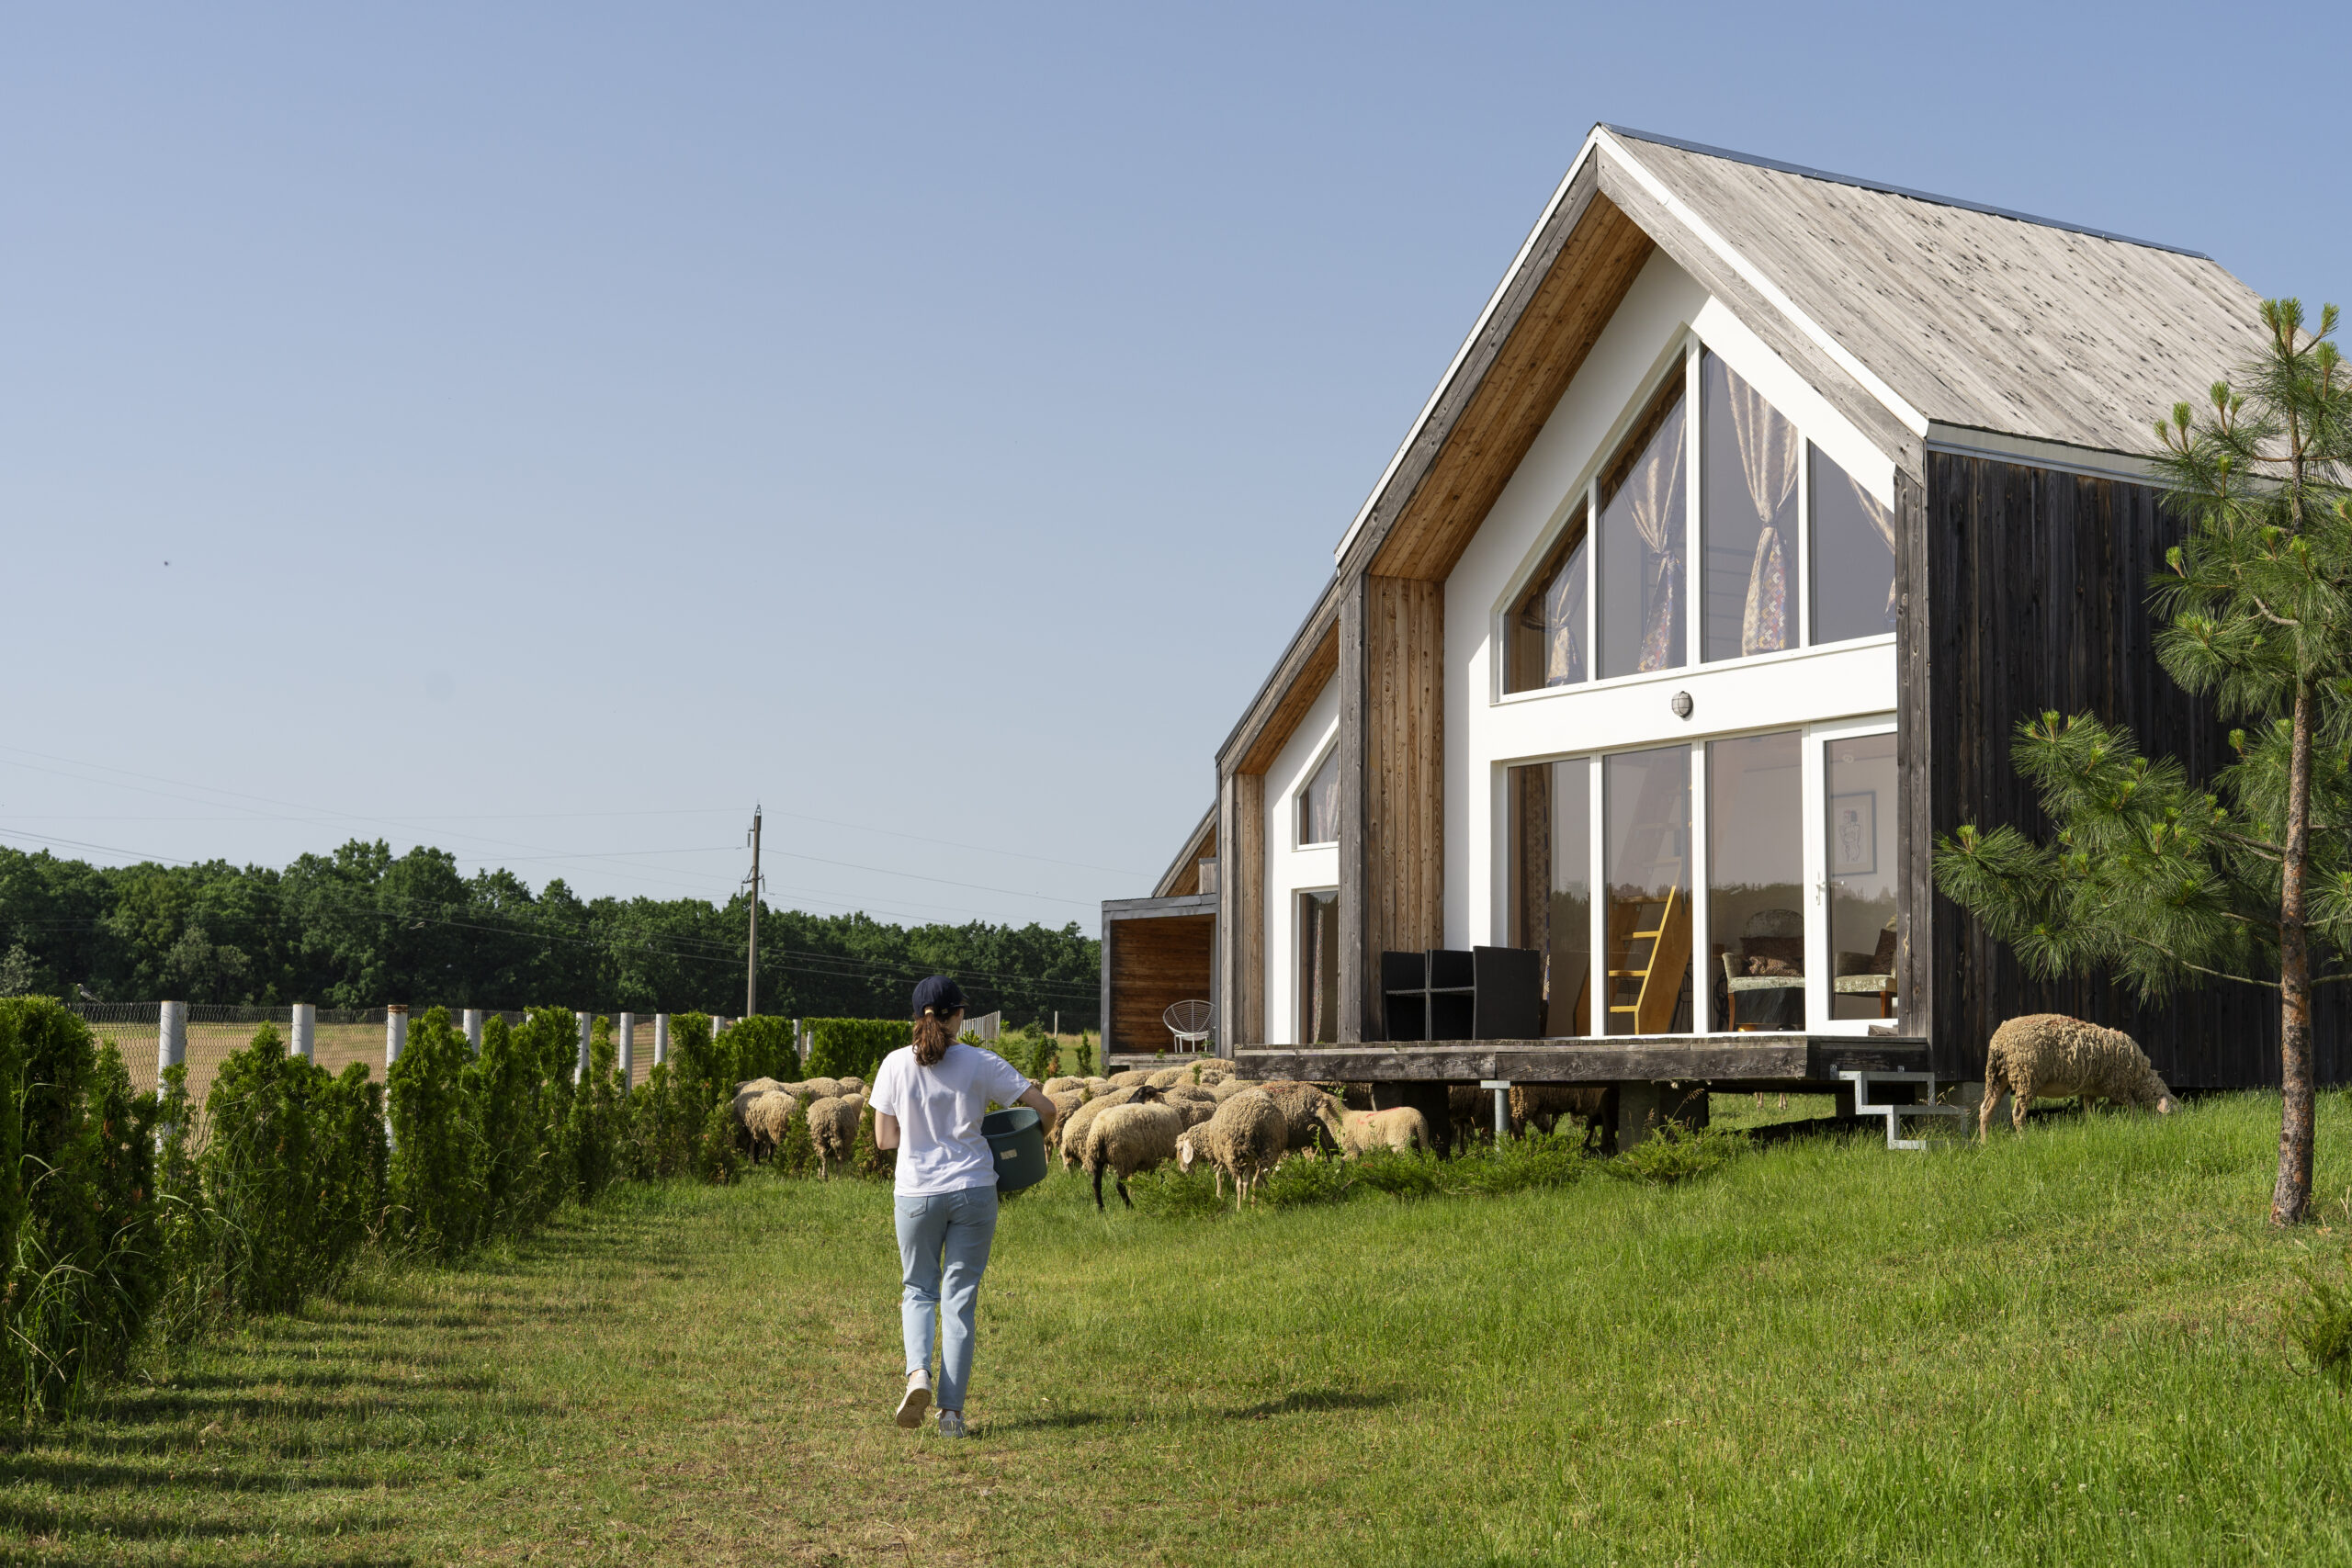
Creating a comfortable space requires gathering ideas. Look through magazines, websites, or sites like Pinterest to discover pictures that attract you. Maybe it’s a comfy reading corner, a bright color scheme, or trendy furniture. These visual bits shape your design vision, giving an image of your design space.
Now it is time to get help from AI; just insert and select your needs and interests, and AI will shower the ideas for designing. AI systems require imagery and dimensions to suggest ideas, color palettes, themes, and arrangements. Trust your gut and take in what appeals to you, a distinct color, pattern, or furniture piece. By gathering these inspiration pieces, you’re building a one-of-a-kind space that tells your tale in design language.
This step requires collecting materials into the fun part of your project. Grab easy-to-find items like strong boards or poster pages, magazines, scissors, and glue. Picture yourself as an imaginative scout, assembling stuff for your mood board mission.
Snip pictures that click with your vibe and aim, treating each snapshot as a tasty part of the mix. Think about touchy-feely bits like fabric pieces or paint swatches to boost your board. The aim is to gather a heap of stuff that gets you fired up and raring to go. With your assembled stuff, you are set to start putting together your board.
For Step 4, pick and cut pictures for your board. Begin by going over your gathered materials and choosing pictures that match your vision. Think of each cut-out part as an influential piece of the puzzle. Think how to achieve balance and harmony among the pieces. Now that your pictures are set, you’re nearly there. Your board is almost ready to shine.
Arranging and pasting is a significant step in making a mood board. Cut-out pictures on a board or thick paper, forming a visual pattern that communicates the design idea. Keep trying different arrangements until something pleasing is achieved. Hold the design details in place by pasting them on the board with glue. Use the images to tell the designer’s story, aiming to craft a design story that fits the designer’s style and aims.
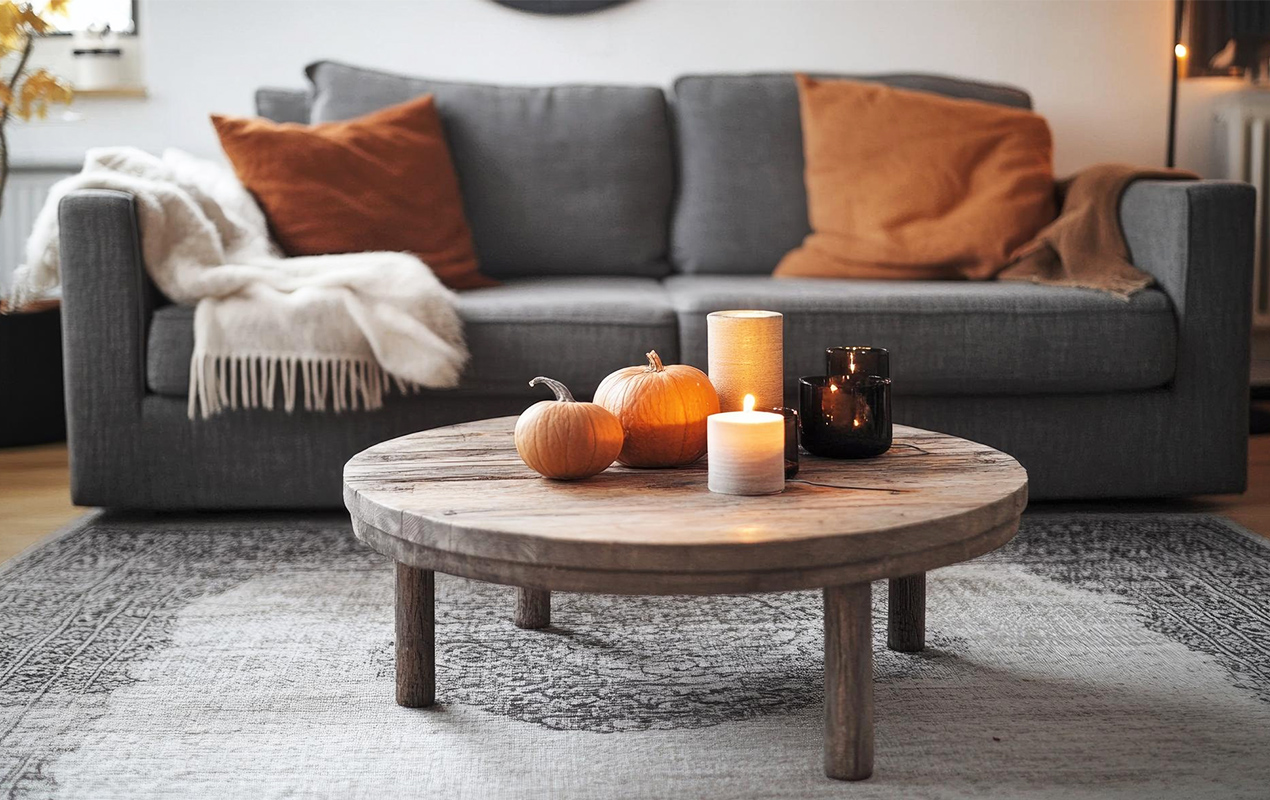
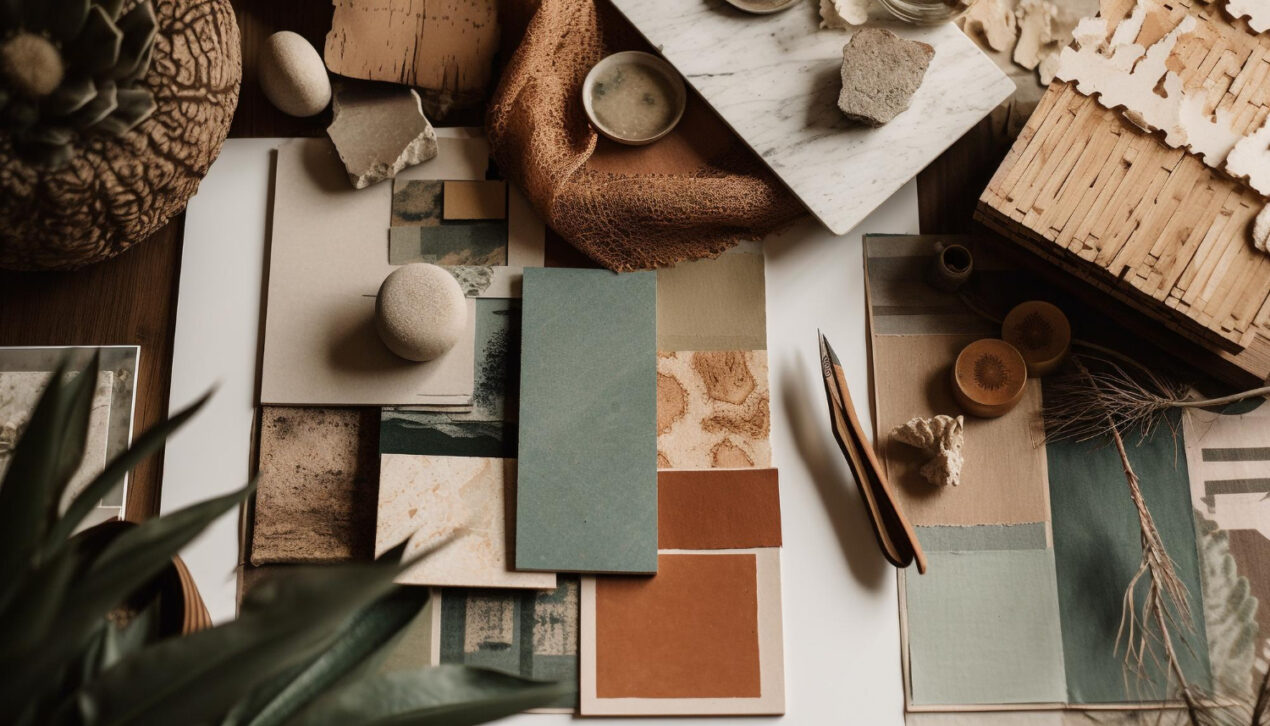
Include textures and samples on your board to add depth and a feel for the material. Stick fabric cuts, paint swatches, or wallpaper pieces to the board. This gives you a real feel for the materials you want in your home. By doing so, your board becomes more than just a flat image–it’s a tangible display of your design idea. Let your imagination run wild as you include real elements. Make sure every texture supports your wide design story. Textures and samples shape your board into a showcase of your design goals.
Here’s where to add a special touch to your board, putting in personal photos, artwork, or treasured items. This way, the board shows your style and helps shape a meaningful living space. This phase makes sure the board shows your flair and contributes to your creative project.
Now, you’re at the last step – perfecting your board. Tweaking the final details, making sure everything clicks together, and adjusting as necessary. Your board’s job is to act as a clear, confident guide on your design journey. It helps turn your dream living space into a real one and keeps your board well-balanced.
Starting your decoration journey with an interior design mood board is easy and fun. It showcases your design goals in a way you can see, making everything simpler. Just enjoy, show your creative side, and share your one-of-a-kind ideas for your home.