5 Key Interior Design Concepts and How to Use Them
-
Posted by
There are some people who would have us believe that interior …

There are some people who would have us believe that interior …


Acacia wood is a commonplace material in the realms of …
If the last two years have taught us anything, it is that our beautiful …

DISCLAIMER: The images in this post are for informational purposes to illustrate potential possibilities, recognizing that individual tastes vary. We aim to capture your wants and needs, expanding on each style where possible to offer a range of available options from reputable designers and affiliated brands. This selection process considers a variety of factors to ensure we cater to the diverse preferences of our readers.
Ever wanted a coffee table that doubles as a desk? If so, a lift-top coffee table is the perfect solution. In just a few hours, you can make your own stylish lift-top table. All you require is some essential woodworking tools and materials, and you’ll be well on your way to creating a custom piece for your living room.
Making a lift-top coffee table is actually pretty straightforward if you follow the right steps. In this guide, we’ll walk you through the process from start to finish. By the end, you’ll have a trendy coffee table with a top that smoothly lifts and locks into place, providing extra tabletop space whenever needed. Oh, and the best part is you get to customize it to match your decor and current setup. So roll up your sleeves, and let’s get building! This is a DIY project you’ll be proud to show off.
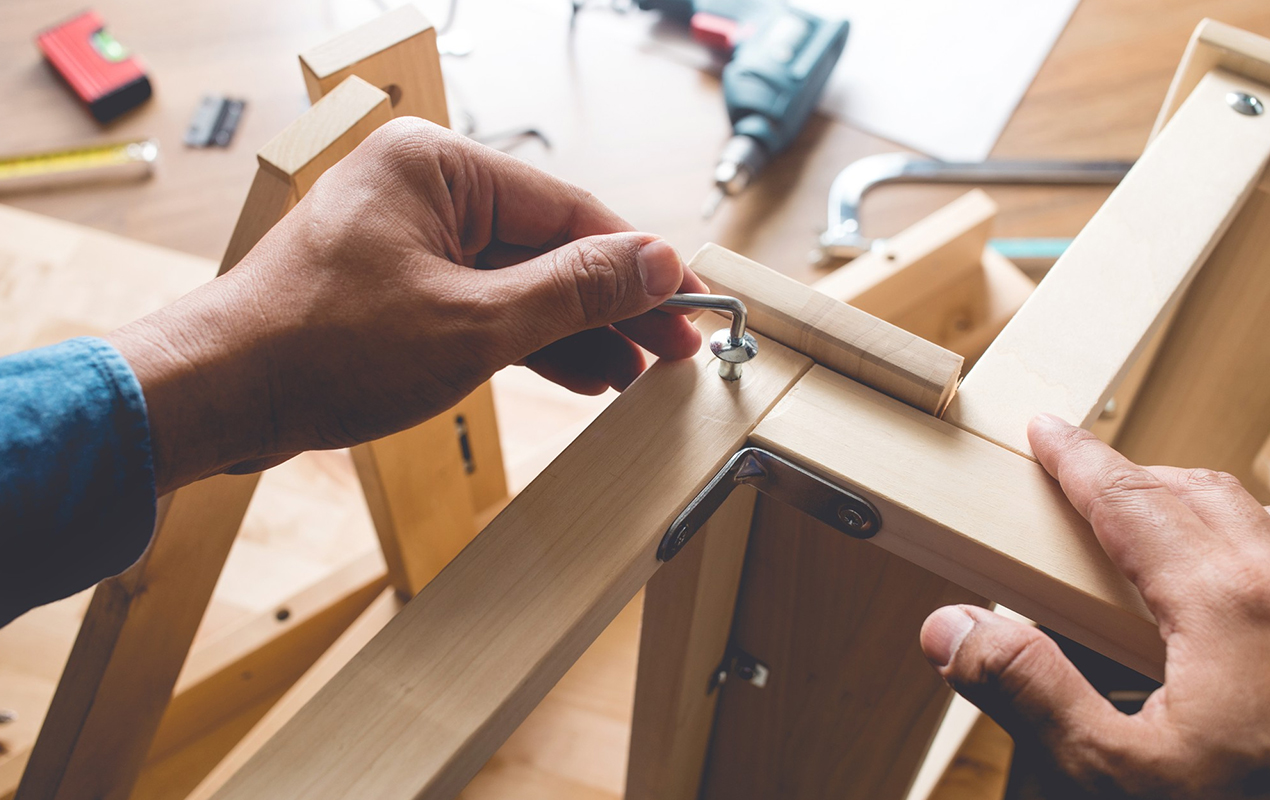
Photo by Chanwichit_khuyngern from Freepik
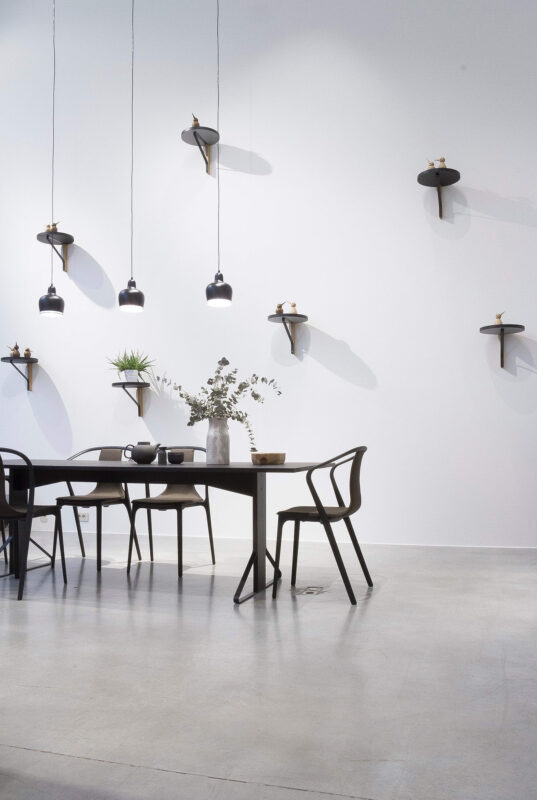
Insight – Before you start building, take time to plan the design. Pick the shape, size, and style that suits your needs and preferences. To get ideas and inspiration, browse through pictures of tables online or in magazines. By planning ahead, you can ensure your table will be both functional and individual.
To make a DIY lift-top coffee table, you’ll need some essentials:
Gain Insight: How to Paint A Coffee Table: Tips to Paint Your Way to Success
With the materials and tools in hand, you’re ready to start constructing your DIY coffee table. Take your time and follow the steps carefully for the most promising results. If you run into any issues, don’t hesitate to ask an experienced woodworker for guidance and advice.
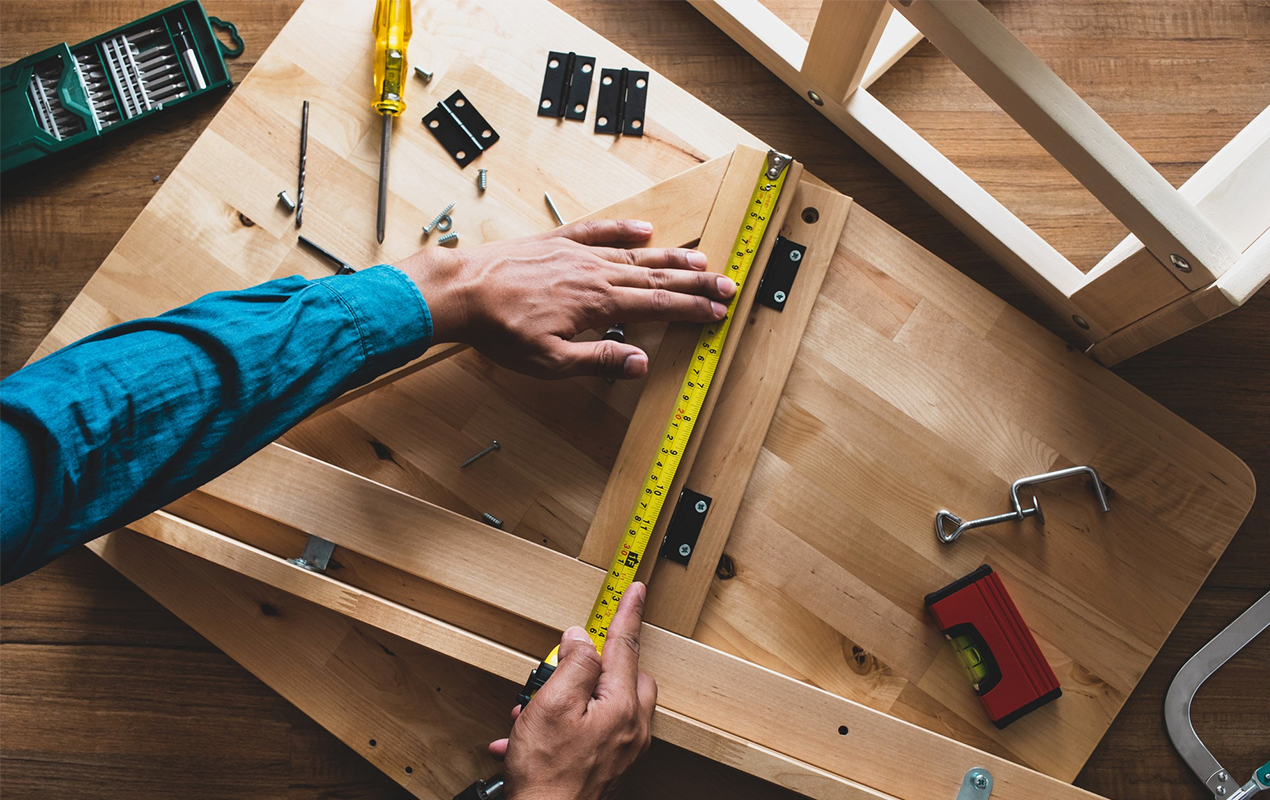
Photo by Chanwichit_khuyngern from Freepik
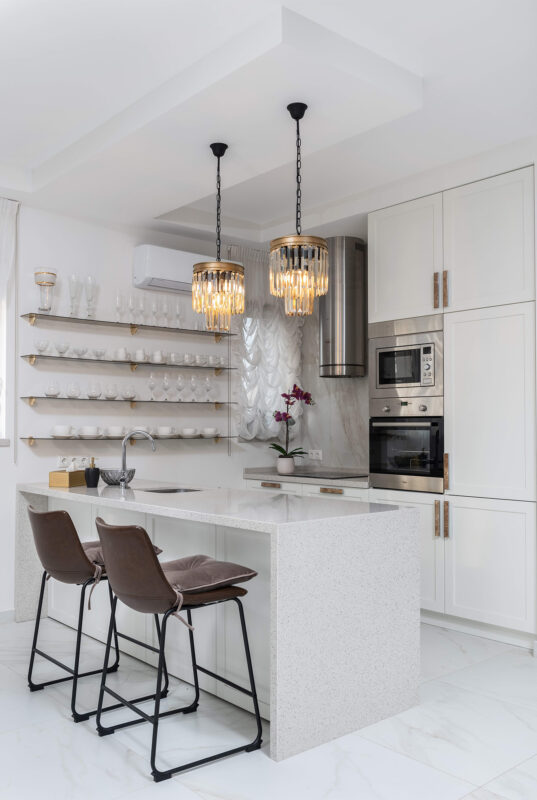
Insight – To ensure that your table stays sturdy and functional, starting with dry and defect-free wood is crucial. Any warping or cracks can compromise the integrity of the table, so it’s essential to take the necessary precautions before starting your project.
To build the base of your table, you’ll need the following supplies:
Measure and cut the six boards to the dimensions listed above. Ensure you cut them as precisely as possible to ensure your table is level.
Place two leg boards parallel to each other on your work surface. Then, apply wood glue to the inner-facing edges of the leg boards. Place one of the side apron boards in between the legs, lining up the edges. After this, secure in place with wood screws spaced about six to eight inches apart and repeat the process with the other side.
Apply wood glue to the inner-facing edges of the side apron boards. Place one of the end apron boards in between the side aprons, lining up the edges. Then, secure in place with wood screws and repeat with the other end apron.
Let the glue dry as advised. Once dry, you’ll have a sturdy base for your table. The base should measure approximately 15 inches high, 36 inches long, and 17 inches wide.
Discover More: Craft a Custom Piece With Our 19 DIY Coffee Table Design Ideas
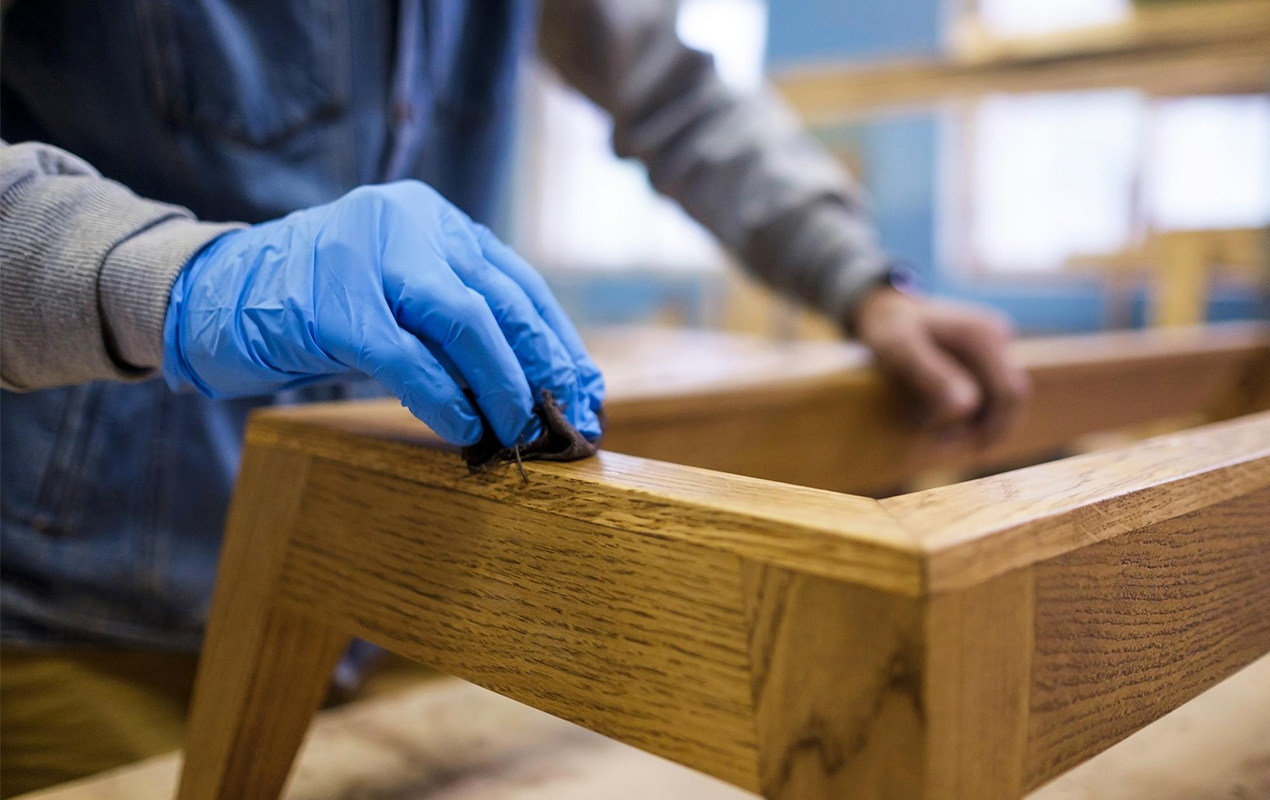
Photo by Koldunov from Freepik
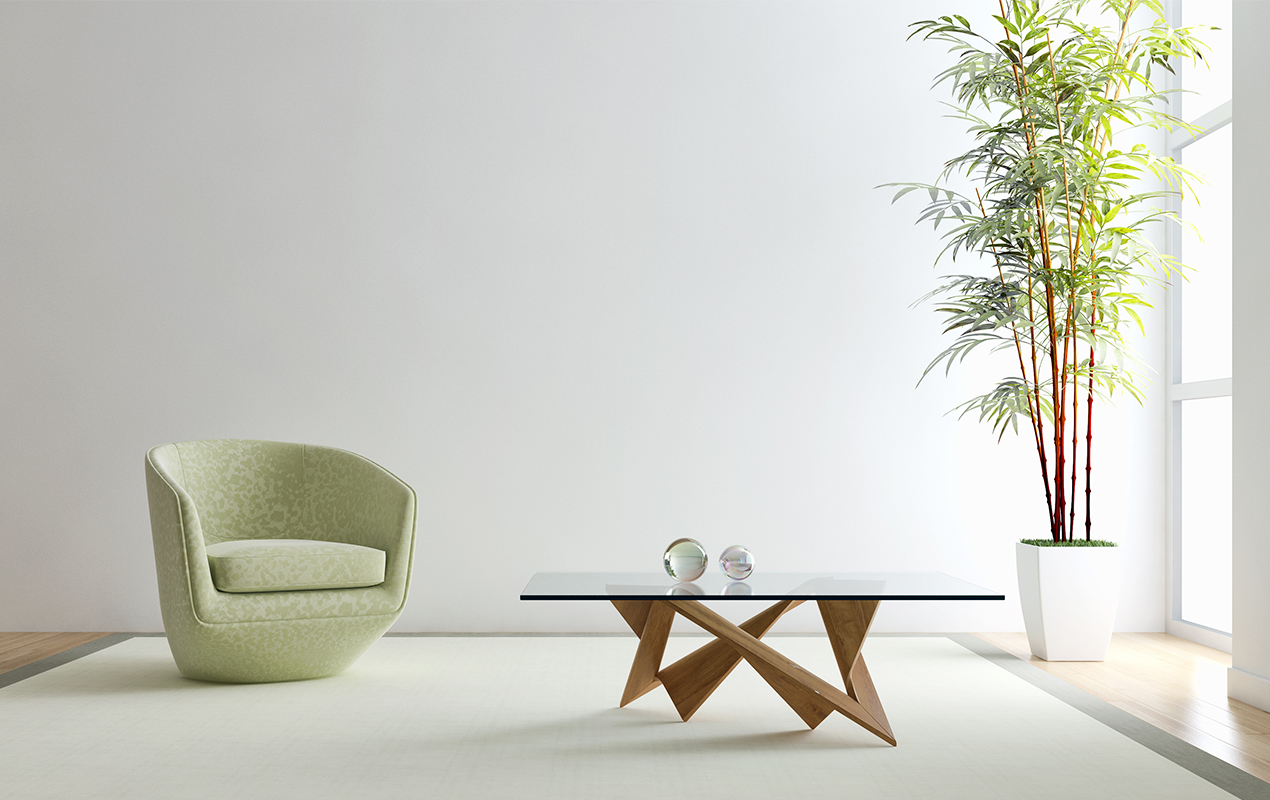
Insight – By installing safety locks, you can ensure that small children are protected from accidental injuries caused by pinched fingers. Consider a safety lock to provide an added layer of protection for your little ones.
Now that you have the lift-top mechanism hardware, it’s time to install it into your table frame.
This step requires precision, but with patience, you’ll have that lift-top rising and falling smoothly in no time. Start by measuring and marking the center point on the ends of your tabletop. Do the same for the metal lift-top arms. These center points should align when you attach the arms to the underside of the tabletop.
Next, place the tabletop upside down on your work surface. Position one lift-top arm at a time under the top, lining up the center points you marked. Secure each arm to the underside of the table using wood screws, and don’t forget to double-check that the arms can move freely and are evenly spaced before tightening the screws completely. Once the arms are installed, it’s time to attach the guide channels. These provide stability and help the top raise and lower in a straight line.
Center a guide channel at the front and back end of the tabletop. Then, attach with glue and clamp in place until dry. Now flip your tabletop right side up. Have a helper hold the top on its side while you attach the gas spring to the arms. The gas spring has a cylinder end and a rod end—the cylinder attaches to the stationary table base while the rod attaches to the moveable arms.
Extend the gas spring to its maximum length and attach the ends to the predrilled holes in the arms and base. Slowly lower the tabletop to the closed position. Check that the top raises and lowers evenly on both sides in a smooth motion. If not, you may need to adjust the position of the gas spring or guide channels. Once everything is aligned and moving correctly, you can load and test your lift-top table!
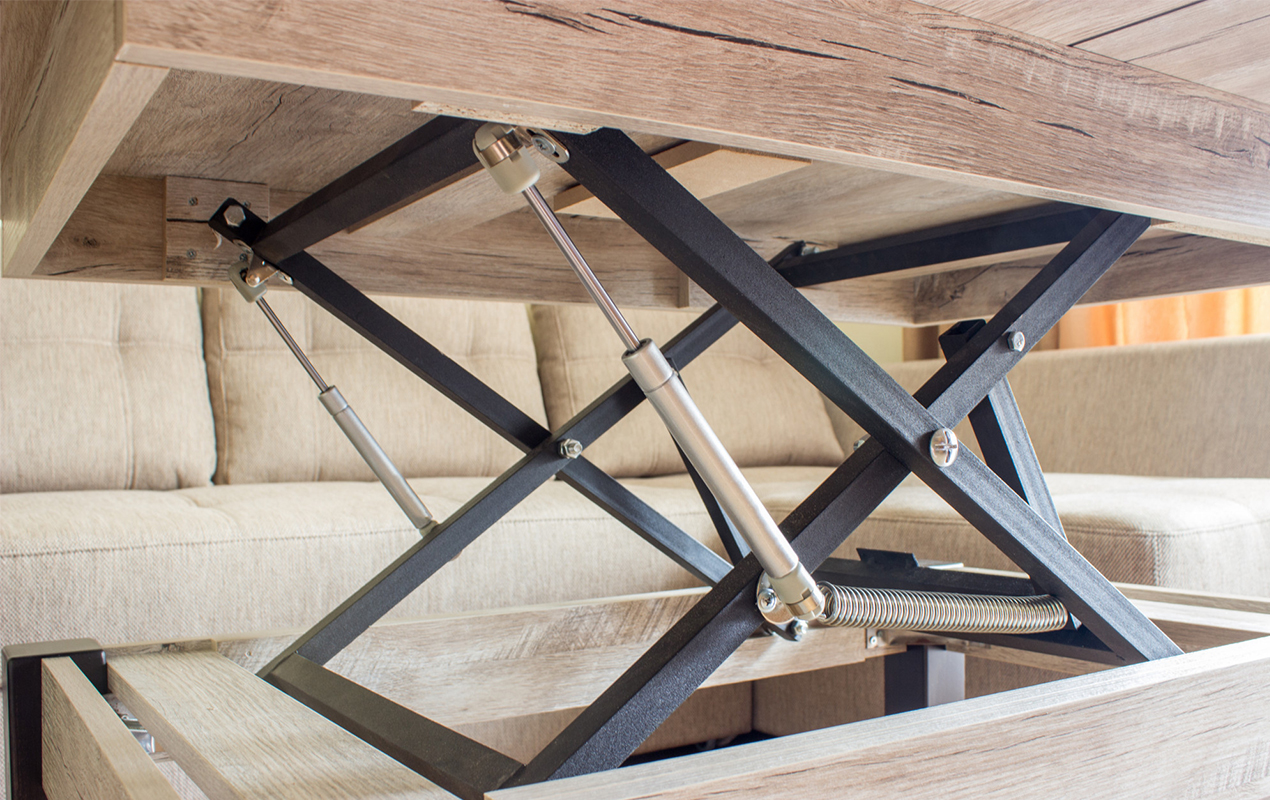
Photo by Sosiukin from Freepik
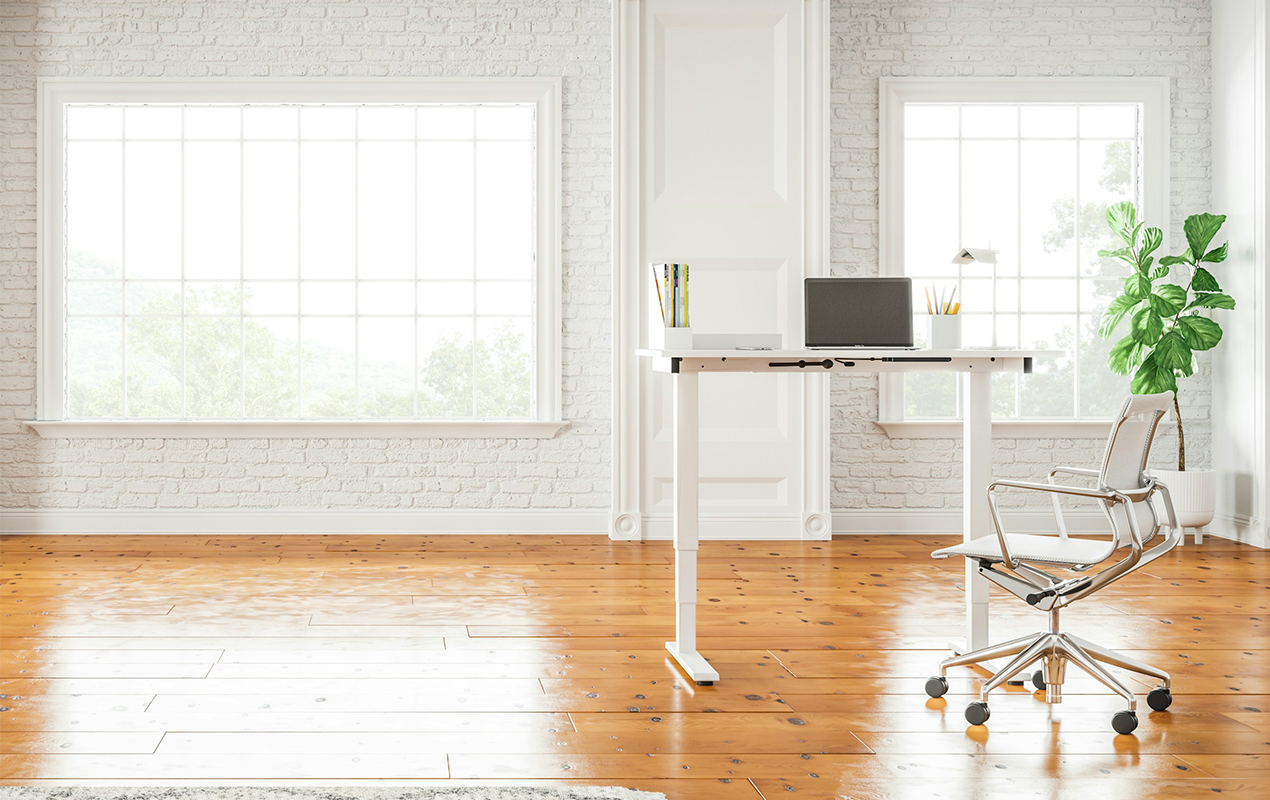
Once you have the base frame built, it’s time to add the tabletop. This will complete your coffee table and allow you to finally put it to good use.
For the tabletop, you’ll want to choose a material that is both durable and aesthetically pleasing. Hardwoods like oak, maple, or walnut are attractive options that can withstand daily use. If you prefer a rustic look, reclaimed wood is a renowned alternative. For a more budget-friendly option, plywood with a wood veneer finish will work nicely. Remember, the tabletop should be cut to the same dimensions as the base frame.
Related Article: 21 Timeless Walnut Coffee Table Ideas For a Sumptuous Home
With the help of an assistant, carefully place the tabletop onto the base frame. Center it and ensure there is an equal overhang on all sides. Once positioned, secure the tabletop in place from underneath using glue and nails or wood screws. Two screws placed at opposite corners, plus glue applied to the frame edges, is typically enough to securely adhere to the tabletop.
Attach lift supports or gas struts to raise and support the tabletop. Mount one end of the struts to the underside of the tabletop and the other end to the sides of the base frame using screws. When the tabletop is closed, the struts will be compressed. To lift the top, slowly raise it until the struts lock in the extended position.
For protection, apply two to three coats of polyurethane or lacquer to the tabletop and base frame, waiting for each coat to dry. You may also want to attach felt pads to the bottom of the legs to prevent scratching hard floors. Once the finish is dry, load up your table with decor, coasters, books, and, of course, coffee!
Read More: Sand, Stain, Seal: A Guide On How to Refinish A Coffee Table
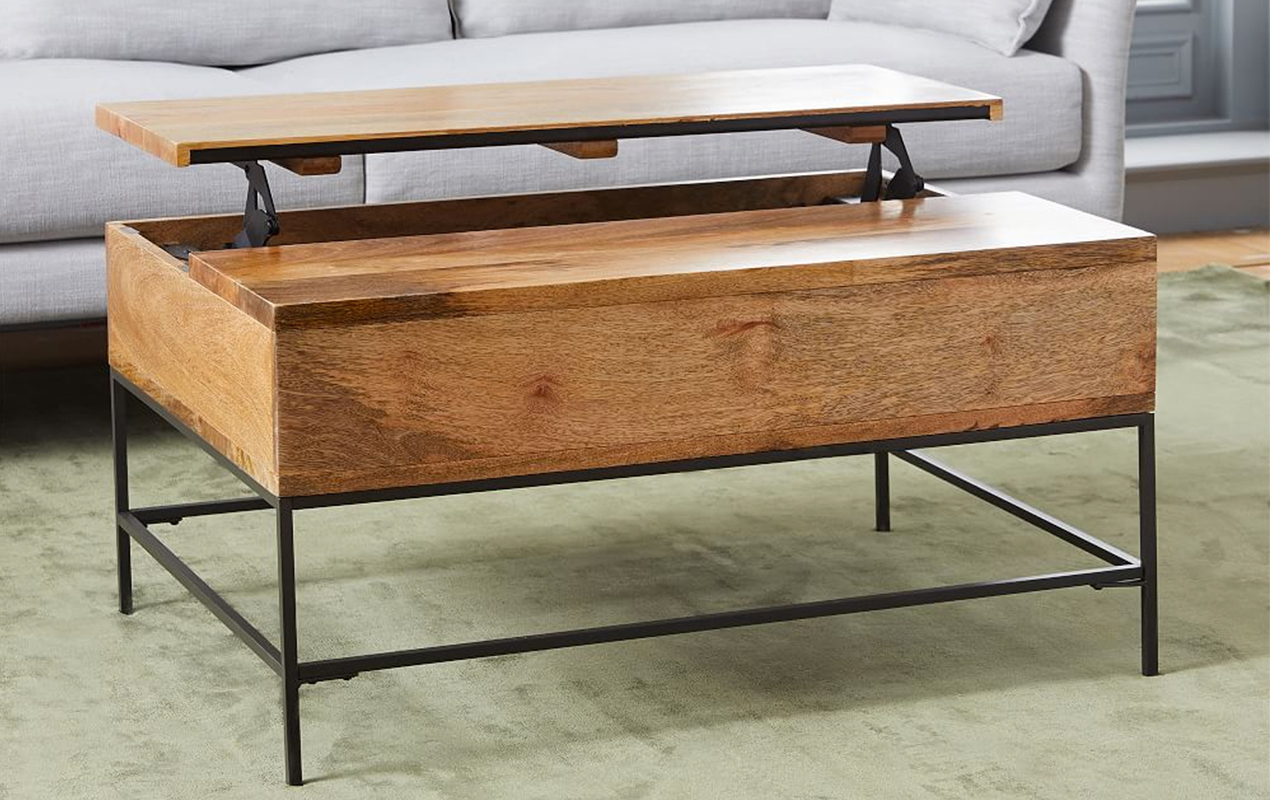
Photo by West Elm
Insight – Before starting, measure the area where you want to put the coffee table. This will assist in determining the ideal size for the table and ensure it fits comfortably.
So just like that, you’ve acquired insight and information to build your very own lift-top coffee table! With the right tools and materials and a little elbow grease, you’re now able to assemble an innovative and practical furniture piece for your living room setup. You’ll have the perfect spot for setting down snacks, doing a puzzle, or just propping up your feet—and the best part is that you can stow it all away with a simple lift of the tabletop whenever you want the space back. Building your own furniture is extremely rewarding, not to mention a great way to save money. Hopefully, this guide has inspired you to try other DIY woodworking projects around the home. Get out there and start crafting—the possibilities are endless!.