How to Design a Long Living Room
-
Posted by
When you move into a new place, you often have to adapt your …
When you move into a new place, you often have to adapt your …
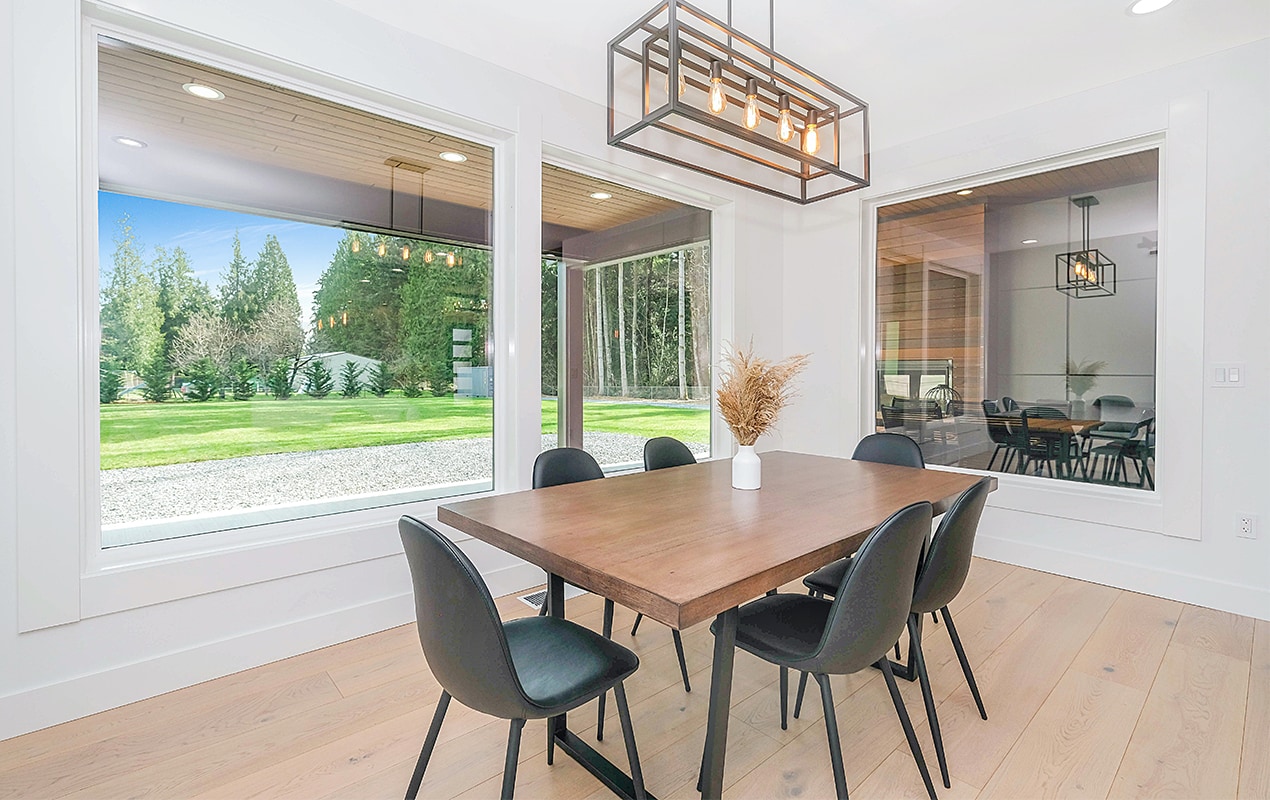
The dining room can be the venue for so many memories, from …
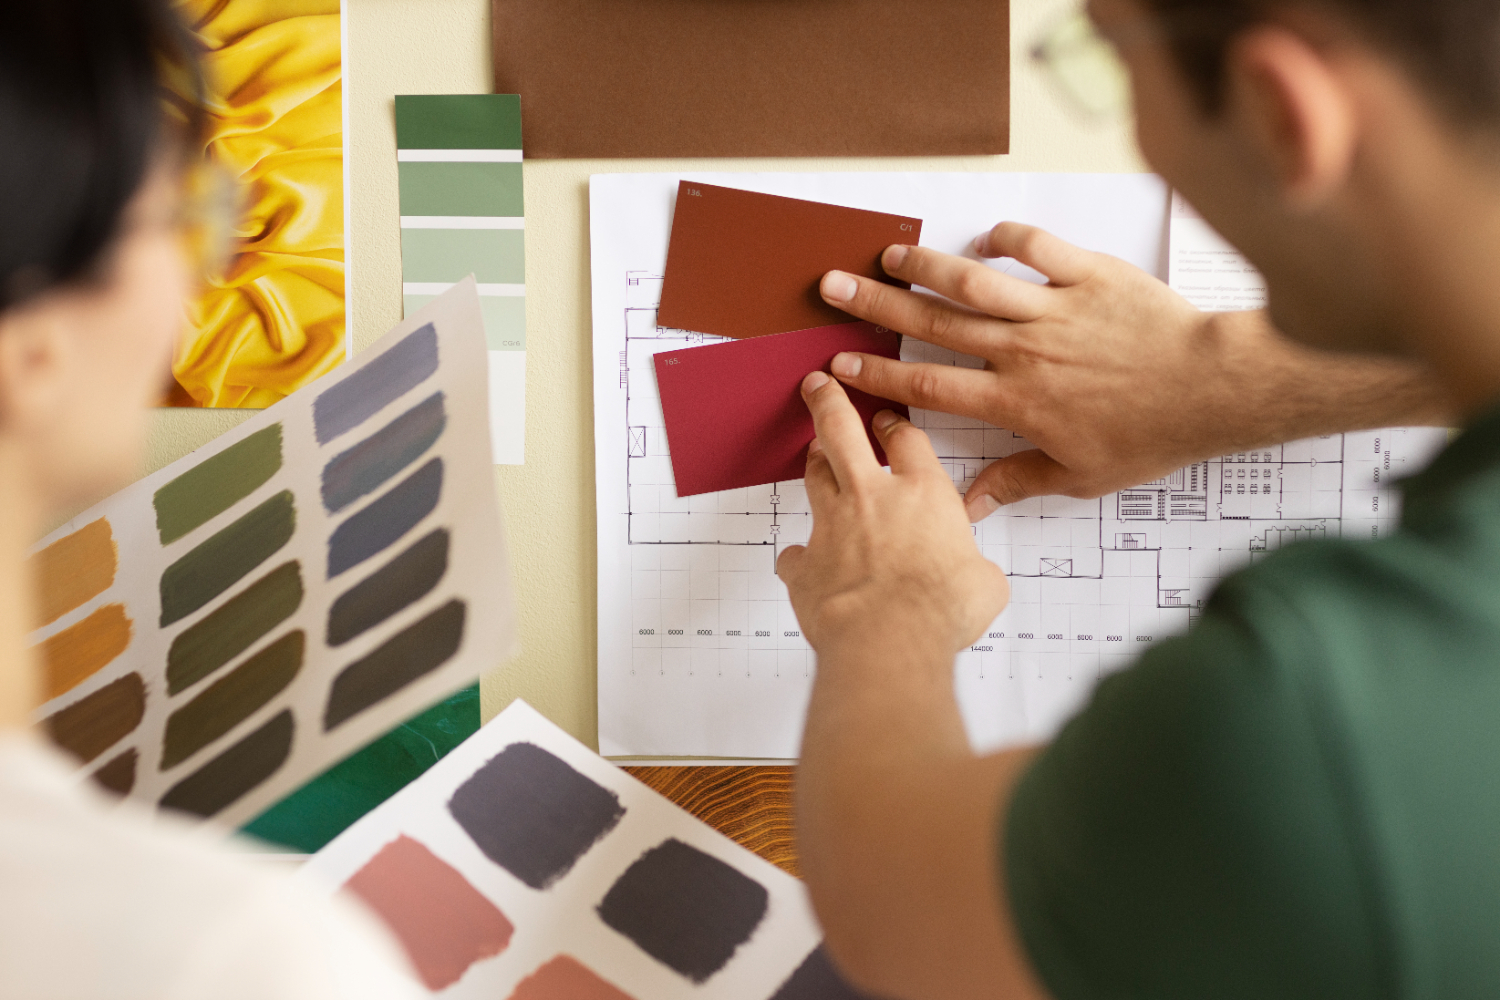
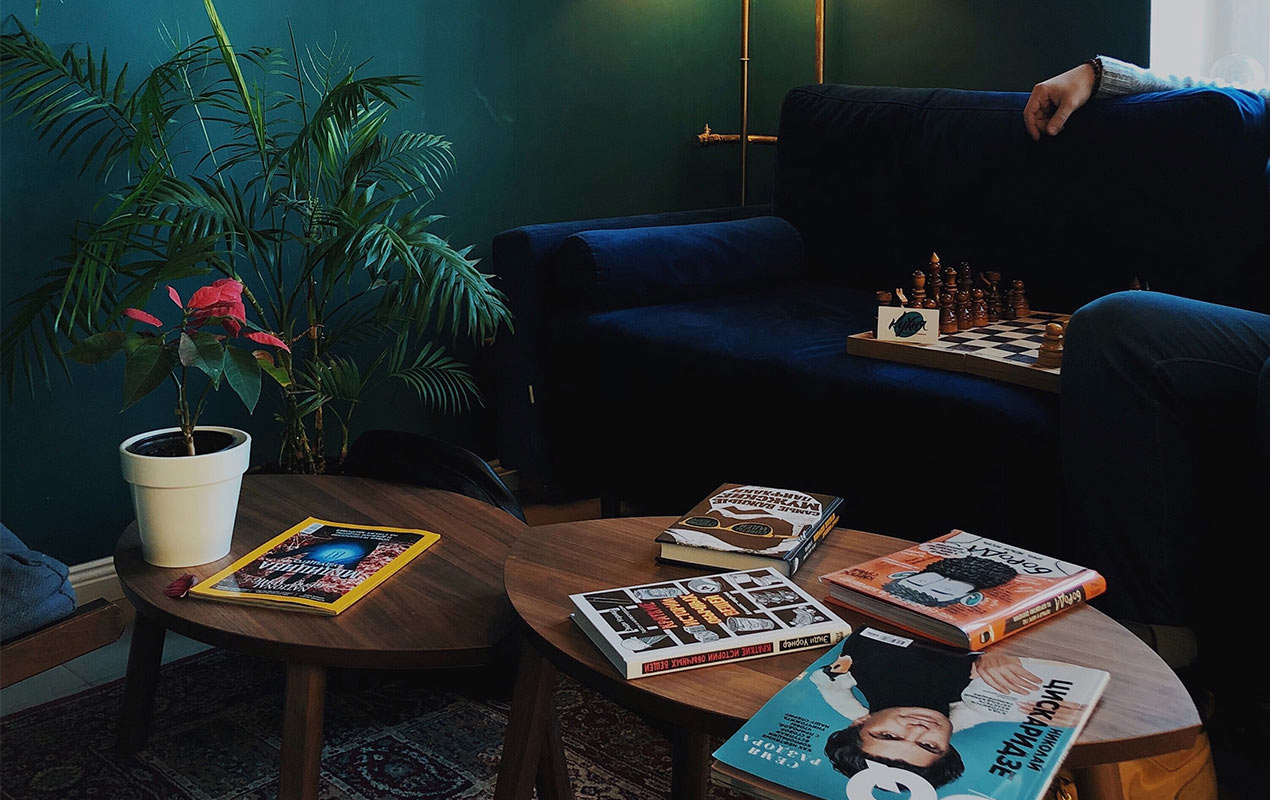
When it comes to interior design, dark colors make a real …

If it’s your first time leaving the nest and moving into your own place …

After two years of avoiding social events and staying isolated …
DISCLAIMER: The images in this post are for informational purposes to illustrate potential possibilities, recognizing that individual tastes vary. We aim to capture your wants and needs, expanding on each style where possible to offer a range of available options from reputable designers and affiliated brands. This selection process considers a variety of factors to ensure we cater to the diverse preferences of our readers.
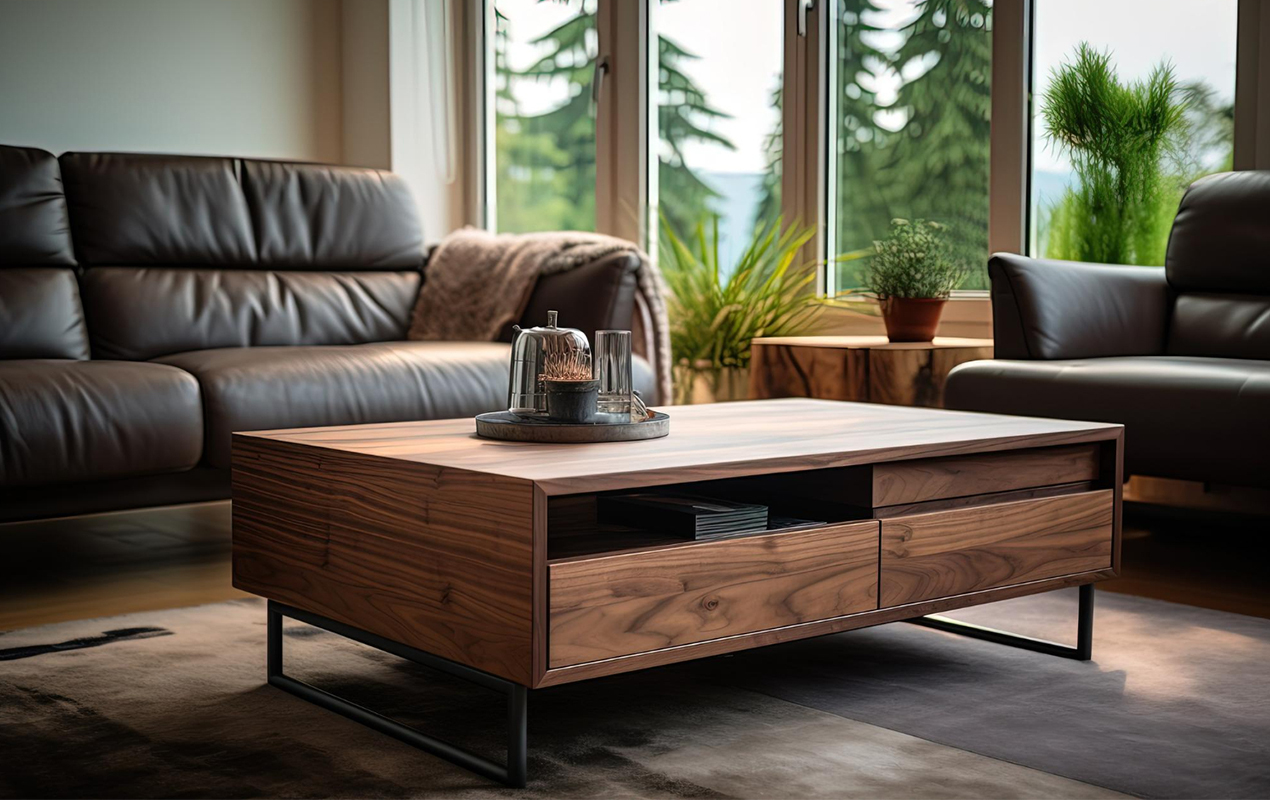
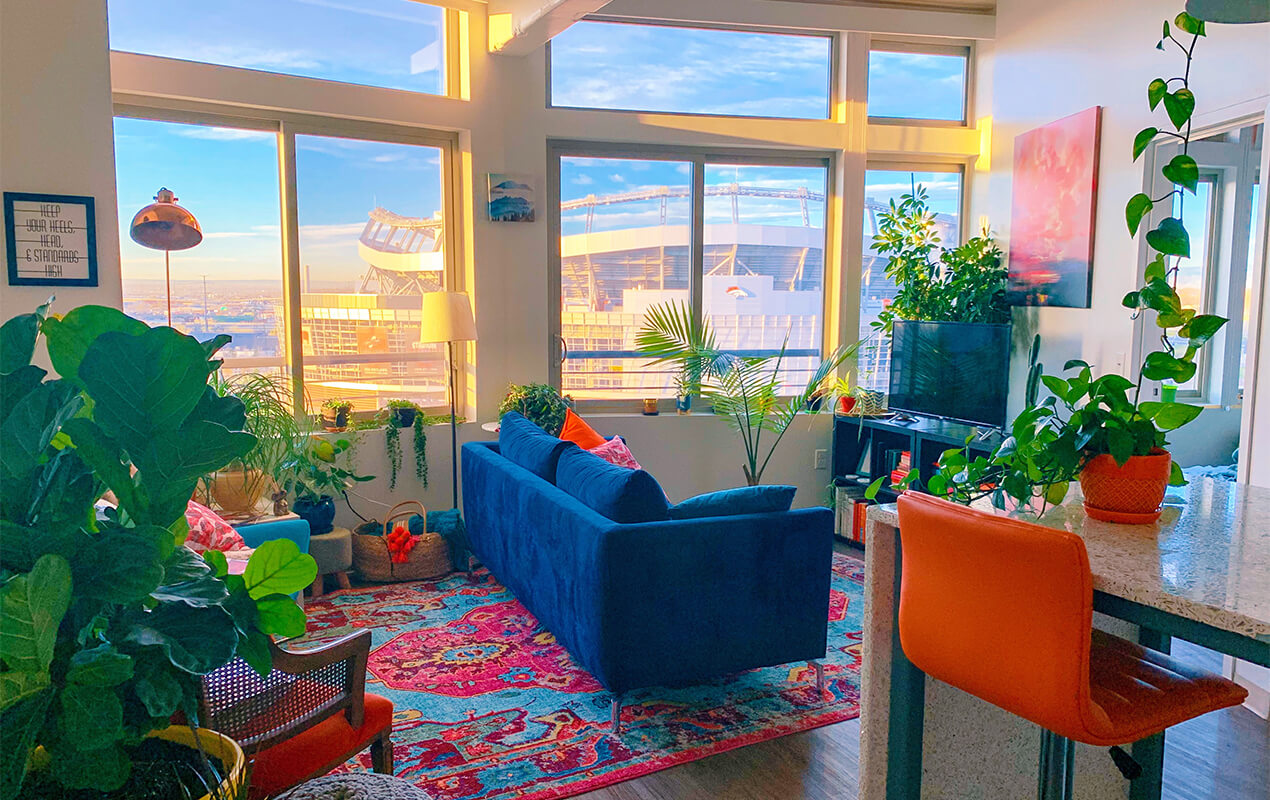
Ready to add a natural aesthetic to your space with a wicker coffee table? Just imagine sipping your favorite coffee while admiring your handcrafted creation. No need to break the bank buying one when you can make it yourself with the right tools and supplies. Don’t worry if you’re not a DIY expert; building the table frame is easy and fun. With a little patience, you’ll master the wicker weaving of the rattan in no time. Your friends won’t believe you made it yourself! Get your gloves on, and let’s uncover how to build a wicker coffee table. In just a weekend, you’ll have a stunning new centerpiece that will bring your living room setup to life.
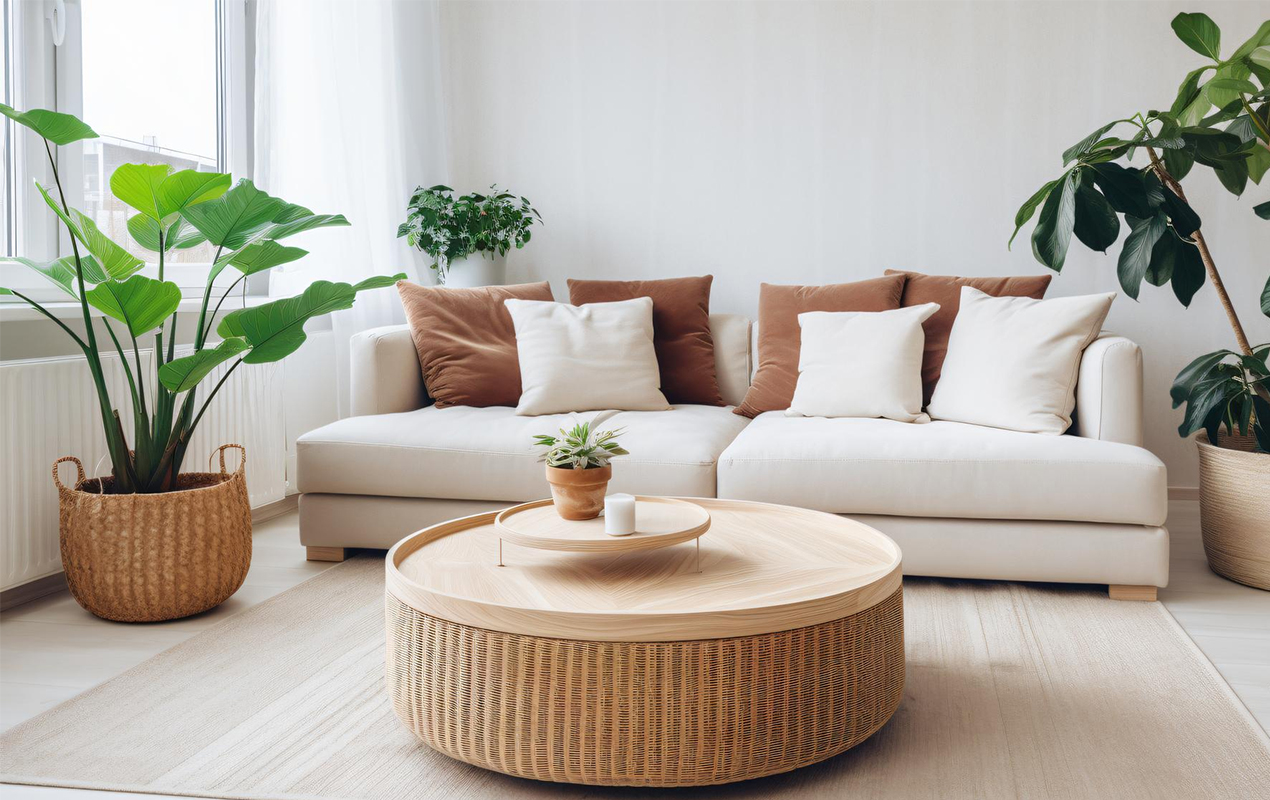
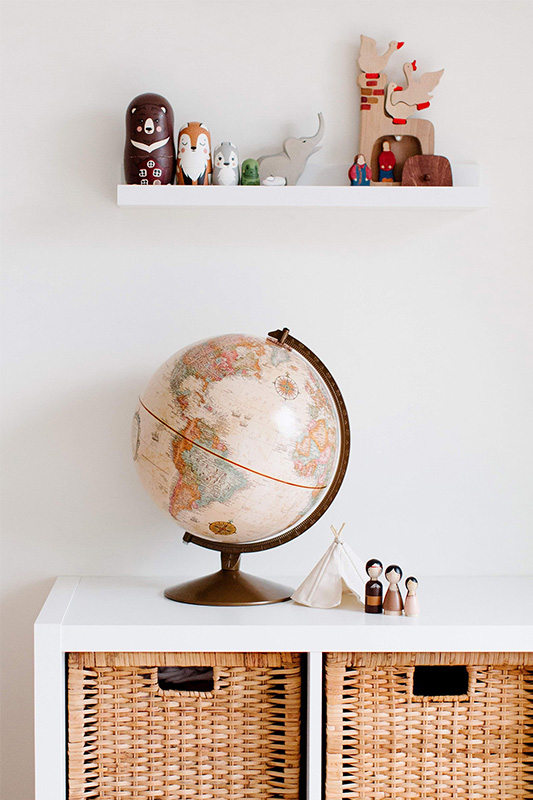
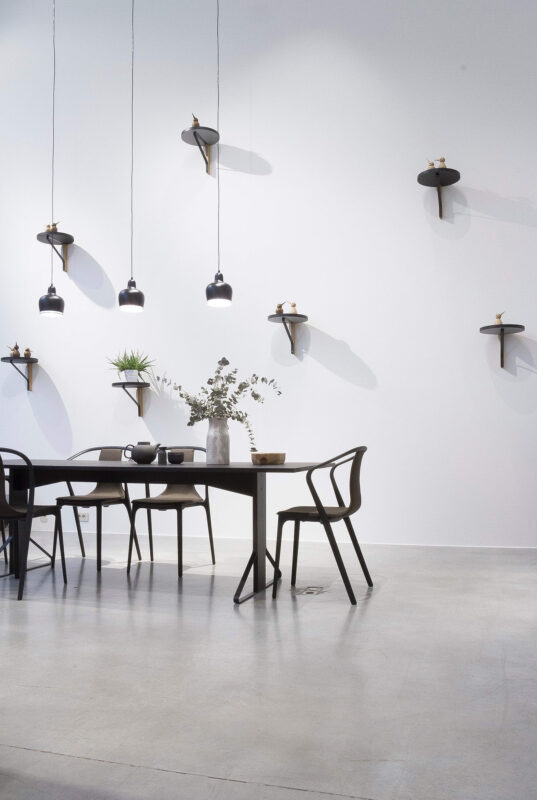
Photo by Alihasheikh21 from Freepik
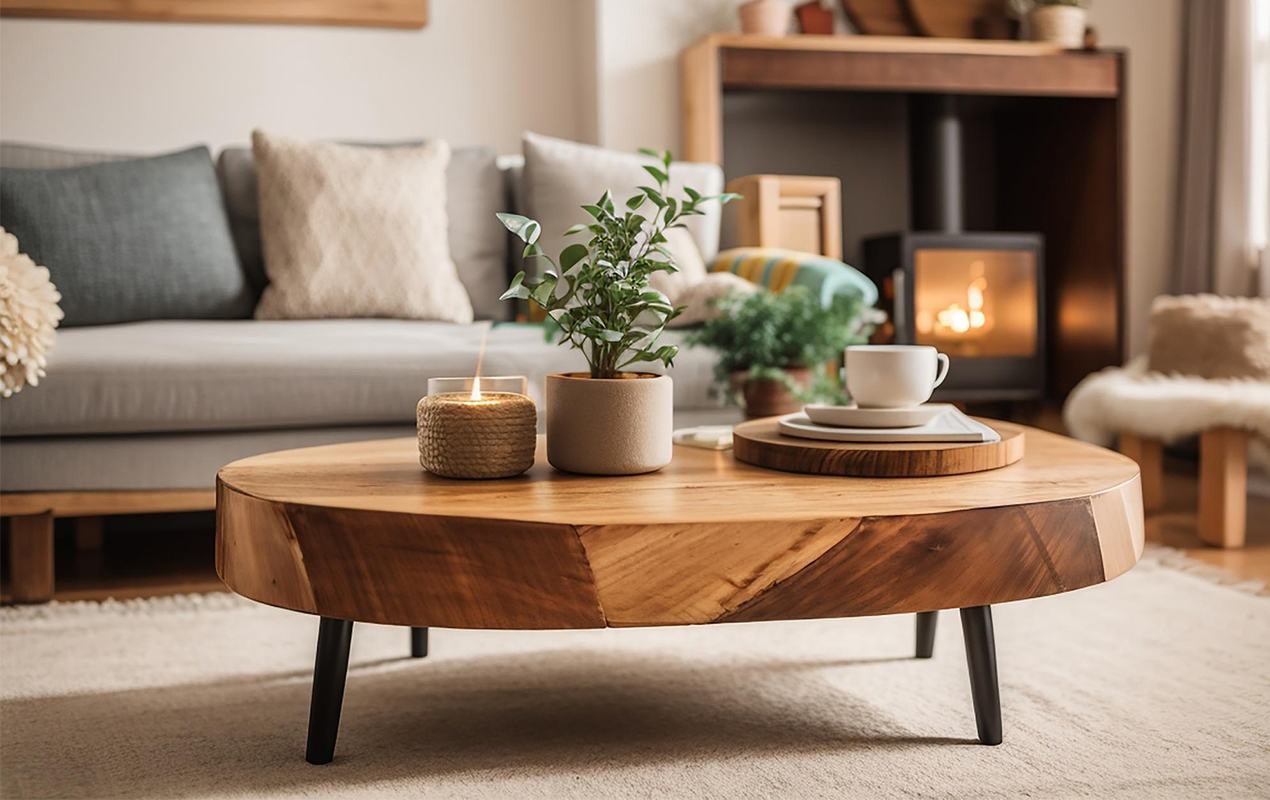
The base of your wicker coffee table provides the foundation, so it’s essential to construct it properly.
You’ll want:
Read More: 10 Eco-Friendly Wicker Coffee Table Ideas for Coastal Perfection
Attach an end apron to two leg boards, making a U-shape. Then, secure with glue and two screws at each joint. Repeat this to make the second end section and attach a side apron to the ends of the two end sections. Repeat this to attach the remaining side apron. This completes the basic frame. Once the frame is assembled, turn it over so the aprons face down. Attach a center support stretcher across the middle for added stability and allow six to eight hours for the glue to dry completely.
Related Article: Craft a Custom Piece With Our 19 DIY Coffee Table Design Ideas
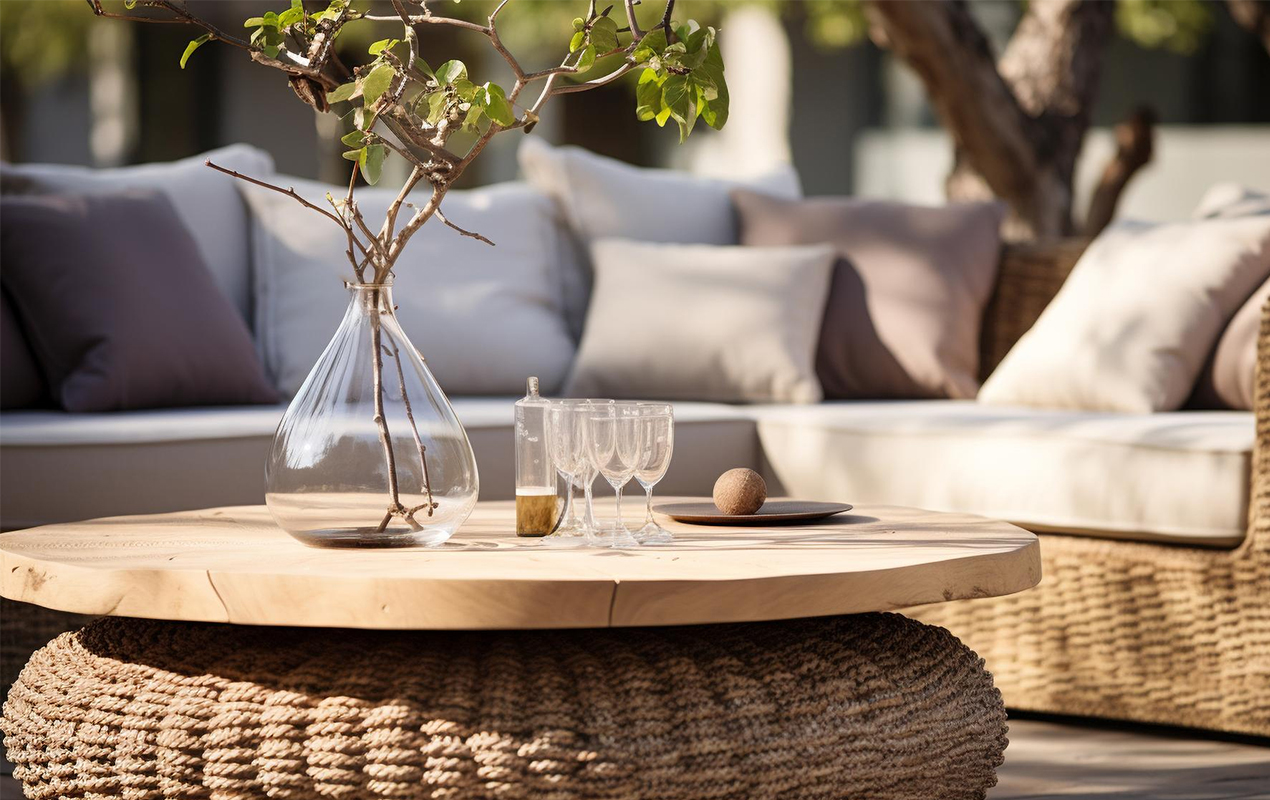
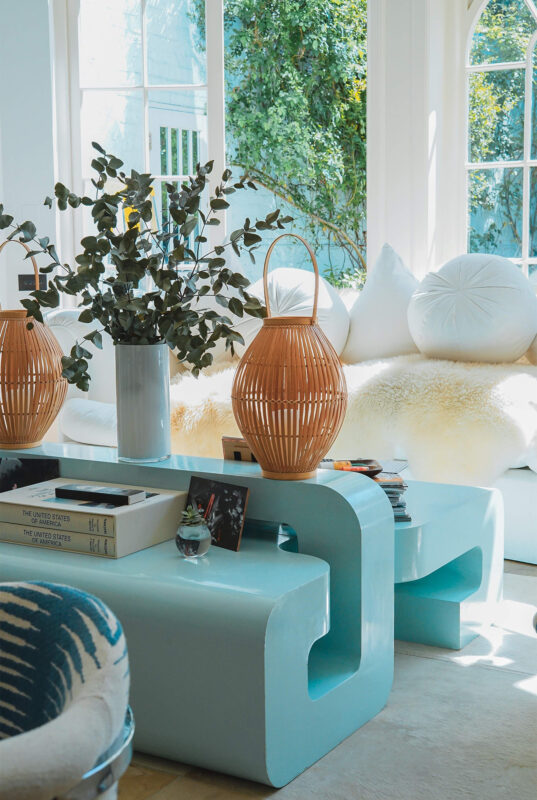
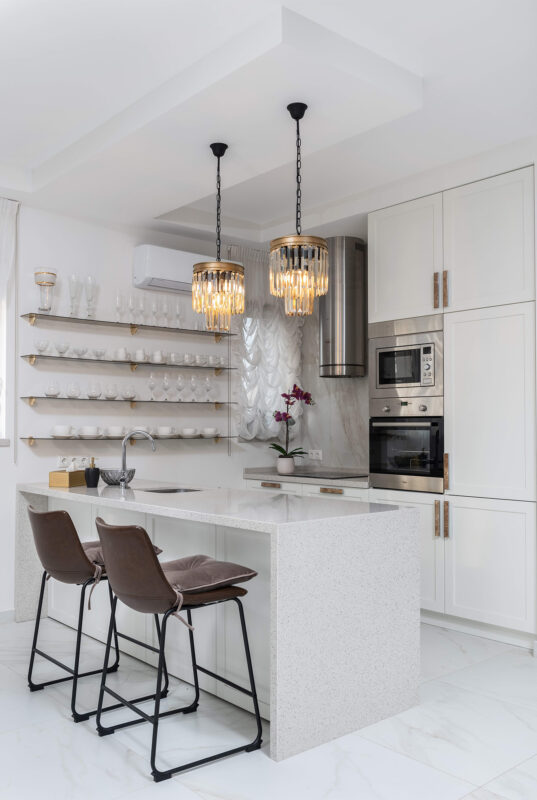
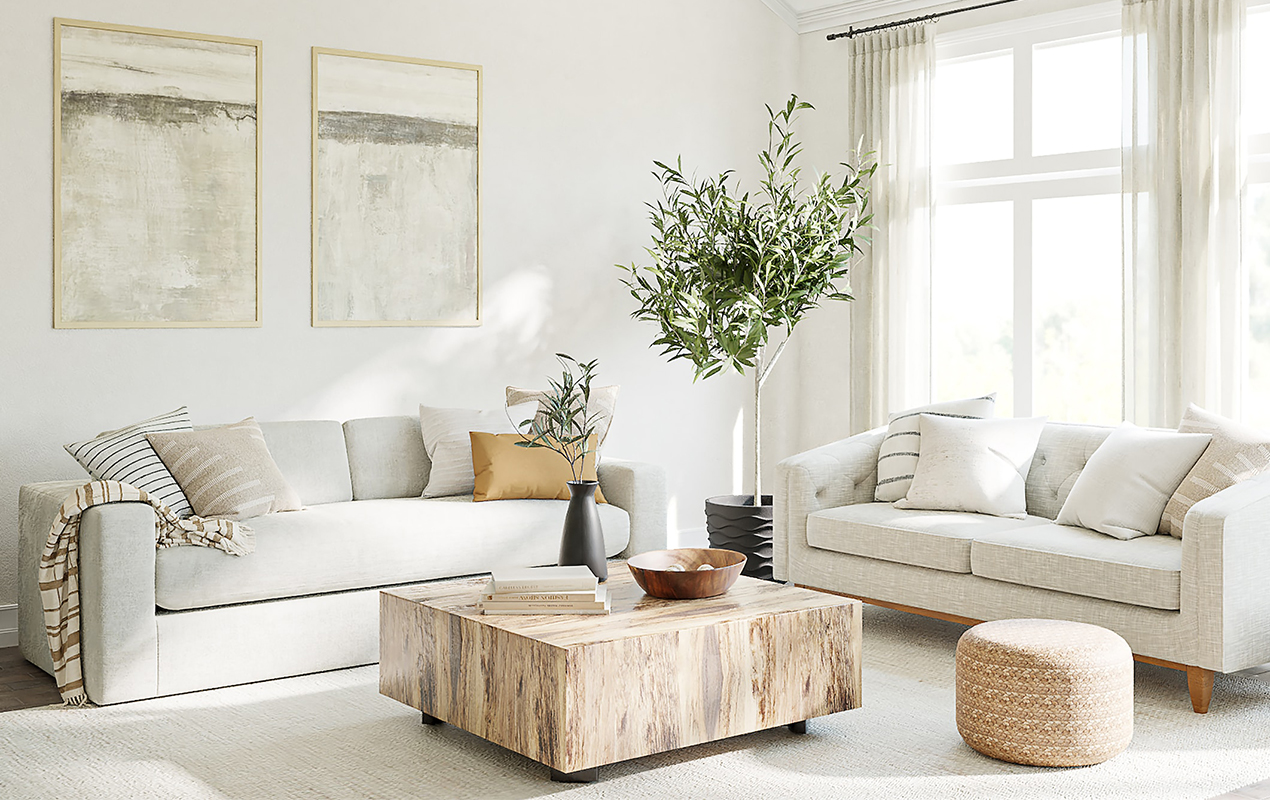
Photo by Bella786alex from Freepik
Insight – Why not get imaginative and add your own unique touches? Try incorporating a stained wood inlay or eye-catching decorative metal accents to make it one-of-a-kind. The possibilities are endless!
Once your rattan strips are cut to size, it’s time to start weaving them together. This step requires patience, but with the correct technique, you’ll have a sturdy table base.
Related Article: 15 Rattan Coffee Table Designs To Showcase Sustainable Living
The most common pattern is the basic weave. Start with two parallel strips for the sides of the table base. Take a third strip and weave it over one side, then under the next, over and under until it’s woven all the way through. Secure the ends to the side strips. Repeat the process until you have the size and shape you want.
For extra stability, weave in diagonal strips. Weave one end over the existing strips, then continue the over-under pattern at an angle. This crisscrossing creates a strong foundation. You can also vary the pattern by weaving two or more strips at a time or leaving wider gaps between some. Get creative!
Once woven together, use heavy-duty gardening twine, rope, or rattan cane to securely bind the edges and any points where panels intersect. Double knot at several points around the edges to ensure maximum durability. You can also use waterproof glue on the underside of the table for extra protection.
Gain Insight: Spice Up Your Space: 25 Unforgettable Unique Coffee Table Ideas
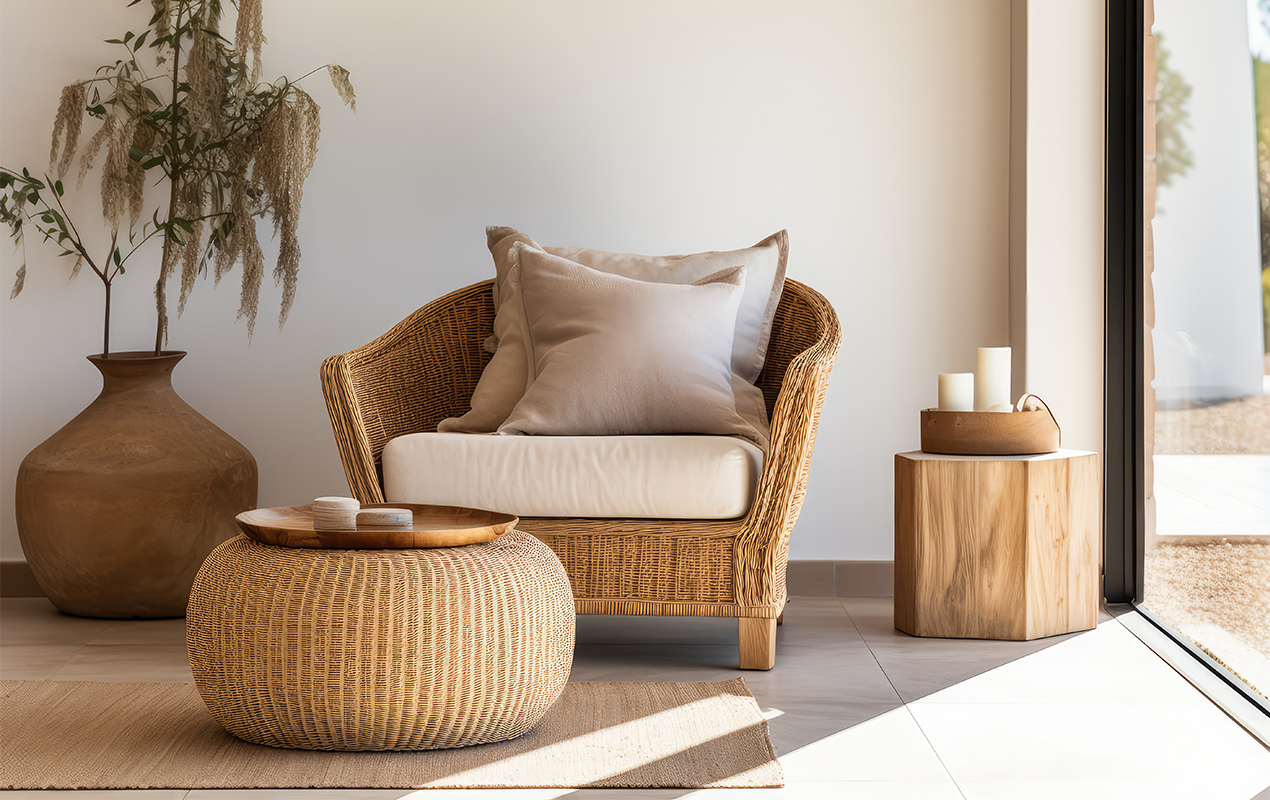
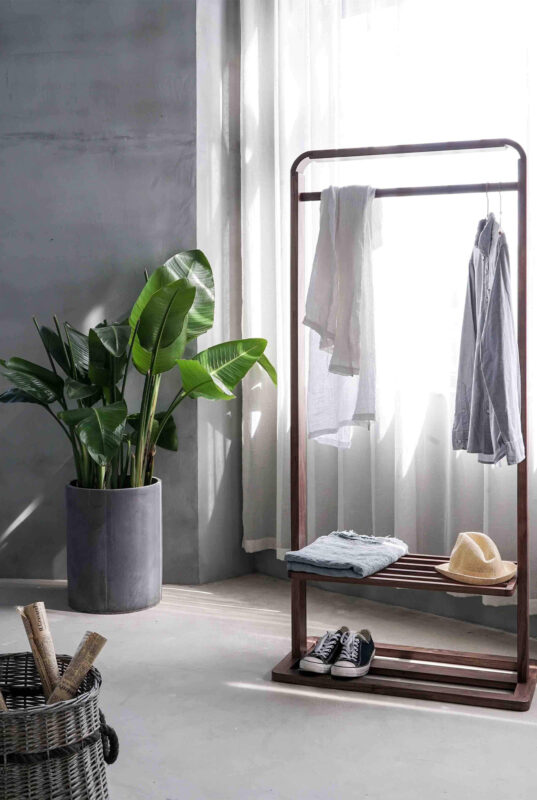
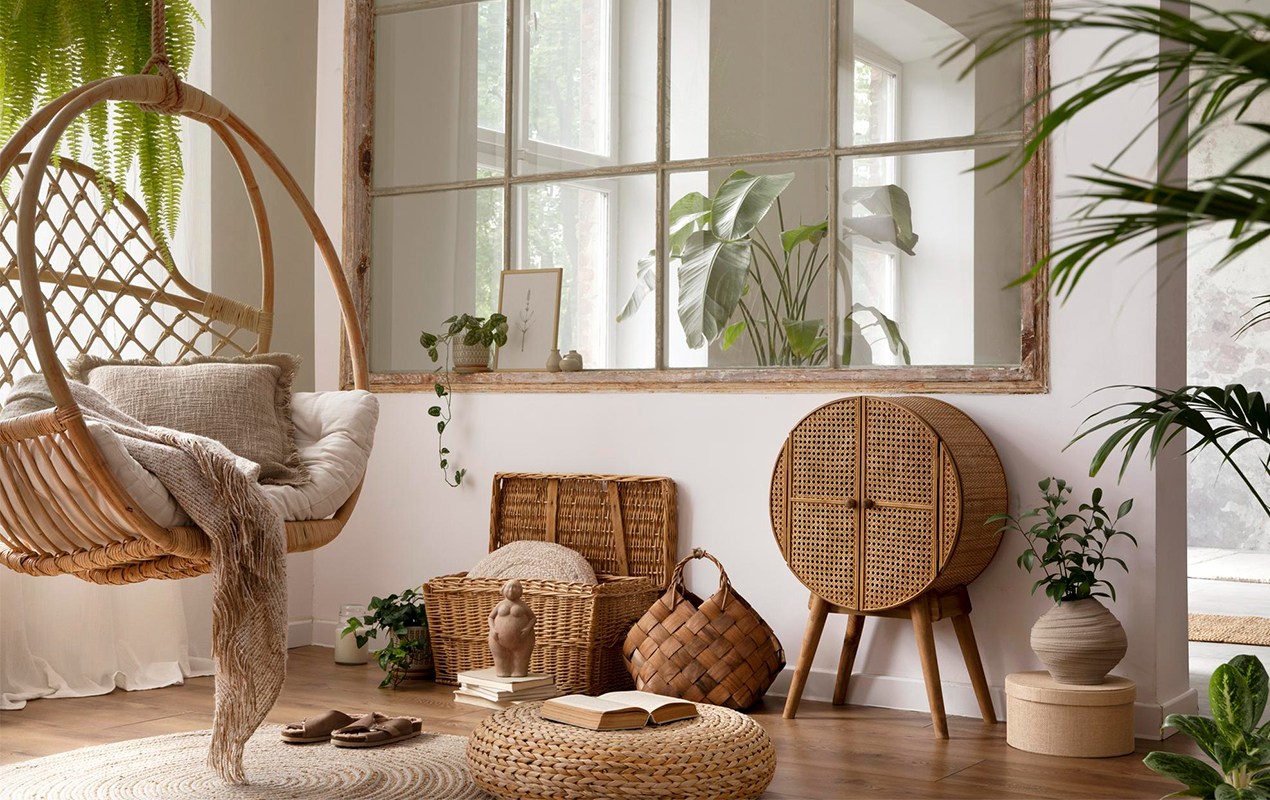
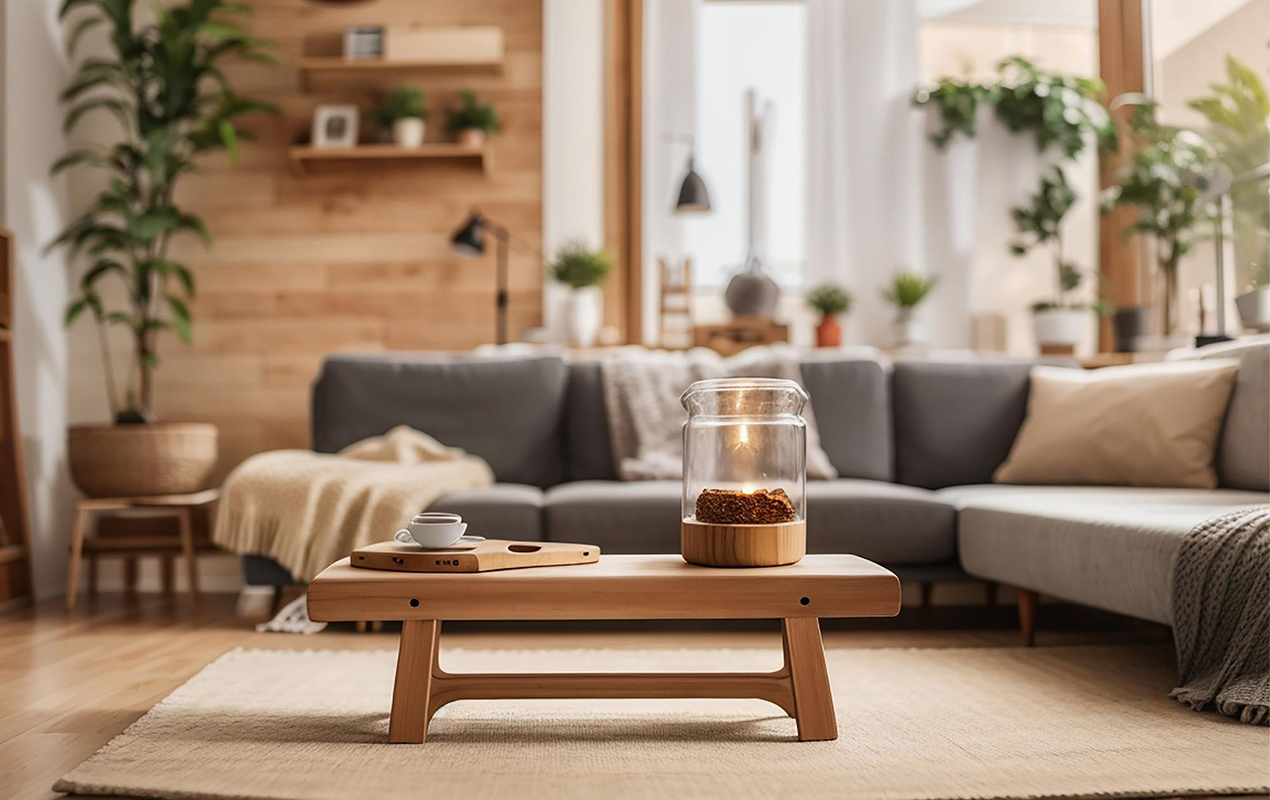
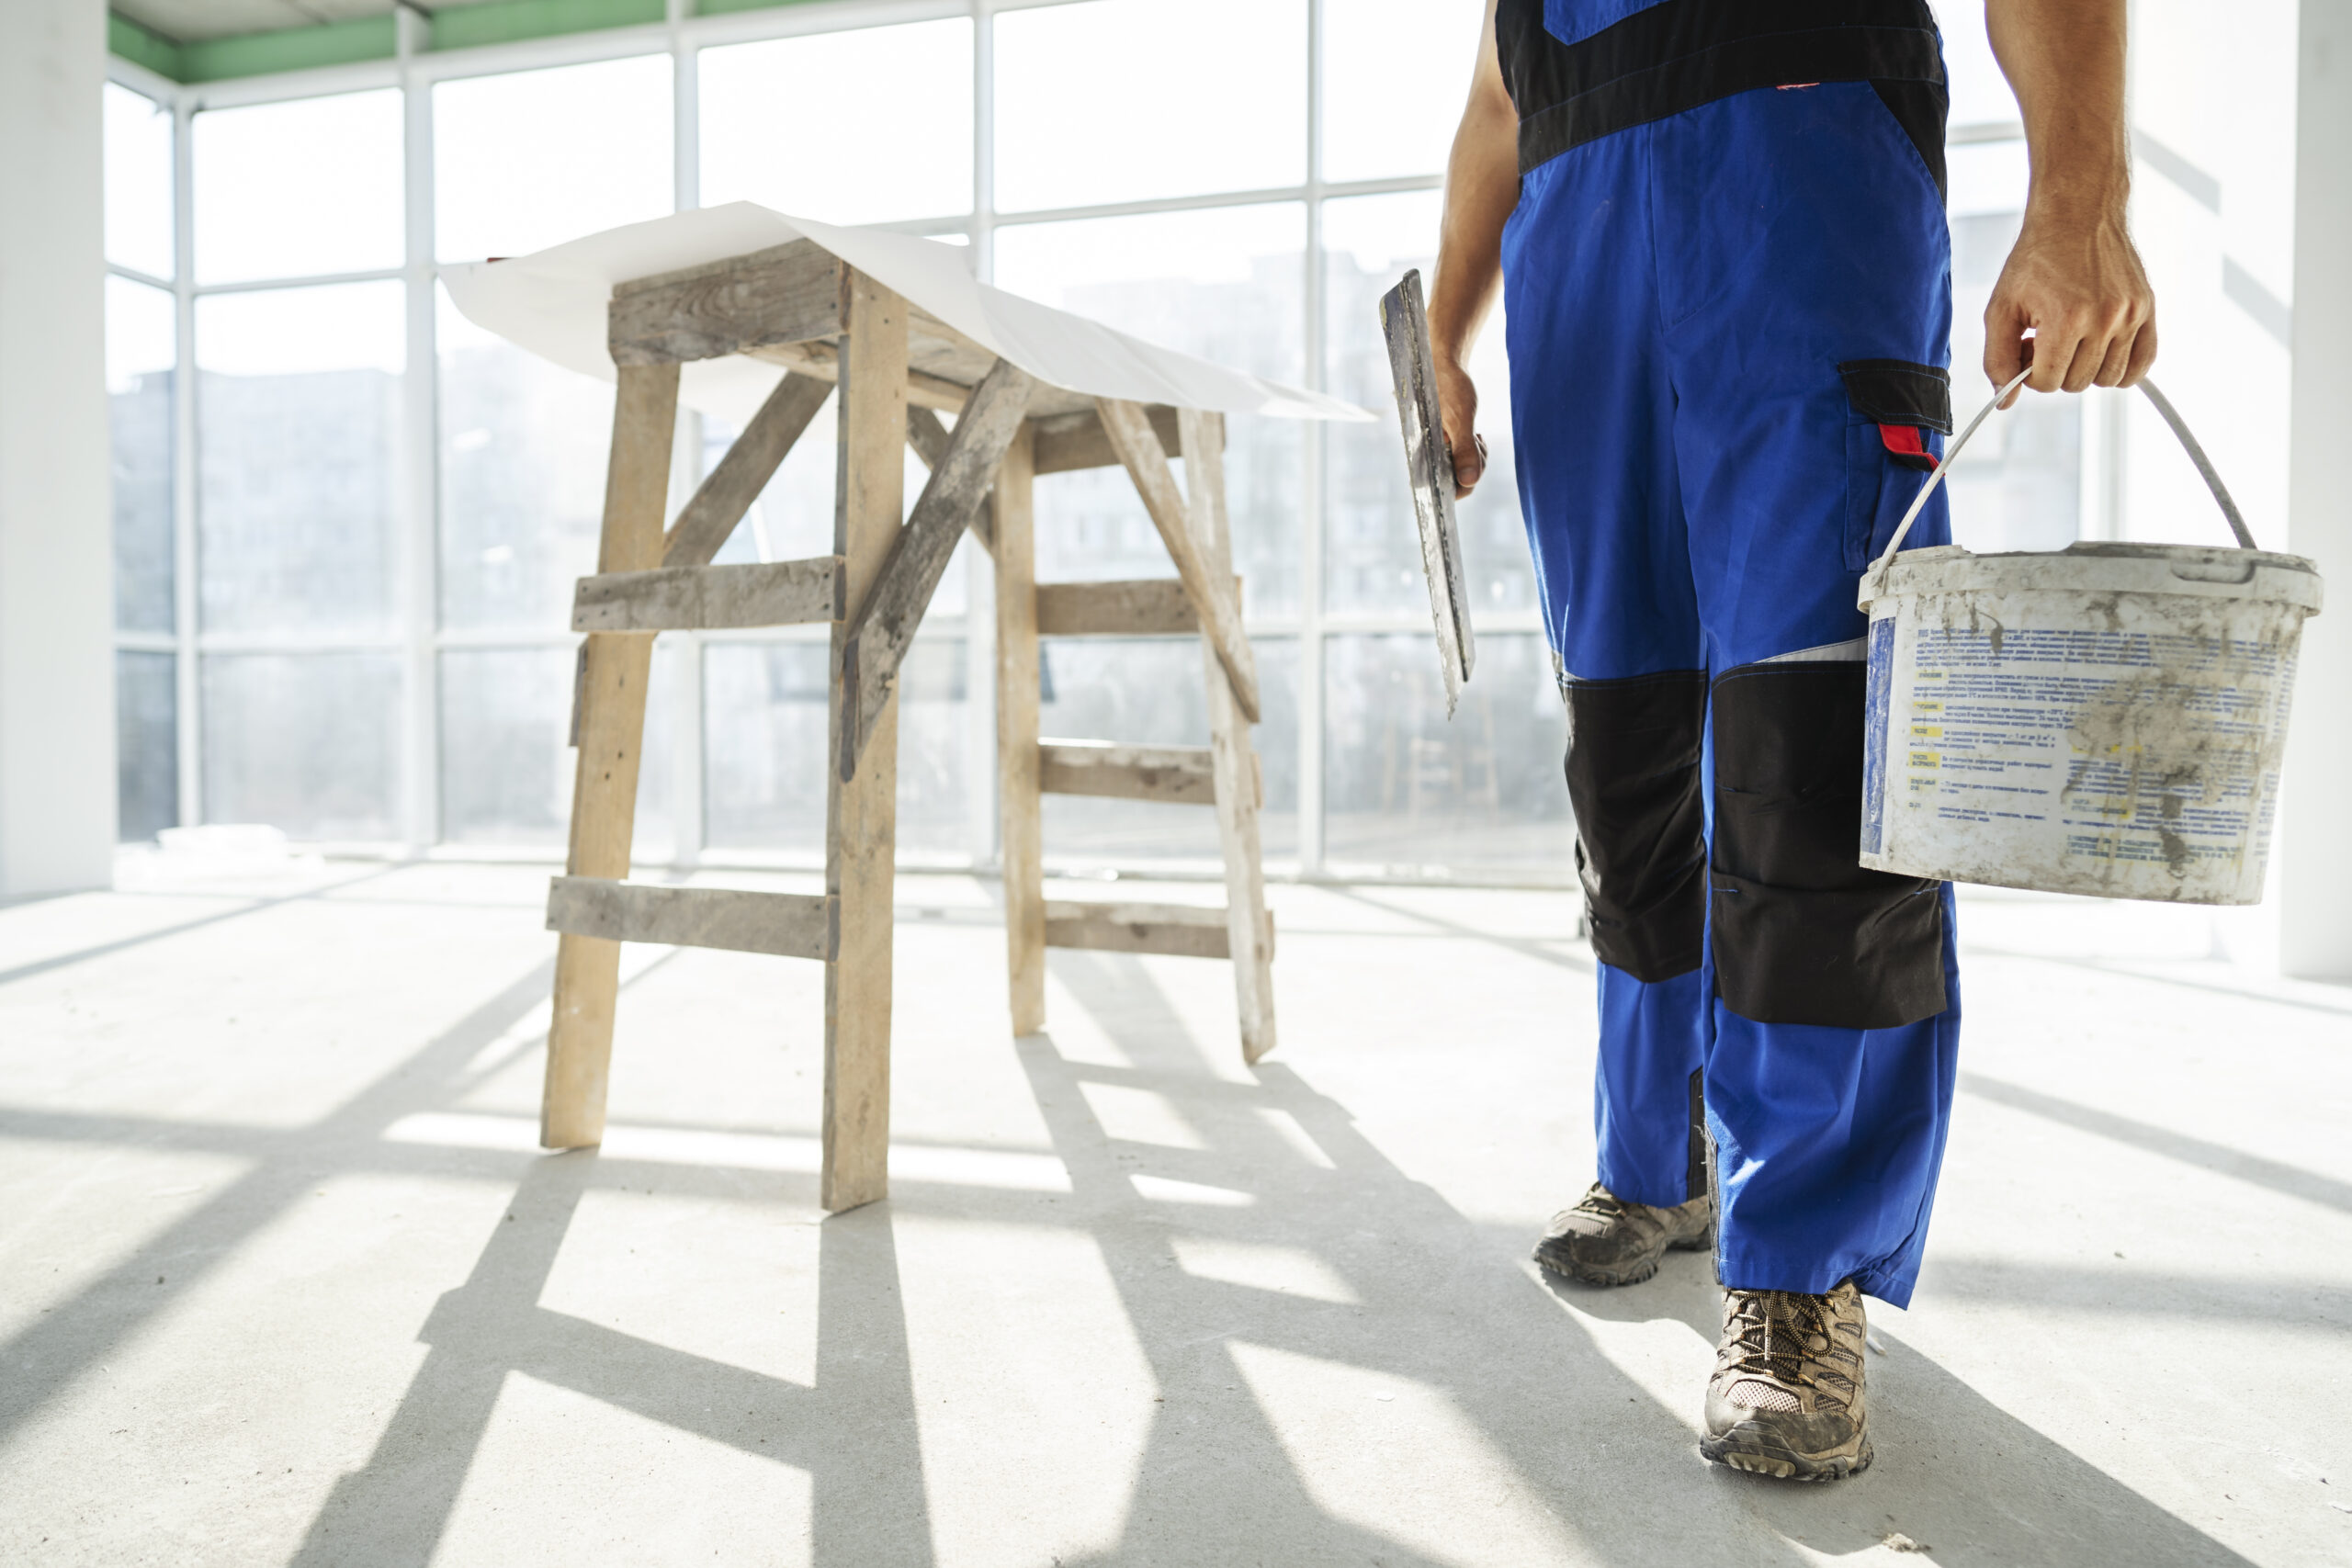
Photo by julienprotz from Freepik
Insight – Ensure your wicker tabletop stays tip-top by sealing it with a water-resistant finish. This way, you won’t have to worry about those pesky spills or moisture damaging your masterpiece!
Now that the main construction of your table is complete, it’s time to add the final details that will pull it all together.
If you want to stain or paint the tabletop to match your decor, now is the time. Lightly sand the surface to rough it up and wipe away dust. Apply two to three coats of your chosen stain, sealant, or paint, waiting for each coat to dry as directed. This will protect the surface and enhance the look of the new table.
Discover More: Embellish Your Home with 25 Painted Coffee Table Design Ideas
To provide maximum stability for your table, you’ll want to securely attach the legs. Place the tabletop upside down on a flat surface. Position the legs in the corners, angled slightly outward for best support. Then, secure the legs to the underside of the tabletop using glue, brackets, corner blocks, and screws. Wipe away any excess glue that squeezes out.
For easy mobility, you can add casters to the legs. Attach two to four casters to the underside of the legs, evenly spacing them for balance. Ensure the casters are rated to hold the weight of your table. Please note that locking casters are best so you can keep the table stationary when needed.
With the legs securely fastened, you can flip your table right-side up. Carefully lift and turn the table, then place it in your desired location. Make any final adjustments to the position and leveling of the legs, and then your custom wicker coffee table is now complete and ready to use.
For More Info: 29 Coffee Table Decor Tips: Subtle Touches for Maximum Impact
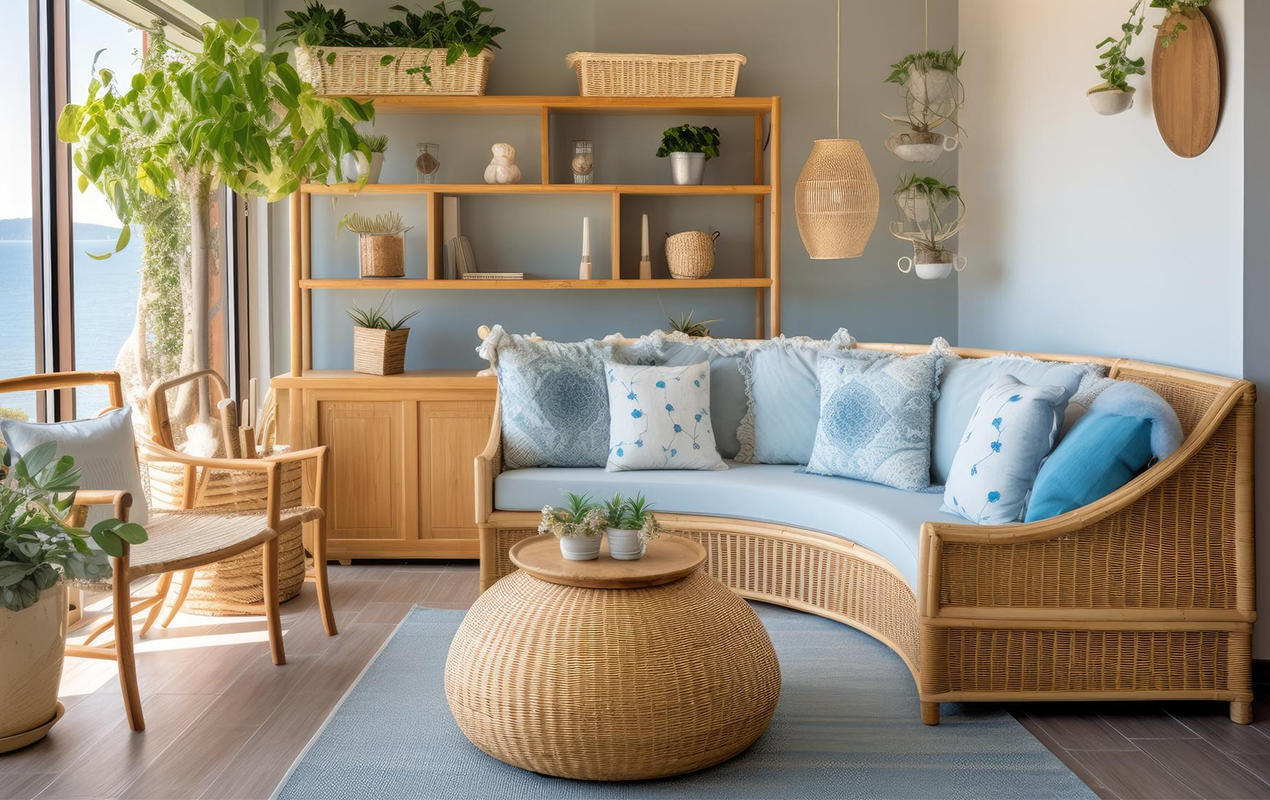
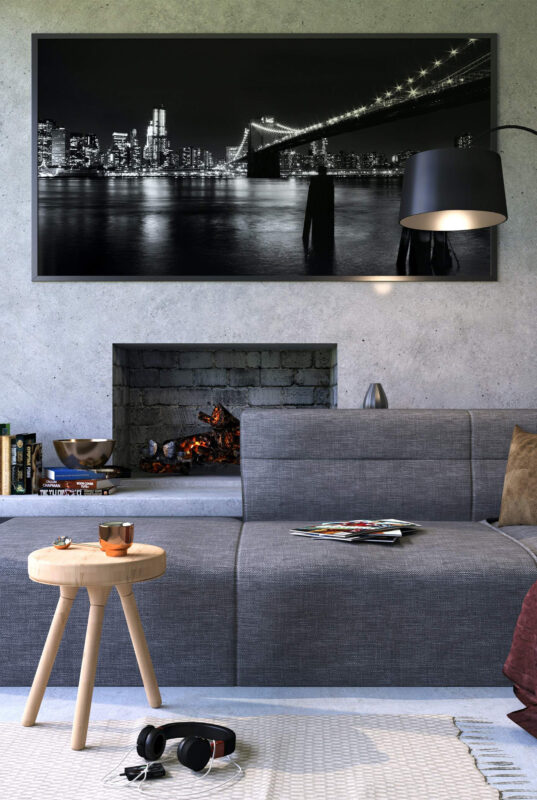
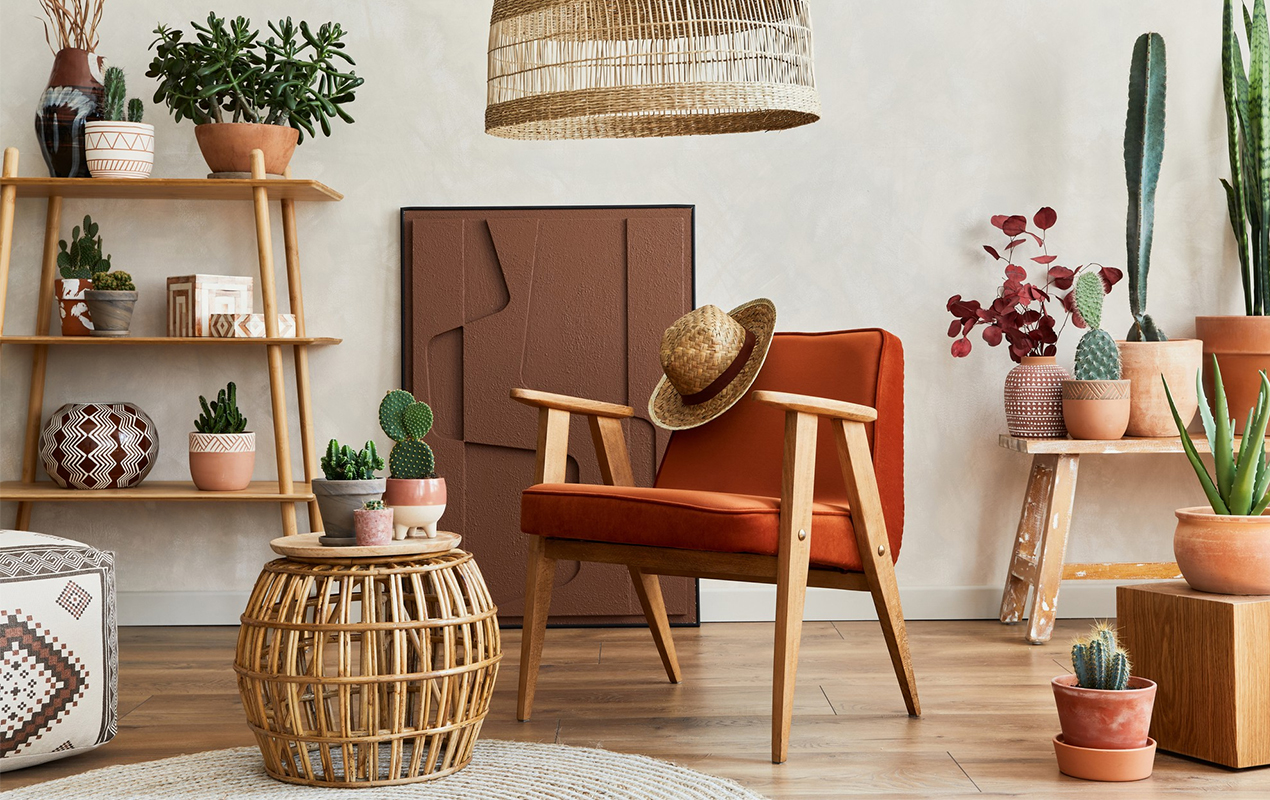
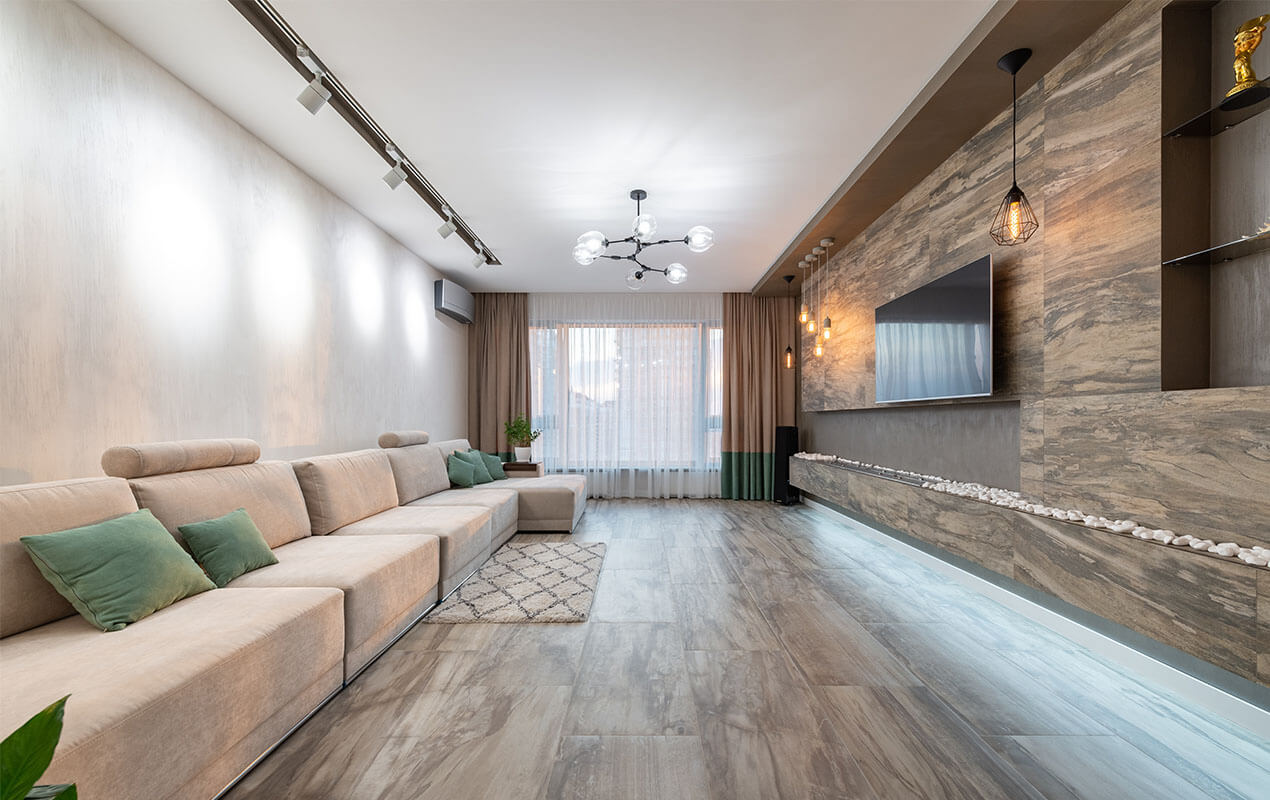
Photo by Biancoblue from Freepik
Insight – Don’t forget to attach furniture feet! These nifty little accessories can be screwed or glued to the bottom of each leg to not only safeguard your floors but also give your furniture a chic and polished look.
Building a wicker coffee table seems easy enough, but there are a few common issues that may come up during assembly. Be prepared for these hiccups so you can troubleshoot them quickly and get back to enjoying your handiwork.
Rattan is flexible but still susceptible to warping or damage during shipping or storage. Inspect all pieces for cracks, dents, or misshapen pieces. Minor warping can often be repaired by wetting the area and then weighing it down as it dries to help it hold the proper shape. For more significant damage, you may need to apply waterproof wood glue to cracks or dents and clamp the area until the glue is dry.
Related Article: Rescuing Your Coffee Table From Water Damage
The ends of wicker coffee tables, like weaving strands or spindles, need to slide into the frame. But if the frame has warped even slightly, inserting the ends can be challenging. Try wetting the end of the piece you’re inserting to make it more pliable. Be patient, wiggling and working it into place. Using a rubber mallet to gently tap the end into the frame may also help.
Once all the end pieces have been inserted into the frame, lay the tabletop slats onto the frame. The slats should sit evenly and level for the best appearance and function. If some areas seem higher or lower, try reseating the end pieces to make minor height adjustments. You can also place felt pads under shorter slat areas to build them up.
To finish your wicker table and ensure all pieces are firmly in place, you’ll want to secure any loose ends. Trim off excess length, then apply glue to the ends and along the inside of the frame where that piece connects. Hold in place with clothespins or clamps until the glue dries completely. This prevents ends from popping out or becoming loose and unstable over time.
Read More: A Roundup of Reader Favorites: 15 Rustic Coffee Table Ideas
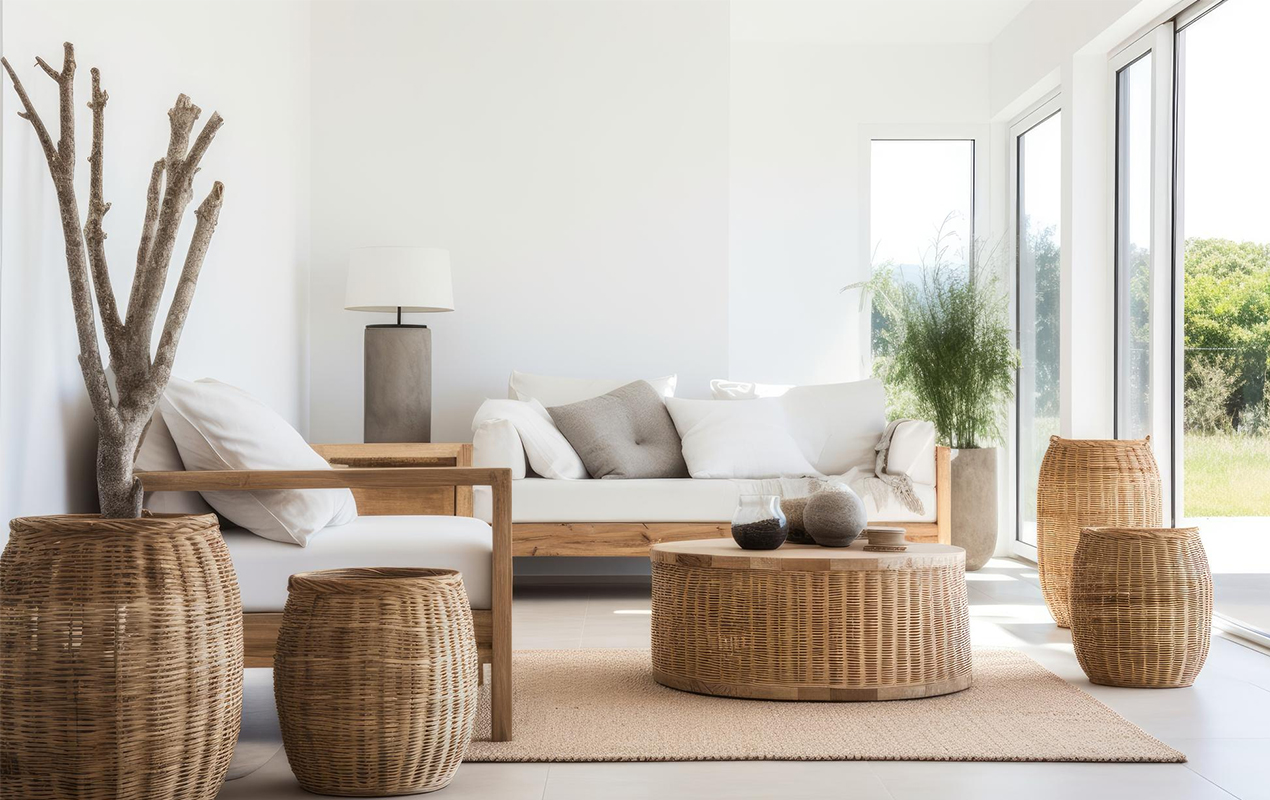
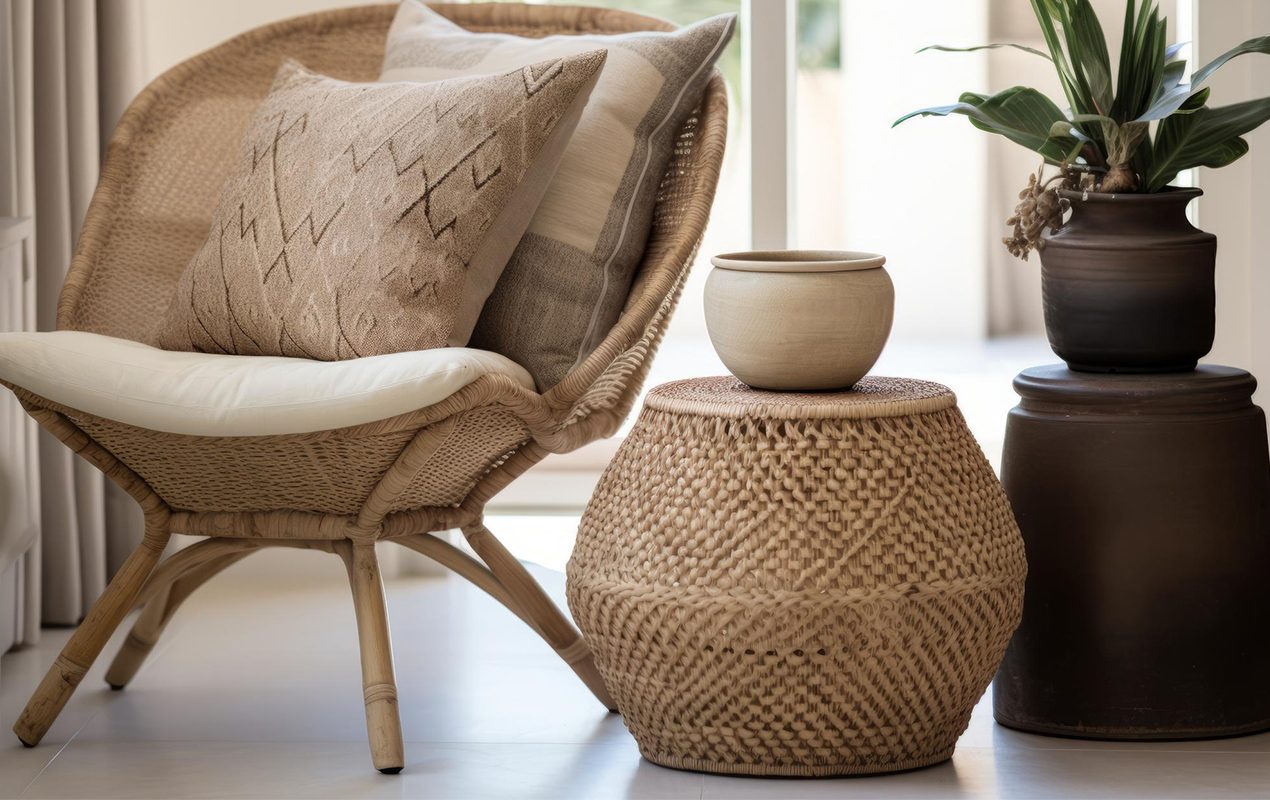
Photo by Stellar from Freepik
Insight – To achieve a neat and tidy look, make sure to tighten the rattan strips as you work and snip off any extra with wire cutters. This way, you’ll have a flawless finish for everyone to admire.
You’ve done it! With patience and the right tools, you now have a custom wicker coffee table to enjoy. The simple woven style adds warmth to any space. Kick back, put your feet up, and appreciate your new table—you earned it. Who knows, this project might have sparked a new hobby. If making furniture brings you joy, keep learning and creating. And if rattan’s not your thing, try building tables from wood, metal, stone, or whatever strikes your fancy. The possibilities are endless once you realize you have the power to craft and build. Congrats again on your new table, and happy creating!